Showing posts with label Food Storage. Show all posts

Thursday, September 11, 2014

Repurposing with a vengeance - dry goods storage

Repurposing project #3 - Reclaiming my mason jars

Are you one of those people that gets so much stuff in bulk you just don't know what to do with it all? Or how about one of those people who purchases stuff in #10 tins, opens it and then has no idea how to keep the unused portion from getting eaten by bugs or rodents. Has Waste Management offered to supply an industrial sized recycling bin for all of your soda bottles? Well have I got a new trick for you. 

First and foremost. This method of storage is SHORT TERM (less than 2 years). Additionally, this method is to be used for NON-PERISHABLE goods only. If ever you are in doubt of the quality of the food, do not eat it. 

Stuff that you will probably need.
Empty 1, 2 or 3 liter bottles. Dried beans, peas, rice are best, but you can also store chocolate chips, dehydrated vegetables, pasta, etc. A large bowl, measuring cup or scoop, scissors, marking pen, packing tape. Make sure your working area is clean and dry.


Prepping the plastic bottles. Remove the labels. don't use anything sharp or you may ruin the bottle. Rinse the bottle with the hottest water your tap provides. If your tank is set below 120° you may want to heat some water to no more than 150° and rinse the bottles. 

Do I need to talk about safety here??? Okay, remember, the water is very hot and can burn you. The soda bottle will not insulate you from the hot water. Water that is too hot can melt the bottle increasing your chance of getting burned. Use a funnel to pour the water in to the bottle, trying to hold the bottle while pour scalding water into a narrow neck is...well, stupid. Children should be in another room...at grandma's...napping. Okay, sorry if I offended anyone, but I've seen just about every way a person can blow this and get burned. Oh and the bottle caps should be rinsed in scalding water as well. 
Allow your bottles to dry COMPLETELY. Was that loud enough? Putting dried items into a moist bottle...just throw it away.


Okay, now that your bottles are ready, gather your items and begin. Place your bottle into a large bowl.

Find the method that works best for you to get the items (beans, rice, etc.) into the bottle. A funnel can be helpful, but may sometime clog, a paper funnel may be more useful for larger items (Lima beans, chocolate chips), but the method that works the best for me is the hand funnel, you know wrapping your hand around the neck of the bottle. No matter what method you use, there will be spillage, hence the large bowl. Hopefully anything that misses the bottle will land in the bowl. 


Using a paper funnel with Lima beans.
After you have filled your bottle (this is 1 pound) Cut the label off the front and the cooking directions off the back. You can cut off the nutritional info if you like, but I don't.
 
Use the packing tape to secure the labels to the bottles. Pick a spot and write the month and year you packed this bottle.


Before putting the cap on, add a bay leaf to the bottle if it is beans (everything else, you won't need it). The bay leaf has one function, to season the beans. There are many people who believe that bay leaves are good for keeping insects out, but it is just not true. Read this report from 1984 and see for yourself the best way to keep insects from infesting your food stuffs. The contents of the bottle will not pick up any flavoring until the bay leaf is cooked with it. Now add an oxygen absorber, Cap your bottle.

You know those bags of 15 bean soup or White bean soup with ham flavoring, well you can do a few of those as well. The only problem I came across was the flavoring packet. Sure, I could stuff it into the bottle, but I would have to destroy the bottle to get it back out, so my solution is simple. Cover the flavor packet with a piece of plastic (to keep it from ripping open when the tape is removed) and tape it to the side of the bottle. *Warning* This will not keep your flavor packet from becoming wet or infested or losing it's flavor. It just keeps the packet with the soup. When in doubt, throw it out.


Sooo... to recap so far, clean bottles, insert food, bay leaf, and oxygen absorber, cap bottles, label them with contents and cooking directions. Now what?? Oh yeah...

Get your household wax out and scrape off a bit. Now melt said household wax. I don't happen to have dedicated wax melting pots, but a reused potpie pan works just fine.


Don't forget, the water is hot. I won't go over that one again. Remove melted wax pot (potpie tin) from the pan of water and then dip the tops of the bottles in the wax. Allow to cool. Repeat 3 or 4 times.

This seals the bottle to prevent insects and moisture from getting in. With the addition of the oxygen absorber, the chance of insect growth becomes negligible.


A one liter bottle will hold this much in White Beans. But keep in mind, each bean is different, size means nothing. Check out the picture below. The smaller ones can be more dense. In this example a bottle can hold more of the split peas than the black eyed peas.

Juice bottles work just as well and they even have thicker plastic walls. The openings are also larger so getting an oxygen absorber in with the beans becomes easier. They also tend to be square so can be stacked more easily.

Oh and about that "don't use plastic to store stuff because of leaching". Leaching of chemicals into food from plastic bottles requires liquid, dry items should not pick up any chemicals, but I'd like to remind you that you probably consumed the liquid that was in the bottle in the first place and how long were those sitting on the shelf before you opened it?


The best kinda beans.

Tuesday, April 8, 2014

The Growing Season is Around the Corner

My windowsill starts
Have you started your seeds yet? It isn't too late for some of your veggies like tomatoes, peppers, and pumpkins. There are even some seeds you can plant out now, lettuce, onion seeds/sets, and cauliflower. 

Just a reminder though, don't get too vigorous with your planting yet, the last frost may occur in the first week of May. 

Okay, having said that I usually get my seeds in the ground in mid-April, 1st week of May. My garden is usually pretty successful.
My garden on August 17, 2013
I didn't use the space efficiently and it was a new spot so I didn't choose wisely for the sun, but I wasn't totally disappointed with the harvests. Again having said this...this year we have different plans. 

First, I decided where I am placing my plants based on the knowledge obtained last year as to where the sun hits and when. 

Second, I laid out my garden plan using a free garden planner I found at Growveg.com. You get a 30 day free trial of the planner and you can definitely plan out your garden space in that time. I was impressed with this website. 

Third, instead of burying my potatoes, I am going to try towers. I found a great plan at Growing Lot Suburban Farm. I will putting up 2 of these one with russets  and one with reds. 

Fourth, we are repurposing as much as we can including using a trampoline frame and free discarded wood to make a greenhouse. I'll post pictures of that later.  There are several "plans" out there, but some of them don't make a bunch of sense so we are doing it Jeff's way. But if you want to see what one can look like, check it out here...Organic Adventures in Farming. We also pulled some old metal shelves from the fabrication pile and have using other materials we had lying around, we now have starter shelves for our greenhouse. 

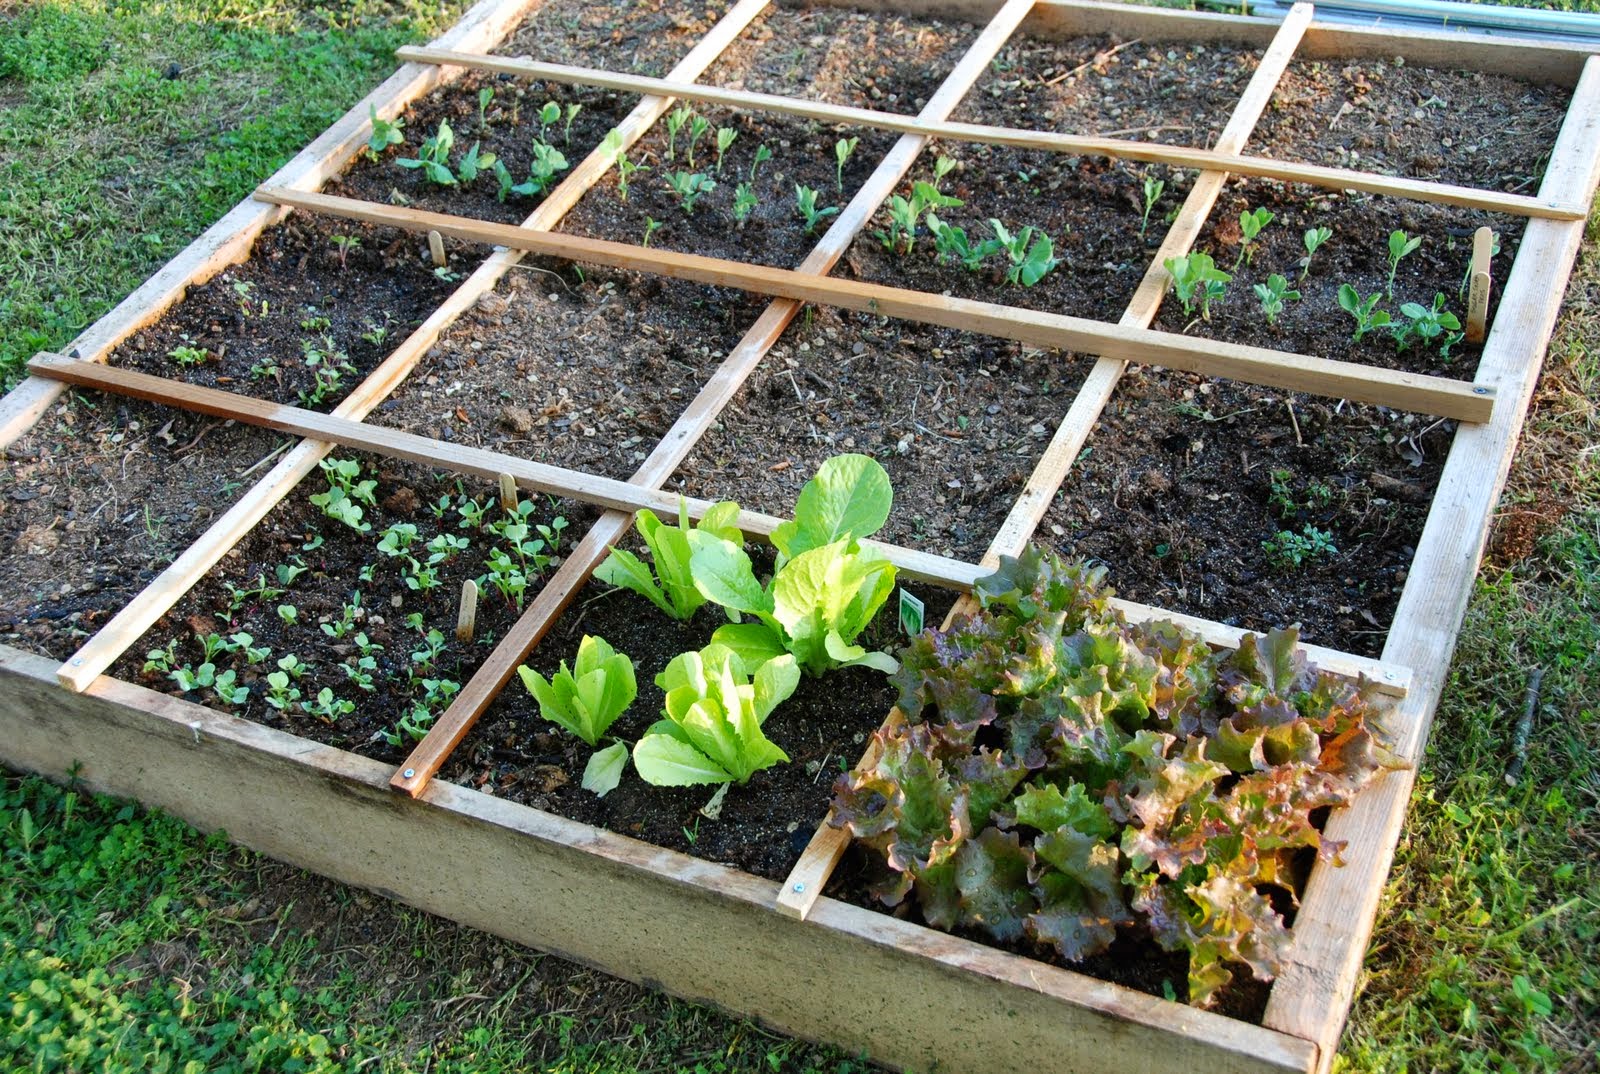
And finally, I am going to experiment with Square Foot Gardening. I've never tried it before, and in my case I have tons of room for rows, but the thought of planting 99 green bean plants is a bit overwhelming, but when it's laid out in a grid like this, it doesn't seem so daunting. We collected used 2" x 6" deck boards and have built our boxes. We had enough left over to build a couple for a daughter as well. I just happened to have some slats under my woodworking bench, so grids are no problem. This could be a way to reclaim some of my backyard.
photo courtesy of http://www.versusbattle.com
You can find pros & cons at VersusBattle.com of either SFG or row gardening.

Good luck and good gardening!


Friday, April 4, 2014

Every Penny Counts part 3

Homemade is Better.
One of the things that helps me out is making my own spice, cream of soup and coating mixes. I don't have to purchase the name brand products and I control the ingredients.
I have a tendency to forget what goes in stuff, so I keep
the 'recipe' taped to the inside of my spice cupboard.

Cream-Of Soup Mix

2 cups dry milk powder (non-instant is preferred) Dairy Free? Use rice milk powder.
¾ cup organic cornstarch
1 teaspoon onion powder
½ teaspoon dried thyme
½ teaspoon dried basil
½ teaspoon dried parsley
¼ teaspoon black pepper
Mix all ingredients together with a whisk. Store in an airtight container.

To make into soup:
Combine 1/3 cup dry mix with 1 ¼ cups water in a small saucepan. Whisk until smooth.
On medium heat, bring to a boil. Cook and stir for 2 minutes, until thick. Cool.

This amount = 1 can condensed cream-of soup.

For Cream-of Chicken Soup: use 1 ¼ cups chicken broth instead of water.

For Cream-of Mushroom Soup: use water; add ¼ cup diced, cooked mushrooms to soup after it thickens

For Cream-of Celery Soup: use water, add ¼ cup diced, cooked celery to the soup after it thickens or add a dash of celery seed to the mixture while it’s cooking.

Coating Mix (Shake & Bake)

1 c. very fine bread crumbs
1/4 c. flour
1 tsp. poultry seasoning
1 tsp. paprika
1 tsp. salt
1/2 tsp. pepper
1/4 tsp. onion powder

Mix ingredients together and store in airtight jar. 

Eleven Secret Herbs (close enough to KFC)

6 tablespoons paprika
3 tablespoons onion salt
3 teaspoons celery salt
3 teaspoons rubbed sage
3 teaspoons garlic powder
3 teaspoons ground allspice
3 teaspoons ground oregano
3 teaspoons chili powder
3 teaspoons black pepper
3 teaspoons basil leaves, crushed
3 teaspoons marjoram leaves, crushed finely

Mix together and store in an airtight container. Mix together 4 teaspoons mixture, 1 cup flour, 2 tablespoons packed light brown sugar and 1 teaspoons salt (optional). Place in a doubled plastic food bag and add chicken to coat. Fry, drain on paper towels, serve!

Emeril's Southwest Seasoning

2 tablespoons chili powder
2 teaspoons ground cumin
2 tablespoons paprika
1 teaspoon black pepper
1 tablespoon ground coriander
1 teaspoon cayenne pepper
1 tablespoon garlic powder
1 teaspoon crushed red pepper
1 tablespoon dried oregano
1 tablespoon salt (optional)

Mix together and store in an airtight container. Use to taste.

Taco Seasoning Mix

1/4 cup Chili Powder
1/4 cup Cumin Powder
1 tablespoon Garlic powder
1 tablespoon Onion powder
1 teaspoon Oregano leaf (or oregano leaf powder)
1 teaspoon Paprika
1/4 cup Himalayan salt or Sea salt (optional)
1 teaspoon ground pepper

Mix together and store in an airtight container. 3 tablespoons equals one packet of commercial product.

Sausage Seasoning - Hot

8 tablespoons Sea Salt
1 cup + 2 tablespoons ground Black Pepper
8 tablespoons Nutmeg
4 tablespoons  Sage

Mix ingredients and keep in an airtight container. Use 1 tablespoon per 1 lb of browned ground meat.
(I've mixed this in raw meat and placed it in the freezer for use another day.) It is very hot.


Wednesday, April 2, 2014

Every Penny Counts part two

Don't you hate it when you open a package of whatever (baking powder, granola, noodles) and don't use them all right away? I know I do. For instance, baking powder and baking soda, I don't use them daily, weekly or even monthly. So they sit in the cupboard and well...age out. I also hate having to throw them away. One way to extend the life of these dry goods is to vacuum seal them.

Many moons ago I purchased a Food Saver® vacuum sealing system. I only use the rolls, only because not everything I seal up is the same size, but if you like you can purchase bags. I use this to vacuum seal bulk meats mostly, but I've used it for soups, vegetables from my garden and important documents (i.e.birth certificates). I also use it to extend the life of those things I don't use very often, such as baking powder.

Opened and not used up.
Instructions for cooking the Quinoa taped on back of jar.

Food Saver® brand vacuum sealing system
Food Saver® is but one brand, there are others out there, this is just what I happen to have. Items that you will need are jars (1/2 pint, pint, quart or half gallon), lids to fit the jars and a sealing system. If you are going to seal powdery items (soda, confectioners sugar, flour) be sure that you wipe the rim of the jar with a damp paper towel and always leave 1" headspace. 

When I did my confectioners sugar, there was sugar EVERYWHERE!

Sometimes it does not seal the first try or the second or the third. It usually means something is wrong. I tried several times on one jar and then checked the rim, yep, there was a chip, silly me. Once there was extra rubber on the lid, not an issue if you are heat canning, but it is when vacuum canning. Another time, powder had seeped into the sealer and a vacuum couldn't be formed. With a little patience and a bit of observation, almost all jars will seal...except fancy jelly jars. Nope, they don't seal. I tried, I really did, but no, it was not gonna happen.


Vacuum sealing is not a replacement for heat canning. 

It should be used for dry goods or freezer only. 

See those bread crumbs, opened but not used up. Now I can use them later.
As to those spiffy labels, I found them online at Canning Homemade. Wonderful to work with, but a hint here as well. These are shrink sleeves, you dip the jar into a pot of boiling hot water, the trick is turn the burner off first and don't touch the jar to the bottom of the pot. I did and my kitchen smelled great all day, the bottom of the jar of my sausage seasoning broke right off.

Most times though, I just write the contents on a piece of paper or cut from the package and tape it (packing tape) to the outside of the jar (see the quinoa in the top picture) along with any cooking directions. It's less expensive that way, especially if it's a temporary jar.


Monday, March 31, 2014

Every Penny Counts

Yes, I know it's been a while, but life happens and well there you have it. So, just because I haven't posted in a while doesn't mean I haven't been busy doing those things that help save every penny I can. So without further ado, let me share what I've been up to.
Kidney, Black, Pinto, White Beans in tomato sauce


Canning Beans

Remember I posted a while back a dry bean to canned bean conversion chart? Well I did... Dried to canned beans conversion
One of those things that I hate is trying to remember to soak beans for tomorrow's meal, subsequently I end up buying canned beans because I forgot. I did a bit of looking around on the internet to locate simple canning instructions for beans. Most tell you to soak your beans overnight, LOL. So, I made my big plans for canning beans to use in meals and finally got it done. The results were mostly good, but I learned a few things.
1. Black beans do not need to be soaked. Measure 1/2 cup of dried beans into pint jar. Add 1/2 tsp salt (optional) per pint jar. Fill with boiling water, leaving 1" head space. Process in pressure canner* for 75 minutes.
2. Pinto, kidney, white beans should all be soaked. They did not work as well starting from dry.
Instructions for canning all other beans (you can do black beans this way too.)
  • Remove any foreign objects from beans
  • Place in large bowl and cover with water (remember, the beans will swell so leave plenty of room)
  • Soak overnight
  • Drain and rinse beans
  • Place in large pot
  • Cover with 2 inches of fresh water
  • Bring to a boil, stirring frequently and watching to prevent boiling over
  • Ladle beans into hot jars (no need to sterilize as long as they're clean and hot), leaving 1" headspace
  • Fill with cooking liquid, again, leaving 1" headspace
  • Put lids and rings on jars
  • Place jars in pressure canner and process at 10 pounds pressure (You will need to adjust your pressure depending on your altitude.):
  • Pints for 1 hour, 15 minutes
  • Quarts for 1 hour, 30 minutes
  • Remove from canner and let cool, checking all lids for proper seals before storing
Notes:
* Beans MUST be processed in a PRESSURE CANNER, a water bath does not reach the correct temperature to kill all the bacteria.

3. Home canned beans tend to soak up water and the beans at the top of the jar are not usually covered by water and may change color (there is nothing wrong with them). What I really discovered is that store bought beans are covered by liquid, so I'm buying more liquid than beans.
4. Ingredients of home canned beans: Beans, water, salt. Ingredients of commercially canned beans: Water, beans, calcium chloride, calcium disodium edta (added to promote color retention). Note that water is the first on the ingredients list, yep, that's what you are buying. Additionally, I looked up the other ingredients; Calcium chloride, CaCl2, is a salt of calcium and chlorine, Calcium disodium EDTA is mainly synthesised from ethylenediamine, formaldehyde, and sodium cyanide. The FDA has approved these items for human consumption and they are used in the medical field for such things as radiation poisoning and treating lead poisoning, however I don't think it should be in my food.

Okay, so that is my rant for the day. Not only am I saving money by canning my own beans, I have beans ready for a meal and I don't have to remember to soak them overnight, also I am keeping some stuff out of my diet that I didn't ask for.

Friday, September 20, 2013

Changes are coming to the Home Storage Centers

As of November 1st, packaging at our Spokane Home Storage Center will be discontinued. After November 1st, those interested in purchasing food storage items will find prepackaged items and bulk items as listed on the current Home Storage Order Form. Because the system needs to build up stock levels and adjust for the upcoming demand, all of the planned 17 pre-packaged items may not be available at first.
For the time being, the cannery will continue providing the packaging materials for home packaging.
The cannery will not order any more bulk product from Utah for the 17 products that will be prepackaged. They will receive bulk stock to be sold until it runs out, which may be before November 1st for some of the items.

Sunday, May 13, 2012

Chicken and Veggie Filled Biscuits

If you're looking for a meal to please the kids in the house (or anyone else for that matter) this is definitely a recipe to try. It comes from the book "The Everyday Gourmet" and it's great! For the biscuit recipe, rather than using a mix, try using the "Backcountry Biscuits" recipe from the same book and it works out perfectly while also helping to rotate some of the long term ingredients.


Makes 12 biscuits


Prep time: 30-40 minutes

Ingredients:
Filling ingredients:
2 cups water
1/2 cup each of your choice vegetables (corn, peas, potatoes, carrots -- freeze dried, or canned)
1 cup white cream sauce
1 (12.5 oz.) can chicken
1/2 tsp ground dried rosemary or tarragon (optional)

Backcountry Biscuits ingredients:
3/4 tsp. cream of tartar
1 tsp. salt
3 cups flour
4 1/2 tsp. baking powder
2 TBS sugar
1 egg (2 TBS water mixed with 1 TBS egg powder)
3/4 cup butter (a little less than 1/2 cup water with 3/4 cup butter powder) *see note
1 cup milk (1 cup water mixed with 2 TBS milk powder)

Instructions:

To make biscuits:

Reconstitute butter, egg and milk powders. In a bowl, mix in cream of tartar, salt, flour, baking powder and sugar. Cut in butter with a pastry blender until it looks like cornmeal. Add the egg and milk and stir just a bit. On a floured board, knead the dough lightly until smooth. Fold and roll out to 12" - 6". Fold and repeat three times. Roll out dough to 3/4" thick. Cut to 3" rounds.

To make the filling:

Rehydrate vegetables if needed. Over low to medium heat combine 2 cups water and 1 cup white cream sauce powder. Mix in the vegetables and canned chicken and simmer and stir until thick. Add optional spices and salt and pepper to taste if needed.

Drop about a tablespoon of the filling in the center of 12 of the 3" rounds of dough. Place the other 12 rounds of dough on top of the filling and gently seal the edges with the tines of a fork. If needed, dip the tines in flour to keep them from sticking. Prick the top of each sealed biscuit 3 times with the tip of a knife. Bake at 425 for 10-12 minutes or until lightly browned. Spoon remaining warmed sauce on top of the biscuits to serve.


Saturday, May 12, 2012

Growing Salad Greens in Window Boxes


Don't let a lack of garden space keep you from growing and enjoying fresh veggies! With this plan, you can start harvesting fresh, flavorful, nutritious salad ingredients in about a month.

Tools and Materials
Two planters at least 8 inches deep (such as window boxes), with drainage holes
Seeds: radishes, mesclun mix, baby carrots, beets (shredded raw beet is a tasty and colorful salad topping)
Soilless potting mix enriched with compost
Fertilizer

1. Moisten your potting mix. If you wish to use a slow-release fertilizer, add it as recommended by the product label. Fill window boxes, and firm soil gently in place.

2. Following the directions on the seed packets, sow seeds of radishes and greens in one box, beets and carrots in the other. Radishes are ready to harvest about 28 days after germination; baby greens (lettuce, spinach, mesclun), in 30 days; beets, in 55 days; baby carrots, in 70 days.

3. Water gently so that you don't wash seeds out of the soil. Keep soil evenly moist, and watch for seeds to germinate.

4. Seedlings will come up thickly; thin them the first time to stand 1 inch apart. You can either pluck them out individually or use scissors to snip seedlings at the soil surface. (Eat the thinnings of greens and beet tops -- your first unofficial harvest!) Thin the carrots and beets again when they've doubled in size; ultimately they should stand 2 to 3 inches apart.

5. Fertilize every two weeks, unless you used a slow-release fertilizer at planting time. Use a water-soluble formula, such as fish emulsion.

6. Sow some more. As your harvest of greens and radishes makes room in that container, prepare to grow another round. Work an inch of compost into the empty spots and sow more seed.
Tips

If you have enough space, add containers for other salad favorites, such as tomatoes and cucumbers. (They need larger pots.)

Watch out for pesky squirrels -- they like to dig in freshly disturbed soil. If they're a problem, cover your planters with wire mesh or fabric row covers.

For color and spicy flavor, sow a few nasturtium seeds in your containers. The flowers are beautiful, fragrant, and tasty in a salad!


http://local.garden.org/How_To_Project_Growing_Salad_Greens_in_Window_Boxes_Spokane_WA-r1216559-Spokane_WA.html

Friday, May 11, 2012

Skillet Penne with Sausage and Spinach

This meal is a fast one to put together and everyone likes it!

It’s based off a favorite one dish meal, this time made over using food storage ingredients. The pine nuts are definitely optional, it’s good with or without them.


Ingredients: 
2 1/2 cups freeze dried sausage crumbles (rehydrated using 2 cups warm water)
1/2 tsp garlic powder
1/2 tsp. salt
1 (16 oz.) box penne pasta
1 (14 oz.) can chicken broth
1 (6.5 oz.) jar sun dried tomatoes, 1/2 jar chopped fine (*see note)
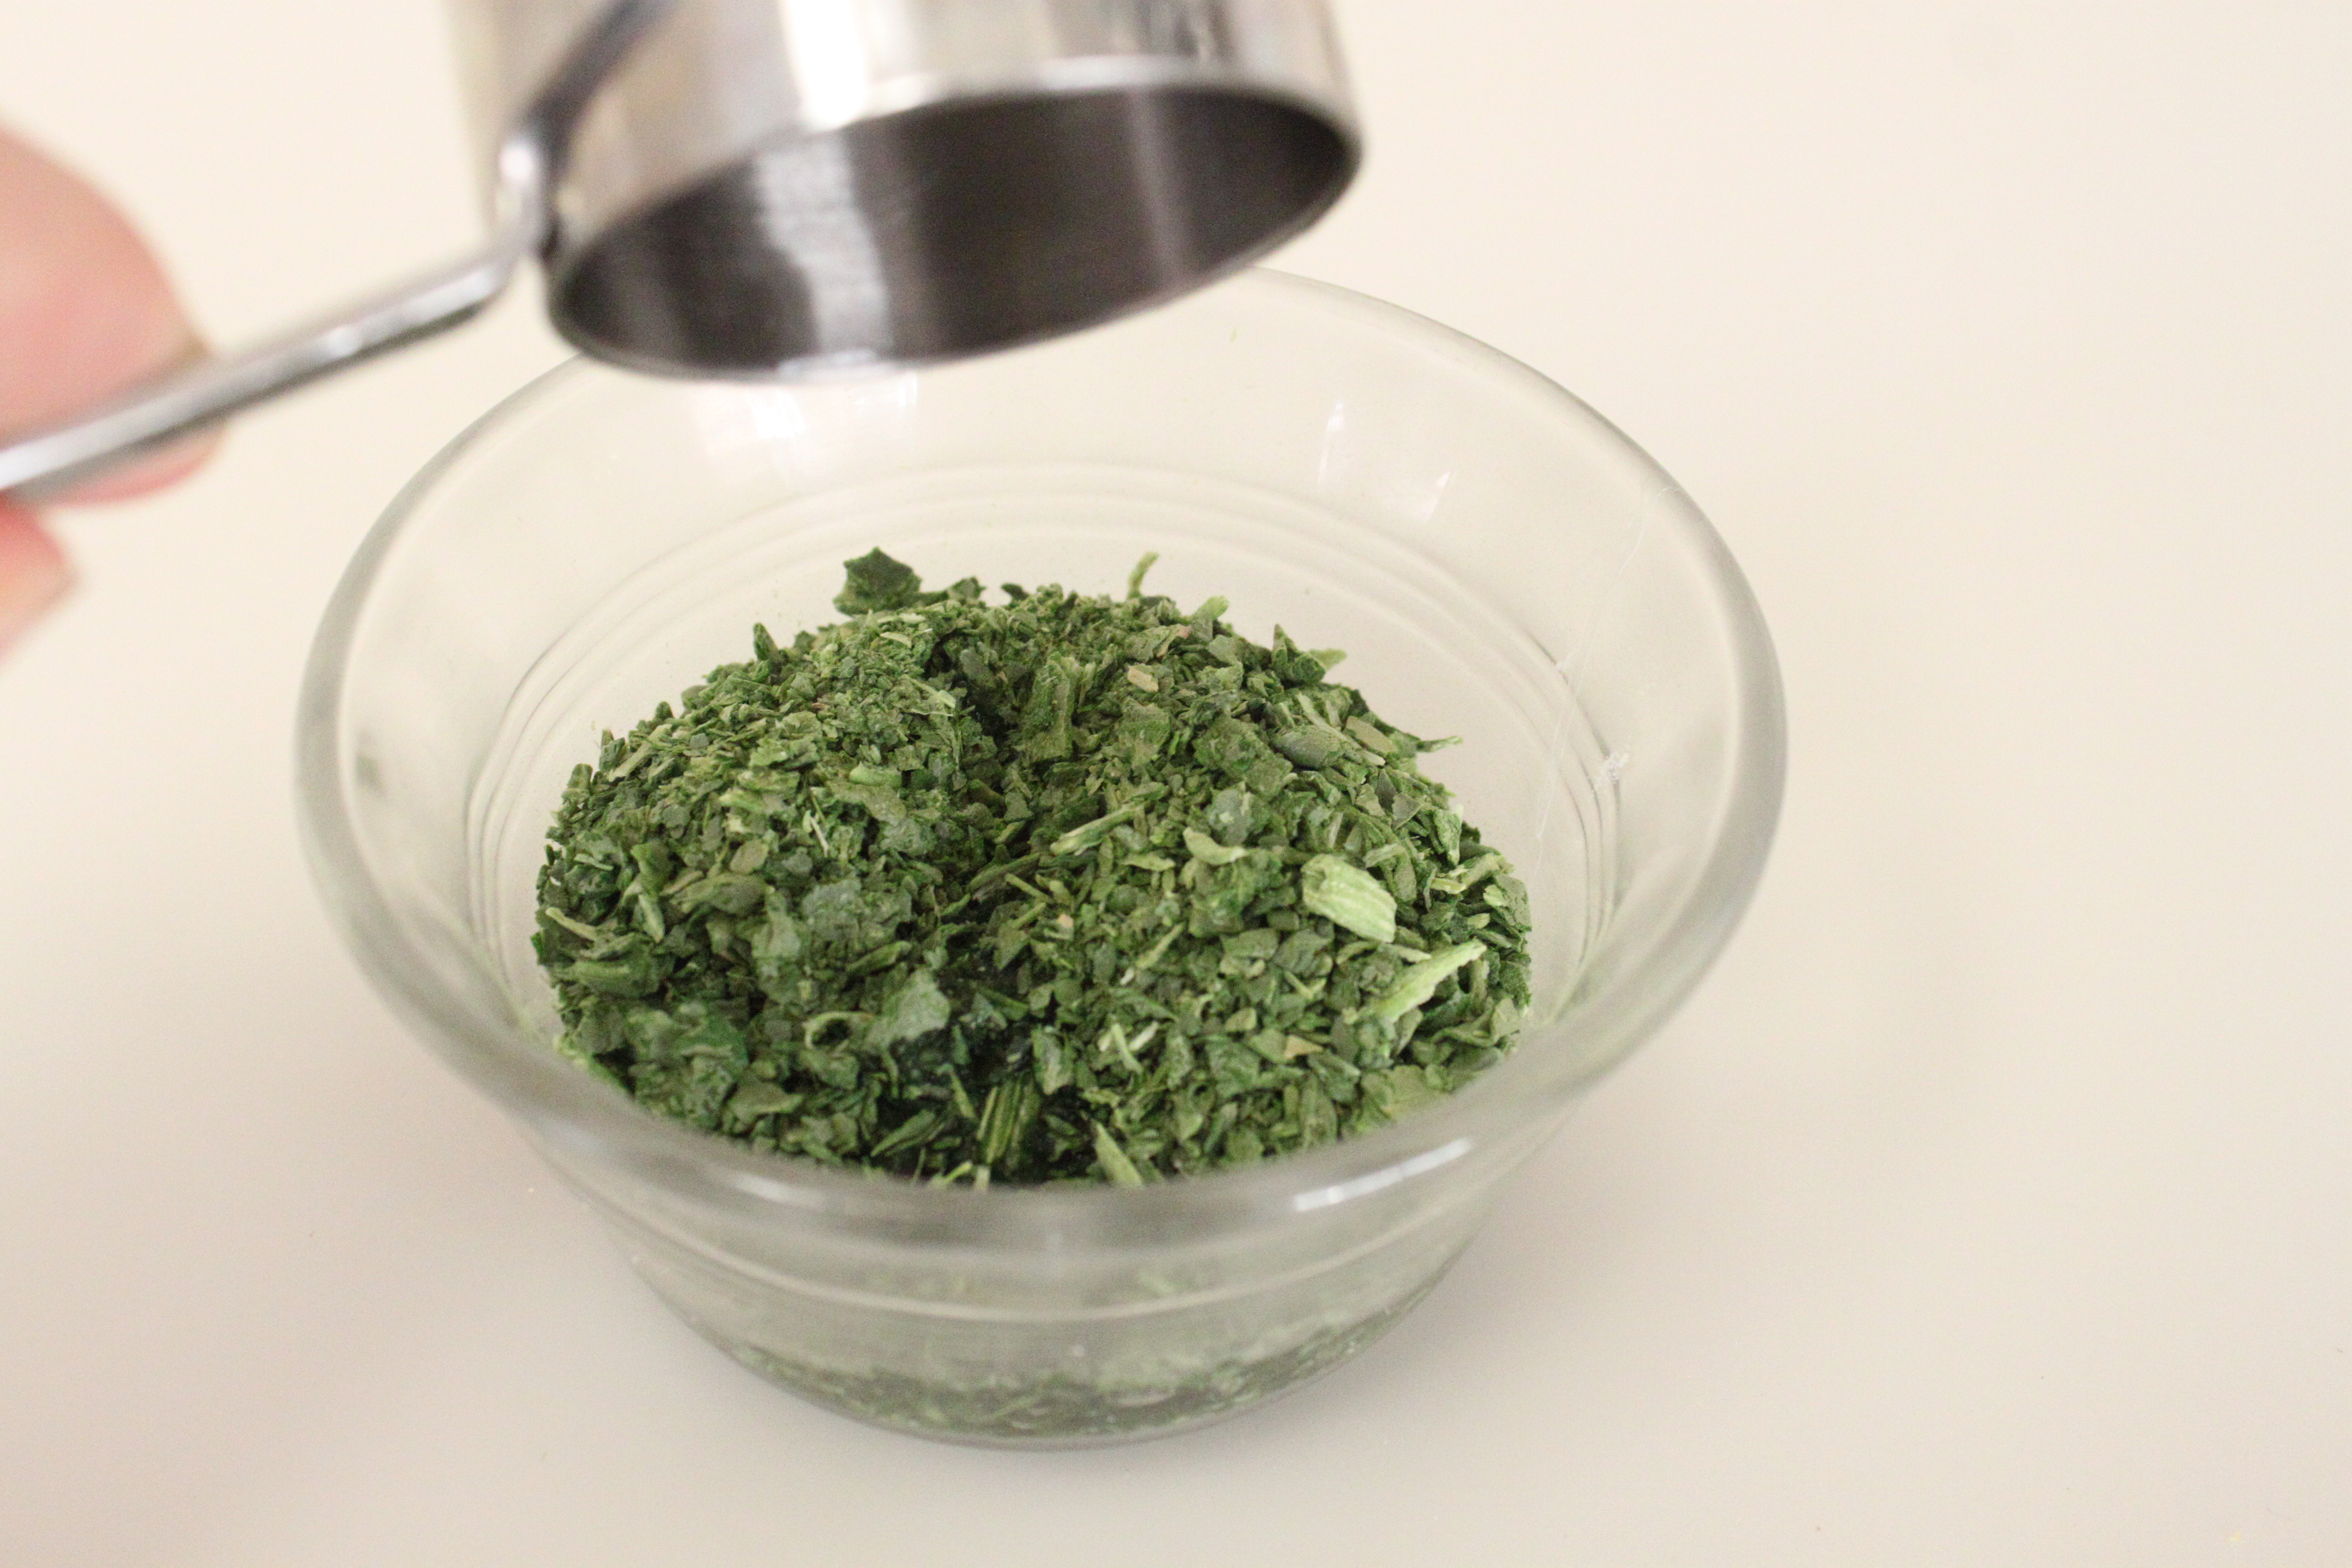
1/3 cup freeze dried spinach (rehydrated using 1/4 cup water)
1/2 cup grated Parmesan cheese
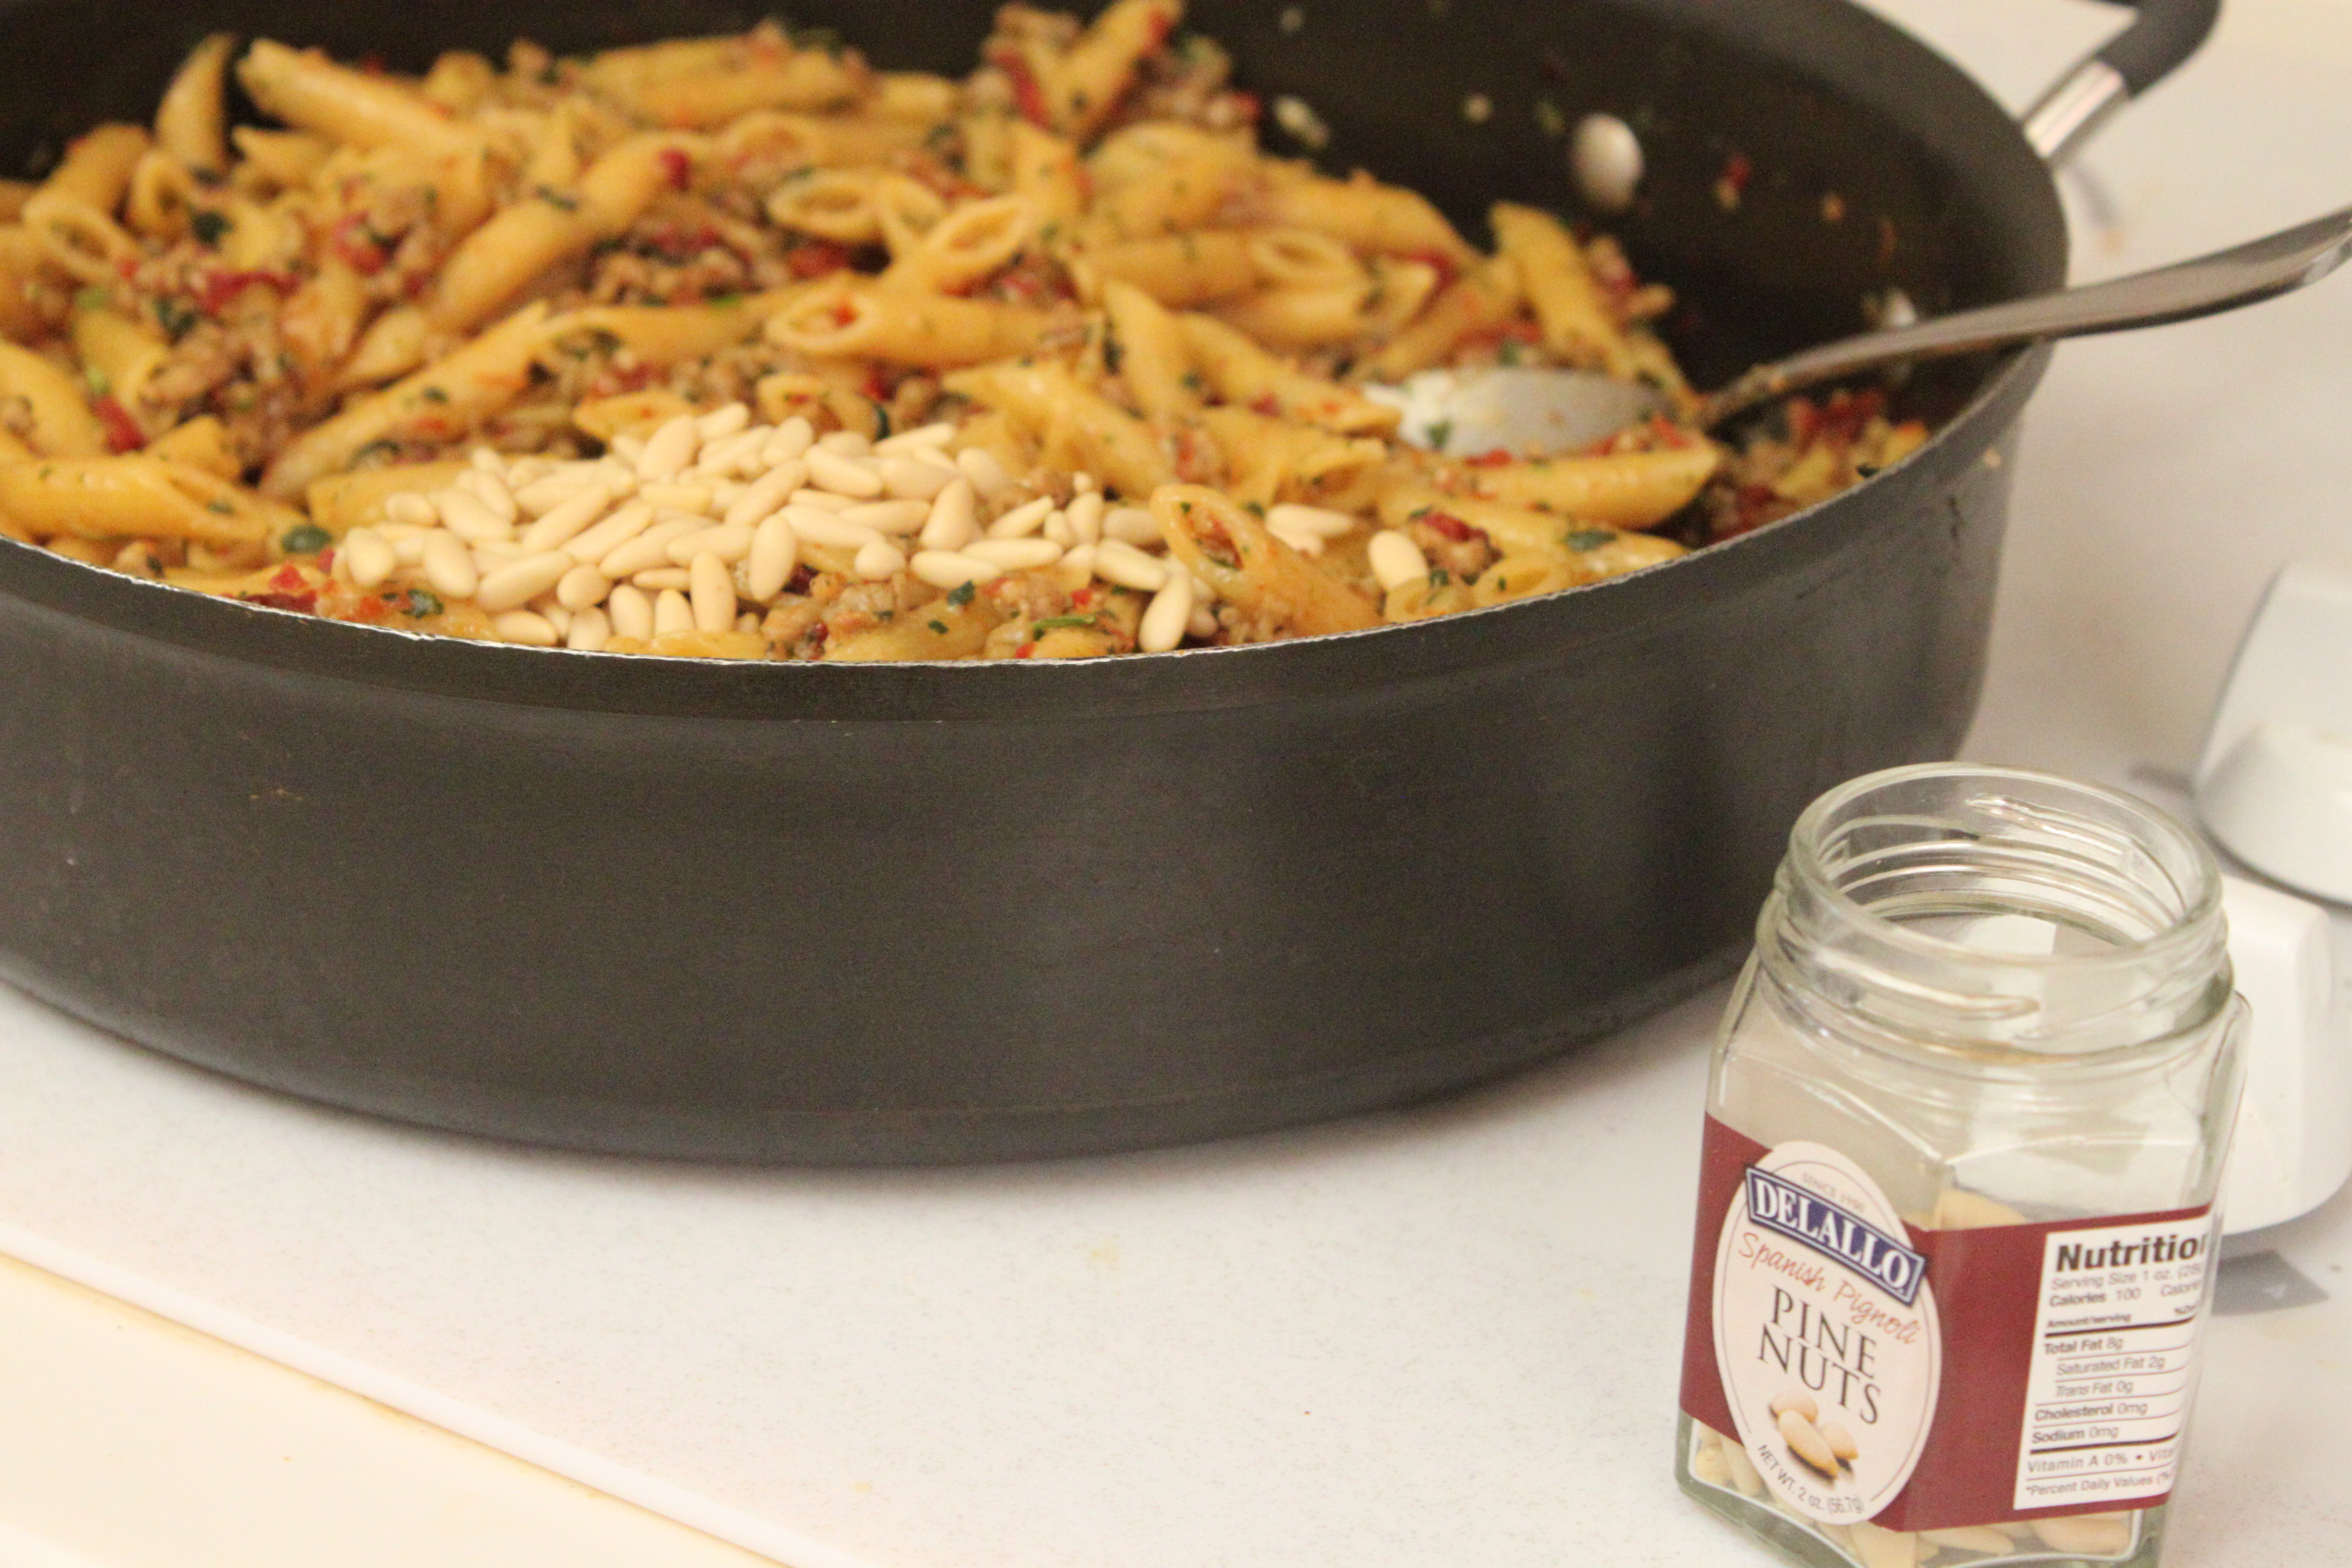
1/4 – 1/2 cup pine nuts, optional

Instructions:
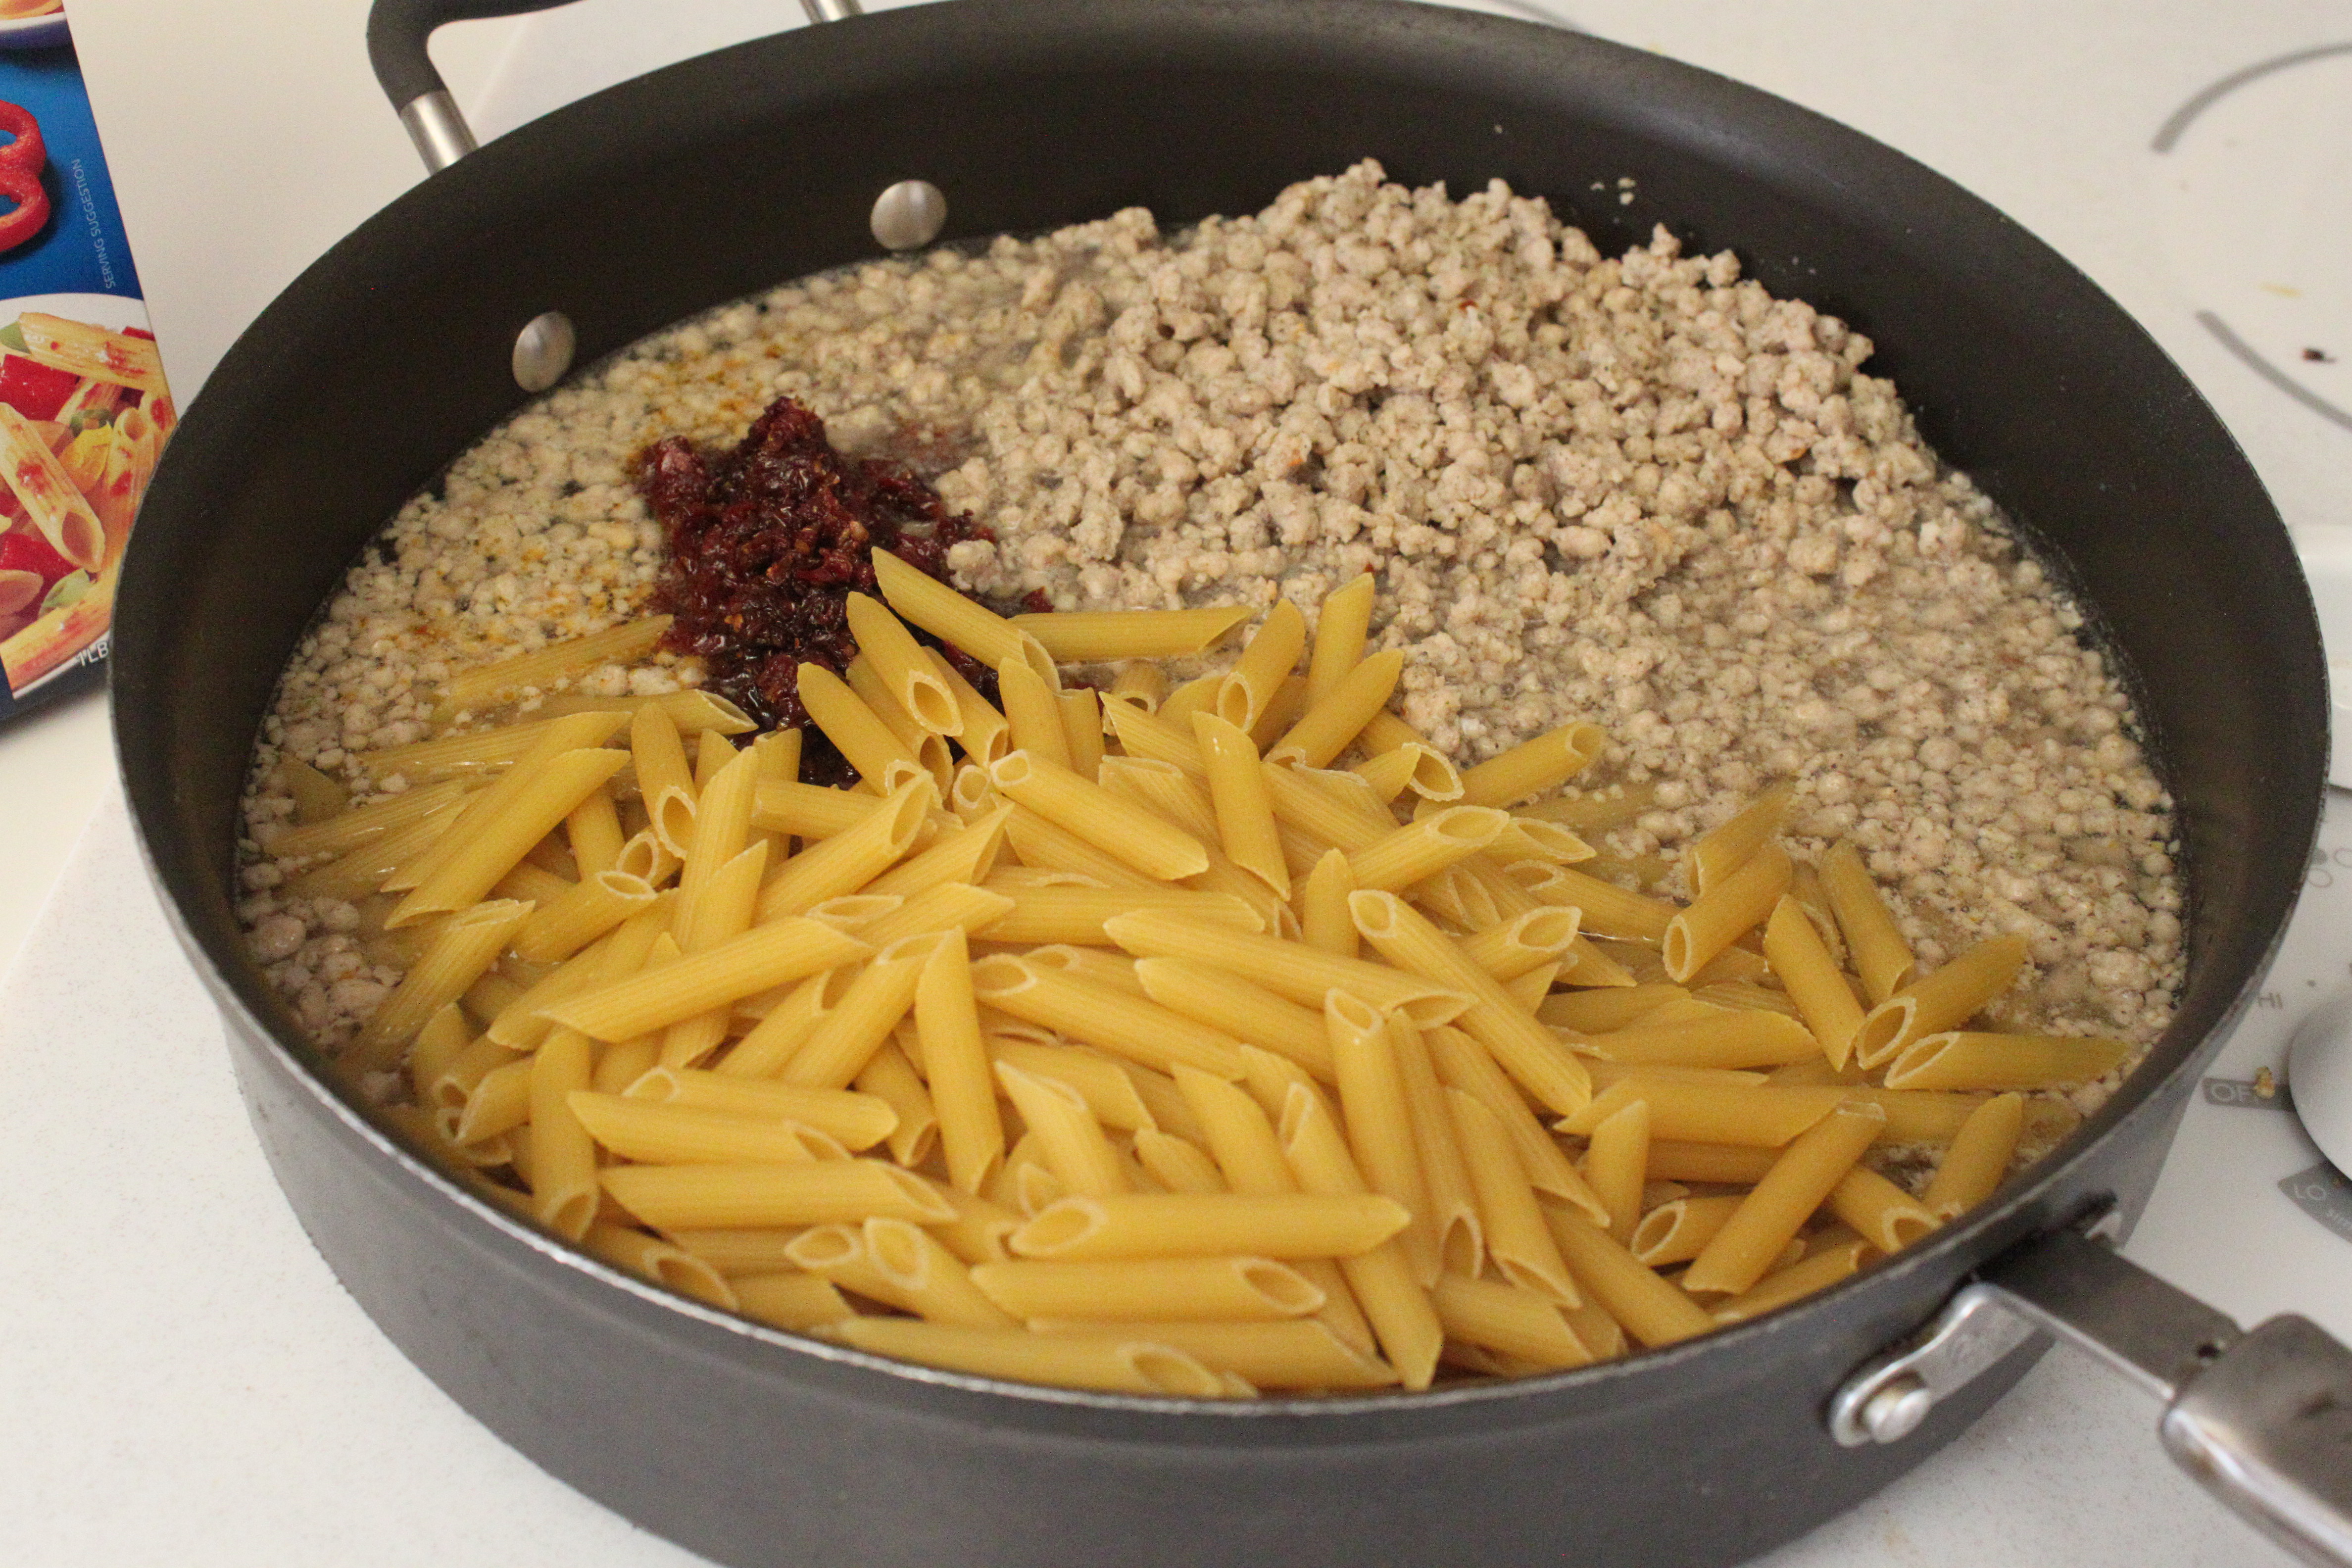
Rehydrate sausage crumbles according to package directions and drain reserving liquid in a measuring cup. To the reserved liquid add water to measure 2 1/4 cups. In a skillet over high heat, add sausage crumbles, chicken broth, sun dried tomatoes, measured liquid, penne pasta and 1/2 tsp. salt. Stir to combine, covering the pasta as much as possible with the liquid. Cover the pot and cook, lifting the pot’s lid every so often to stir until penne is tender, about 15 minutes. Turn off heat and add rehydrated spinach, parmesan cheese and nuts. Season with salt and pepper to taste.  Serves 6-8

***

Rehydrate the sausage crumbles and add ingredients to the skillet.


Rehydrate the spinach just before adding into the skillet.


Add last three ingredients…


Serve!


~~~~~~~~~~~~~~~~~~~~~~~~~~~

Notes:
It may not seem like the liquid called for will be enough to cook the pasta but it will be, I promise! Keep the lid on the skillet as it cooks, just lifting the lid to stir the pasta around off and on until the penne is tender.

I only use about half of the small jar of sun dried tomatoes here, the rest could be used to flavor up a bread recipe or if you really like them you could try using more in the dish itself.


Thursday, May 10, 2012

Growing Vegetables in Containers


If you don't have room for a garden, or only want to grow a few vegetables, planting in containers is the best way to go. Almost any vegetable can grow in a container and with a little care can produce abundantly. Here's how to get started.
Tools and Materials
Containers of various sizes
Sterilized potting soil
Shovel
Trowel
Drip or hose irrigation
Fertilizer

It's all in the pot. When selecting a container, remember that bigger is better as far as ease of maintenance and size of harvest. Half whiskey or wine barrels or similar-sized pseudo terra-cotta containers are large enough to accommodate vegetables such as large tomatoes, eggplant, and squash, with room to spare for companion plantings of smaller choices such as carrots and lettuce. Five-gallon containers can hold dwarf tomatoes, peppers, beans, and many small leafy greens. A window box is even large enough to grow radishes and arugula.

And in the soil. For proper drainage, containers need to have holes in the bottom. Also, use only sterilized potting soil. Garden soil may contain diseases and may not be well drained. Because you're planting in such a small space, you'll have to be very conscious of watering and fertilizing regularly. Water with drip irrigation or by hand whenever the soil is dry 4 to 6 inches deep.

Fertilize every two weeks with a water-soluble fertilizer for vegetables, or add controlled-release fertilizer at planting time, supplemented with a water-soluble fertilizer when needed. For large containers, mulching with straw or bark conservs moisture.

Best plant combinations. Containers allow you to plant combinations that are both edible and attractive. For example, try creating a salad container with different colors of leaf lettuce, a bush cucumber, a dwarf patio-type tomato, and even herbs such as parsley. How about a tomato sauce barrel with a tomato plant in the center, herbs such as oregano and basil on the sides, and onions interplanted between the herbs? Or a root crop roundup container with beets, carrots, radishes, onions, and parsnips in a foot-deep container?

Tips

Choose bush varieties of large vegetables such as squash.

Production may be less than with full-sized kinds, but plants will be much easier to care for.

To save space, consider growing some plants up. Choose pole beans over bush beans, and trellis them along the back of a container. This leaves space in front to plant other vegetables.

Photography from the National Gardening Association.

http://local.garden.org/Growing_Vegetables_in_Containers_Spokane_WA-r1216583-Spokane_WA.html

Wednesday, May 9, 2012

Spanish Rice, two varieties

Forget the Rice-a-Roni. These two wonder oven made rice dishes are just as easy to make and taste a whole lot better! Left overs freeze well so you can even enjoy it later when it’s needed for a fast meal. In using with your food storage plan, serve this with Creamy Chicken Enchiladas, Shredded Beef Taquitos, Tacos, Tamales or any other fiesta minded main dish.

Traditional Spanish Rice
Ingredients: 
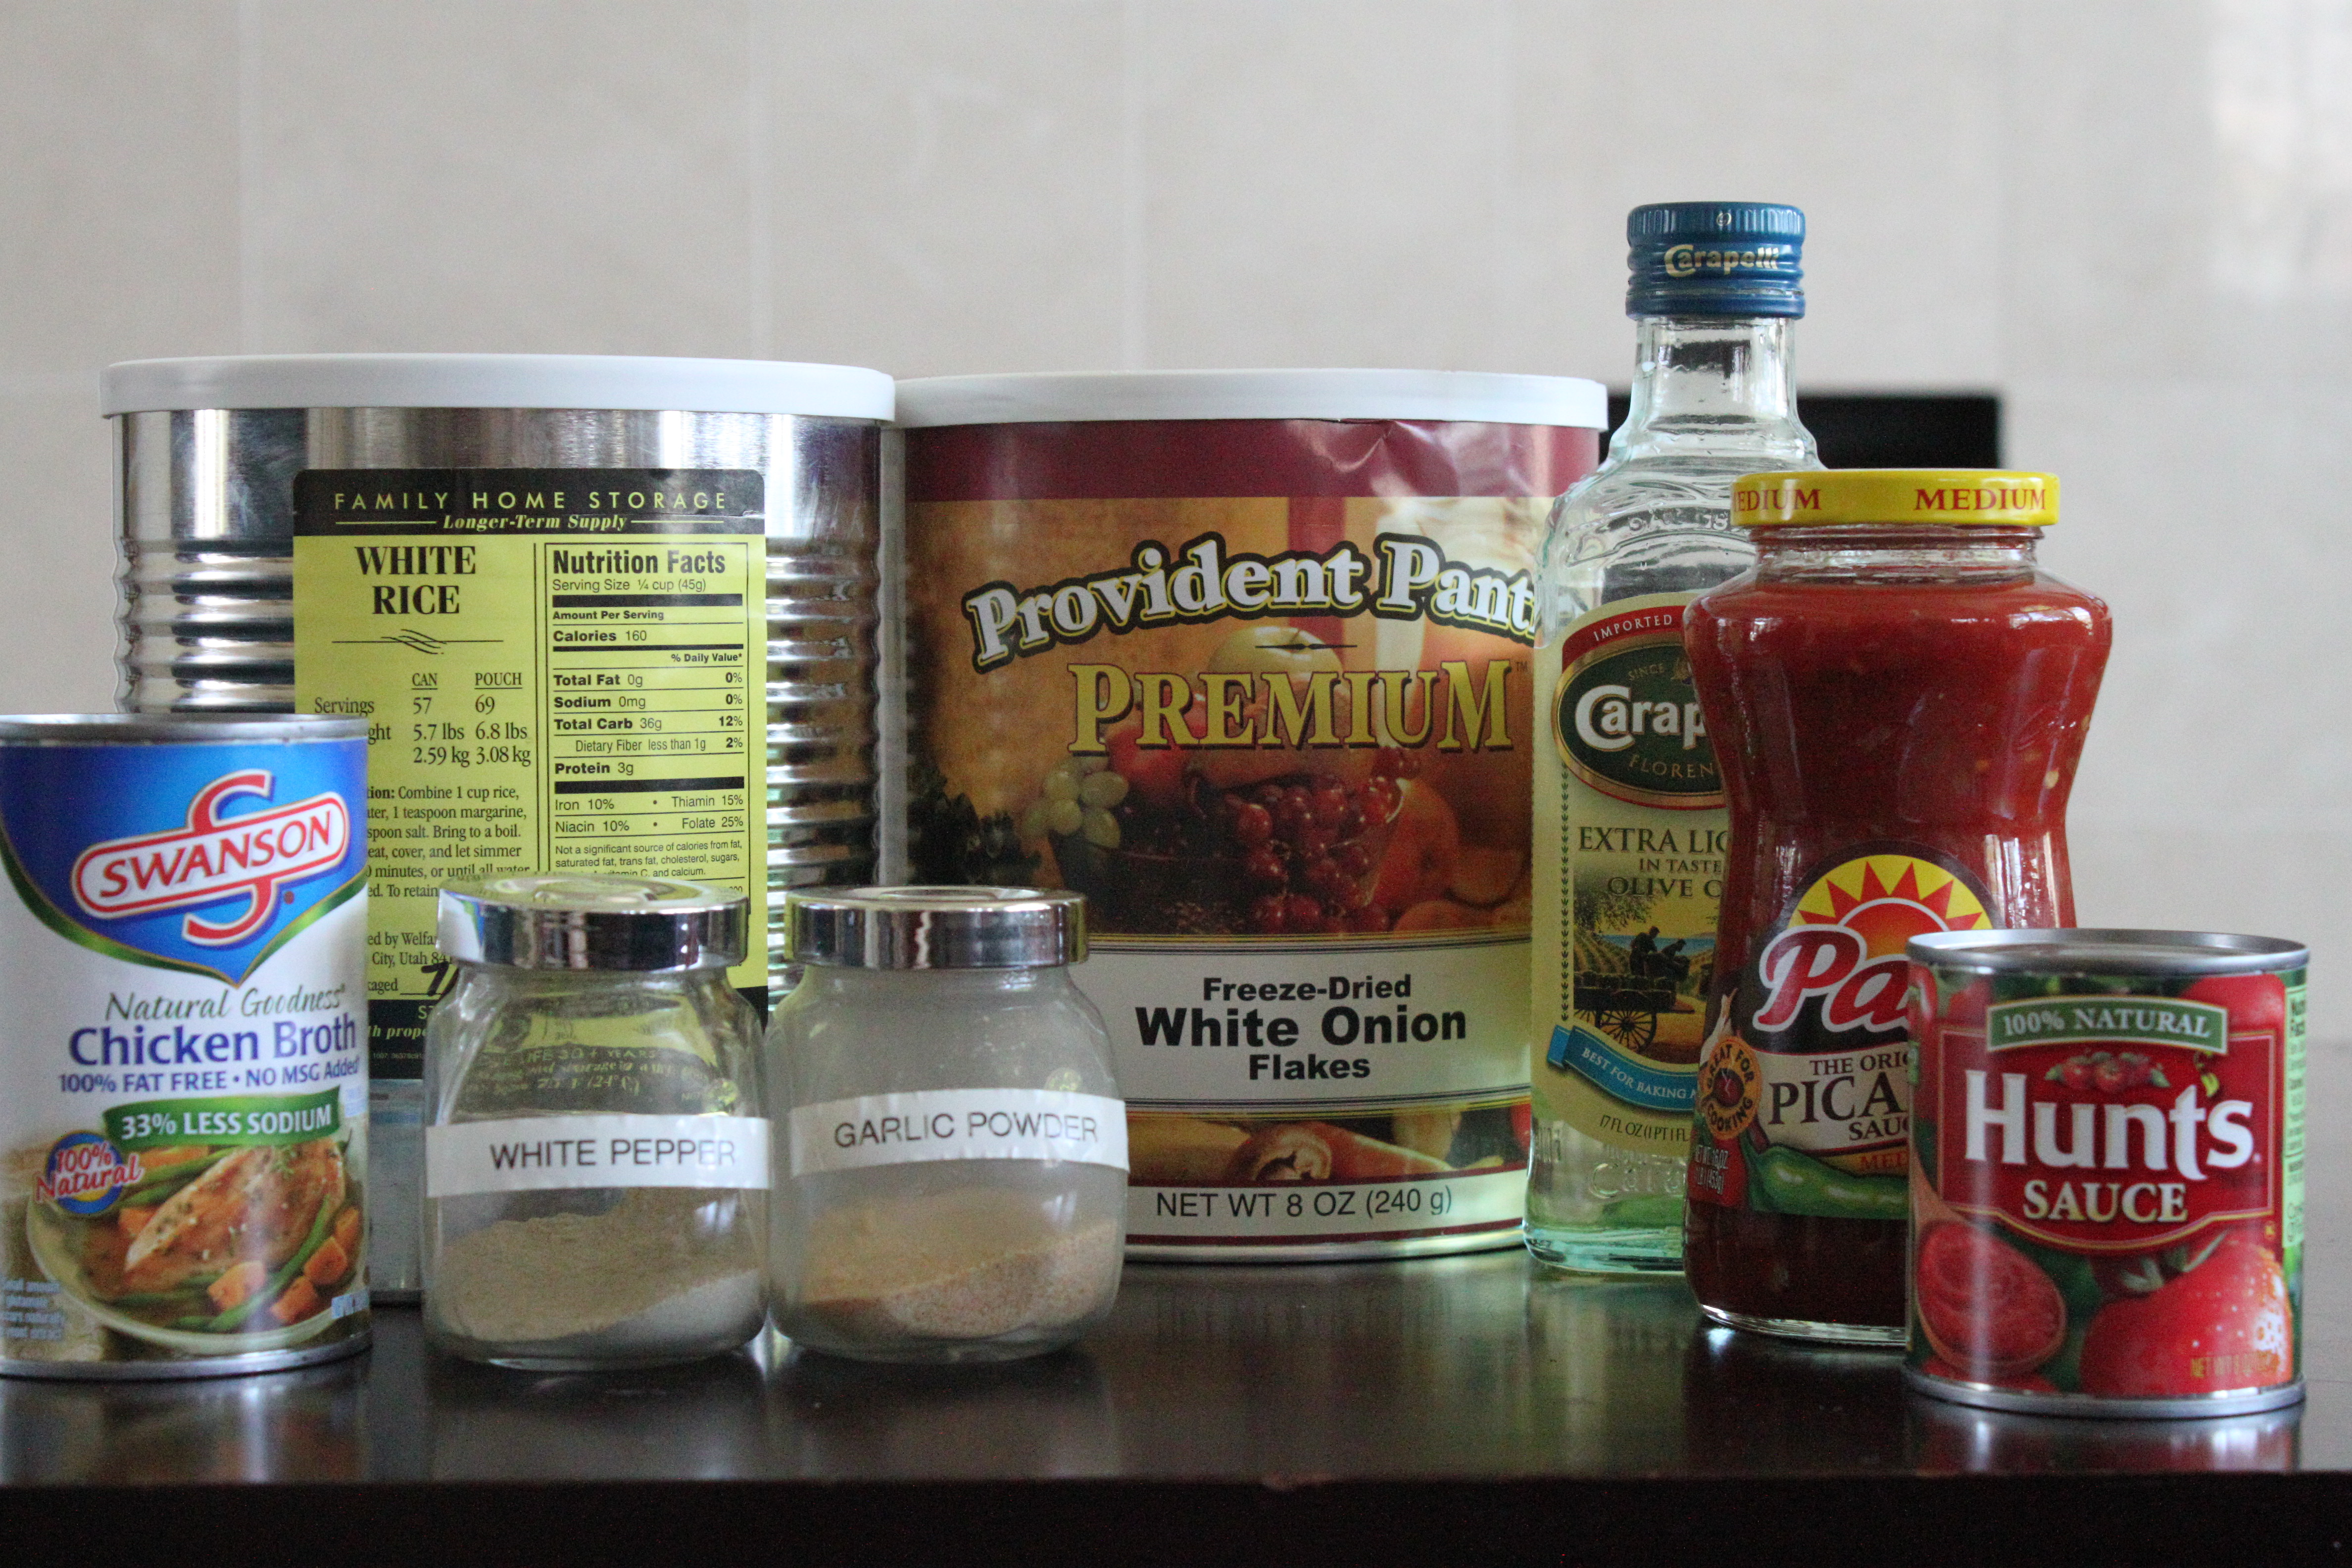
1 medium onion (or 1/2 cup freeze dried onion flakes, re-hydrated)
1 tsp. garlic (or 1/2 tsp. garlic powder)
2 TBS olive oil
2 cups rice
1 tsp. salt
1/4 – 1/2 tsp. white pepper (recipe calls for 1/2 tsp. but my family prefers 1/4)
1 (14.5 oz) can chicken broth
1 (8 oz.) can tomato sauce
1/2 cup salsa, any kind

Instructions:
Heat the oil in a sauce pan over medium low heat. Add the onion and garlic. Cook for 2 minutes.

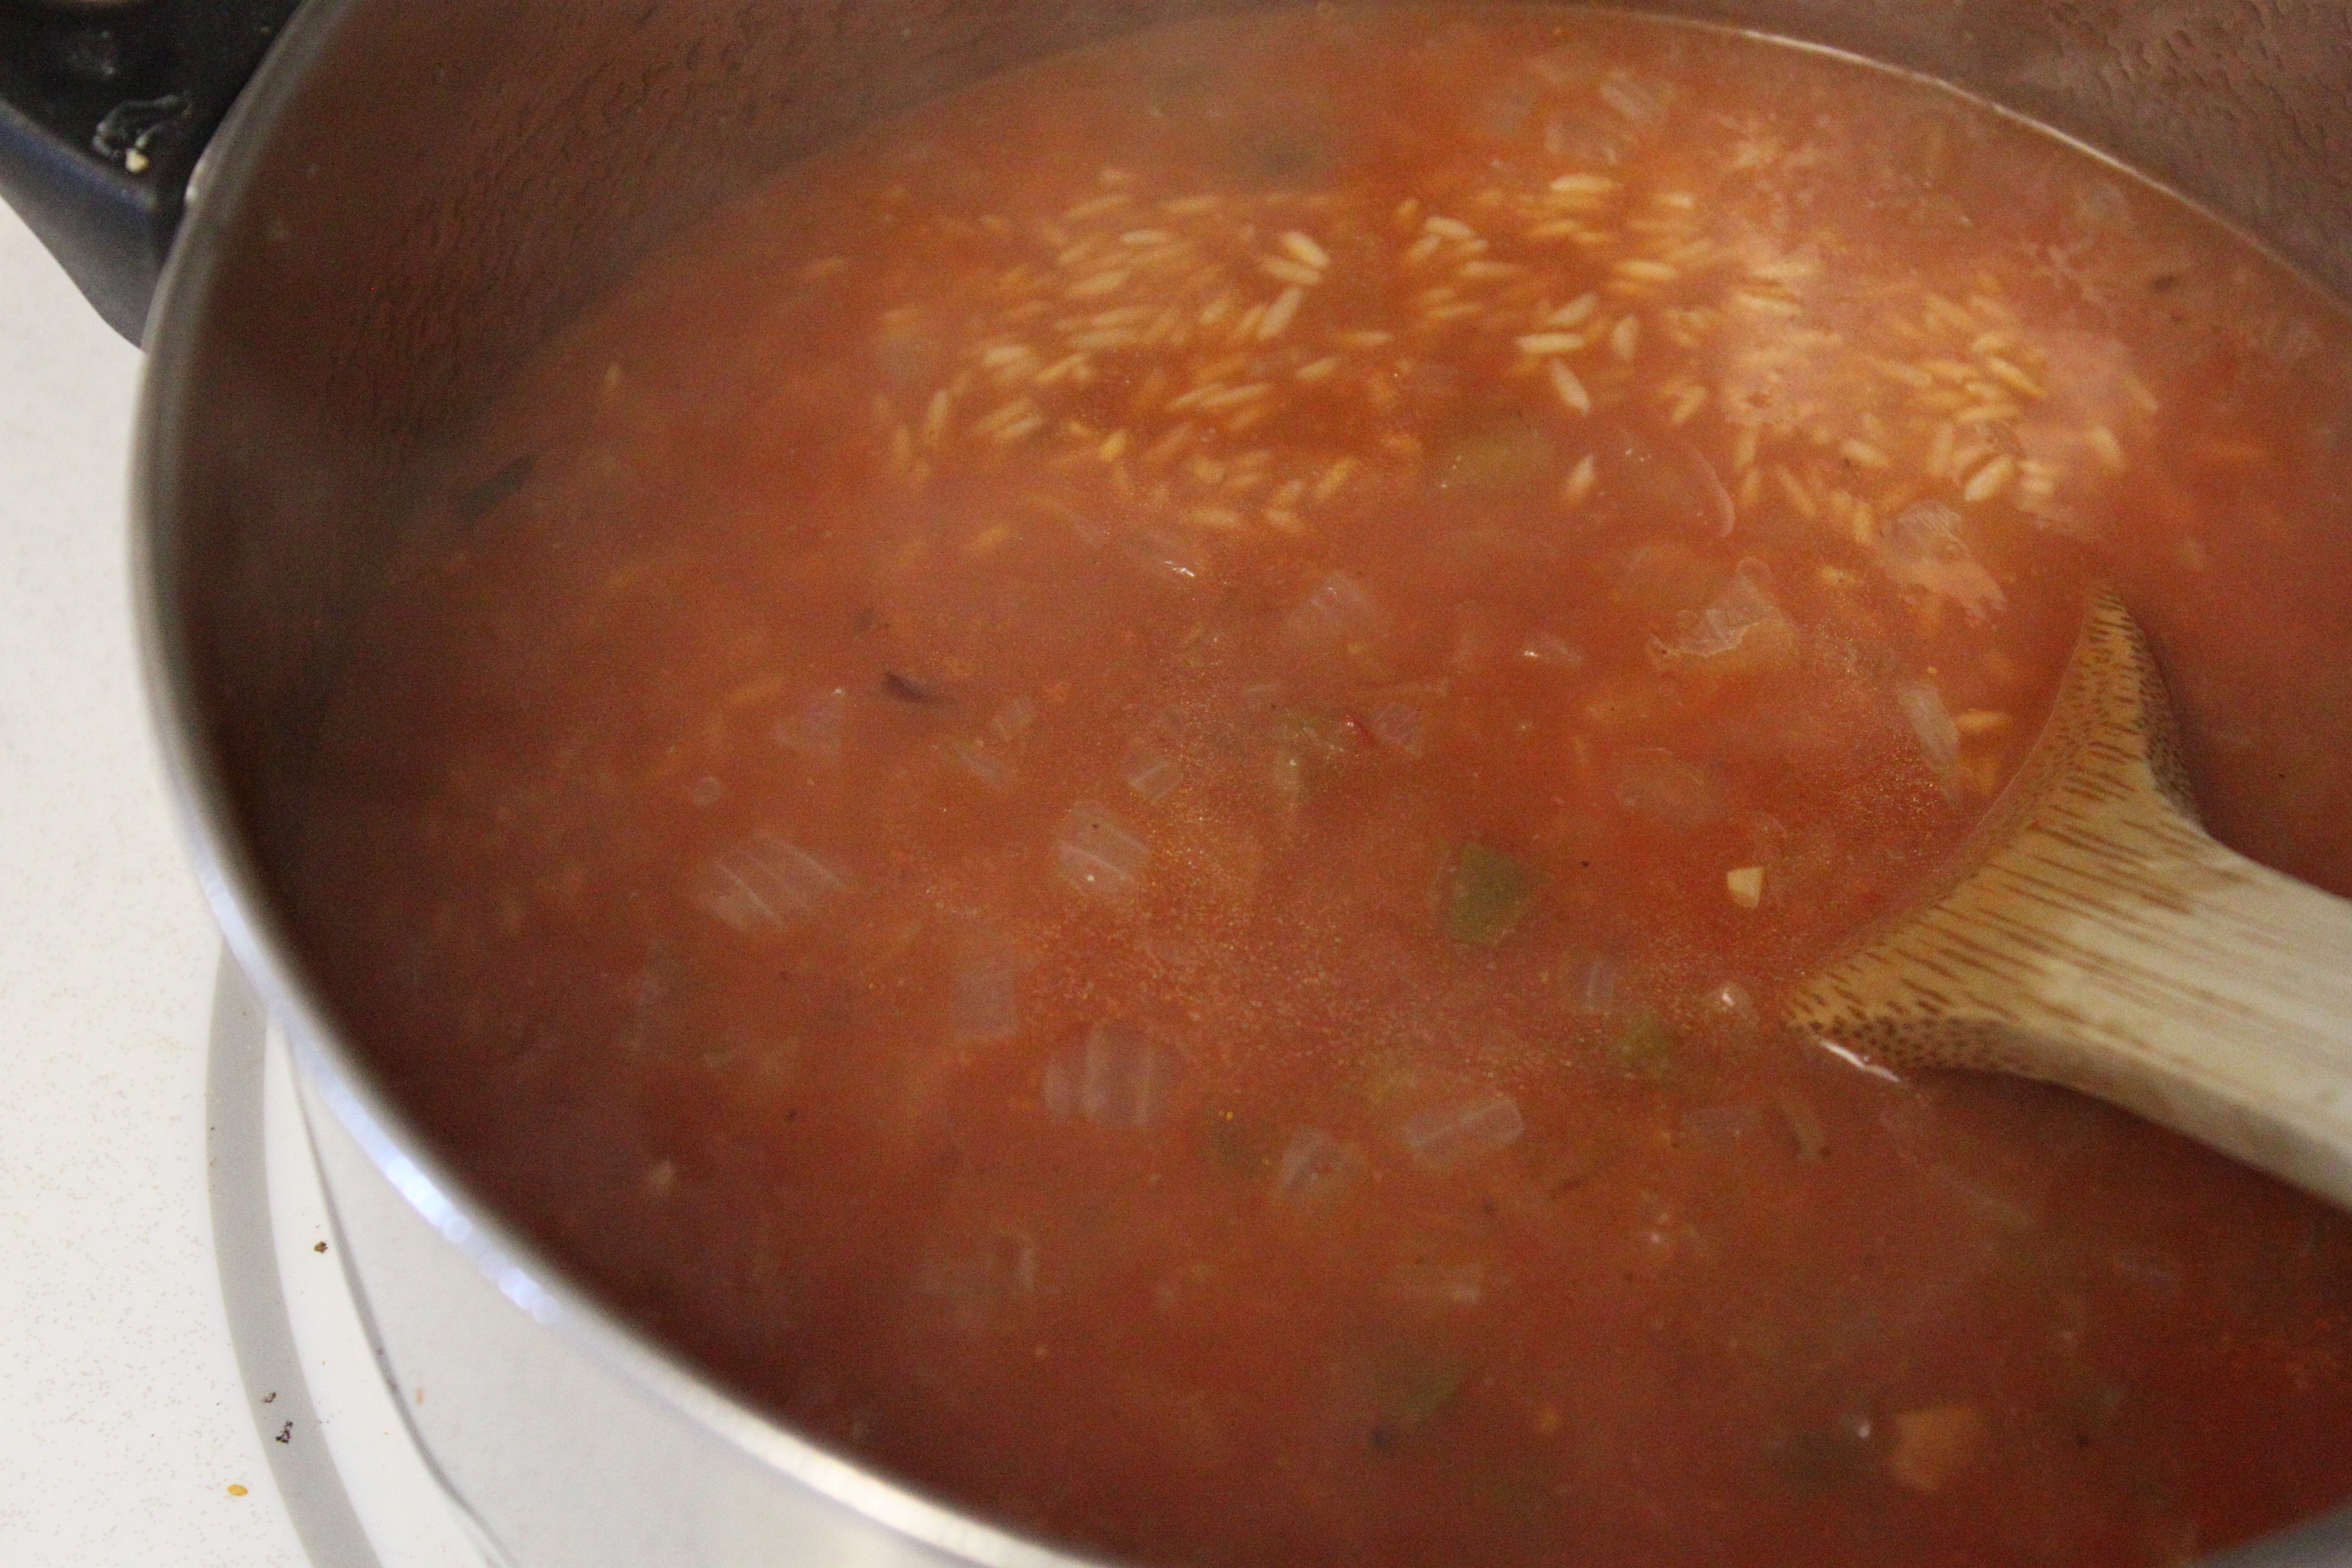
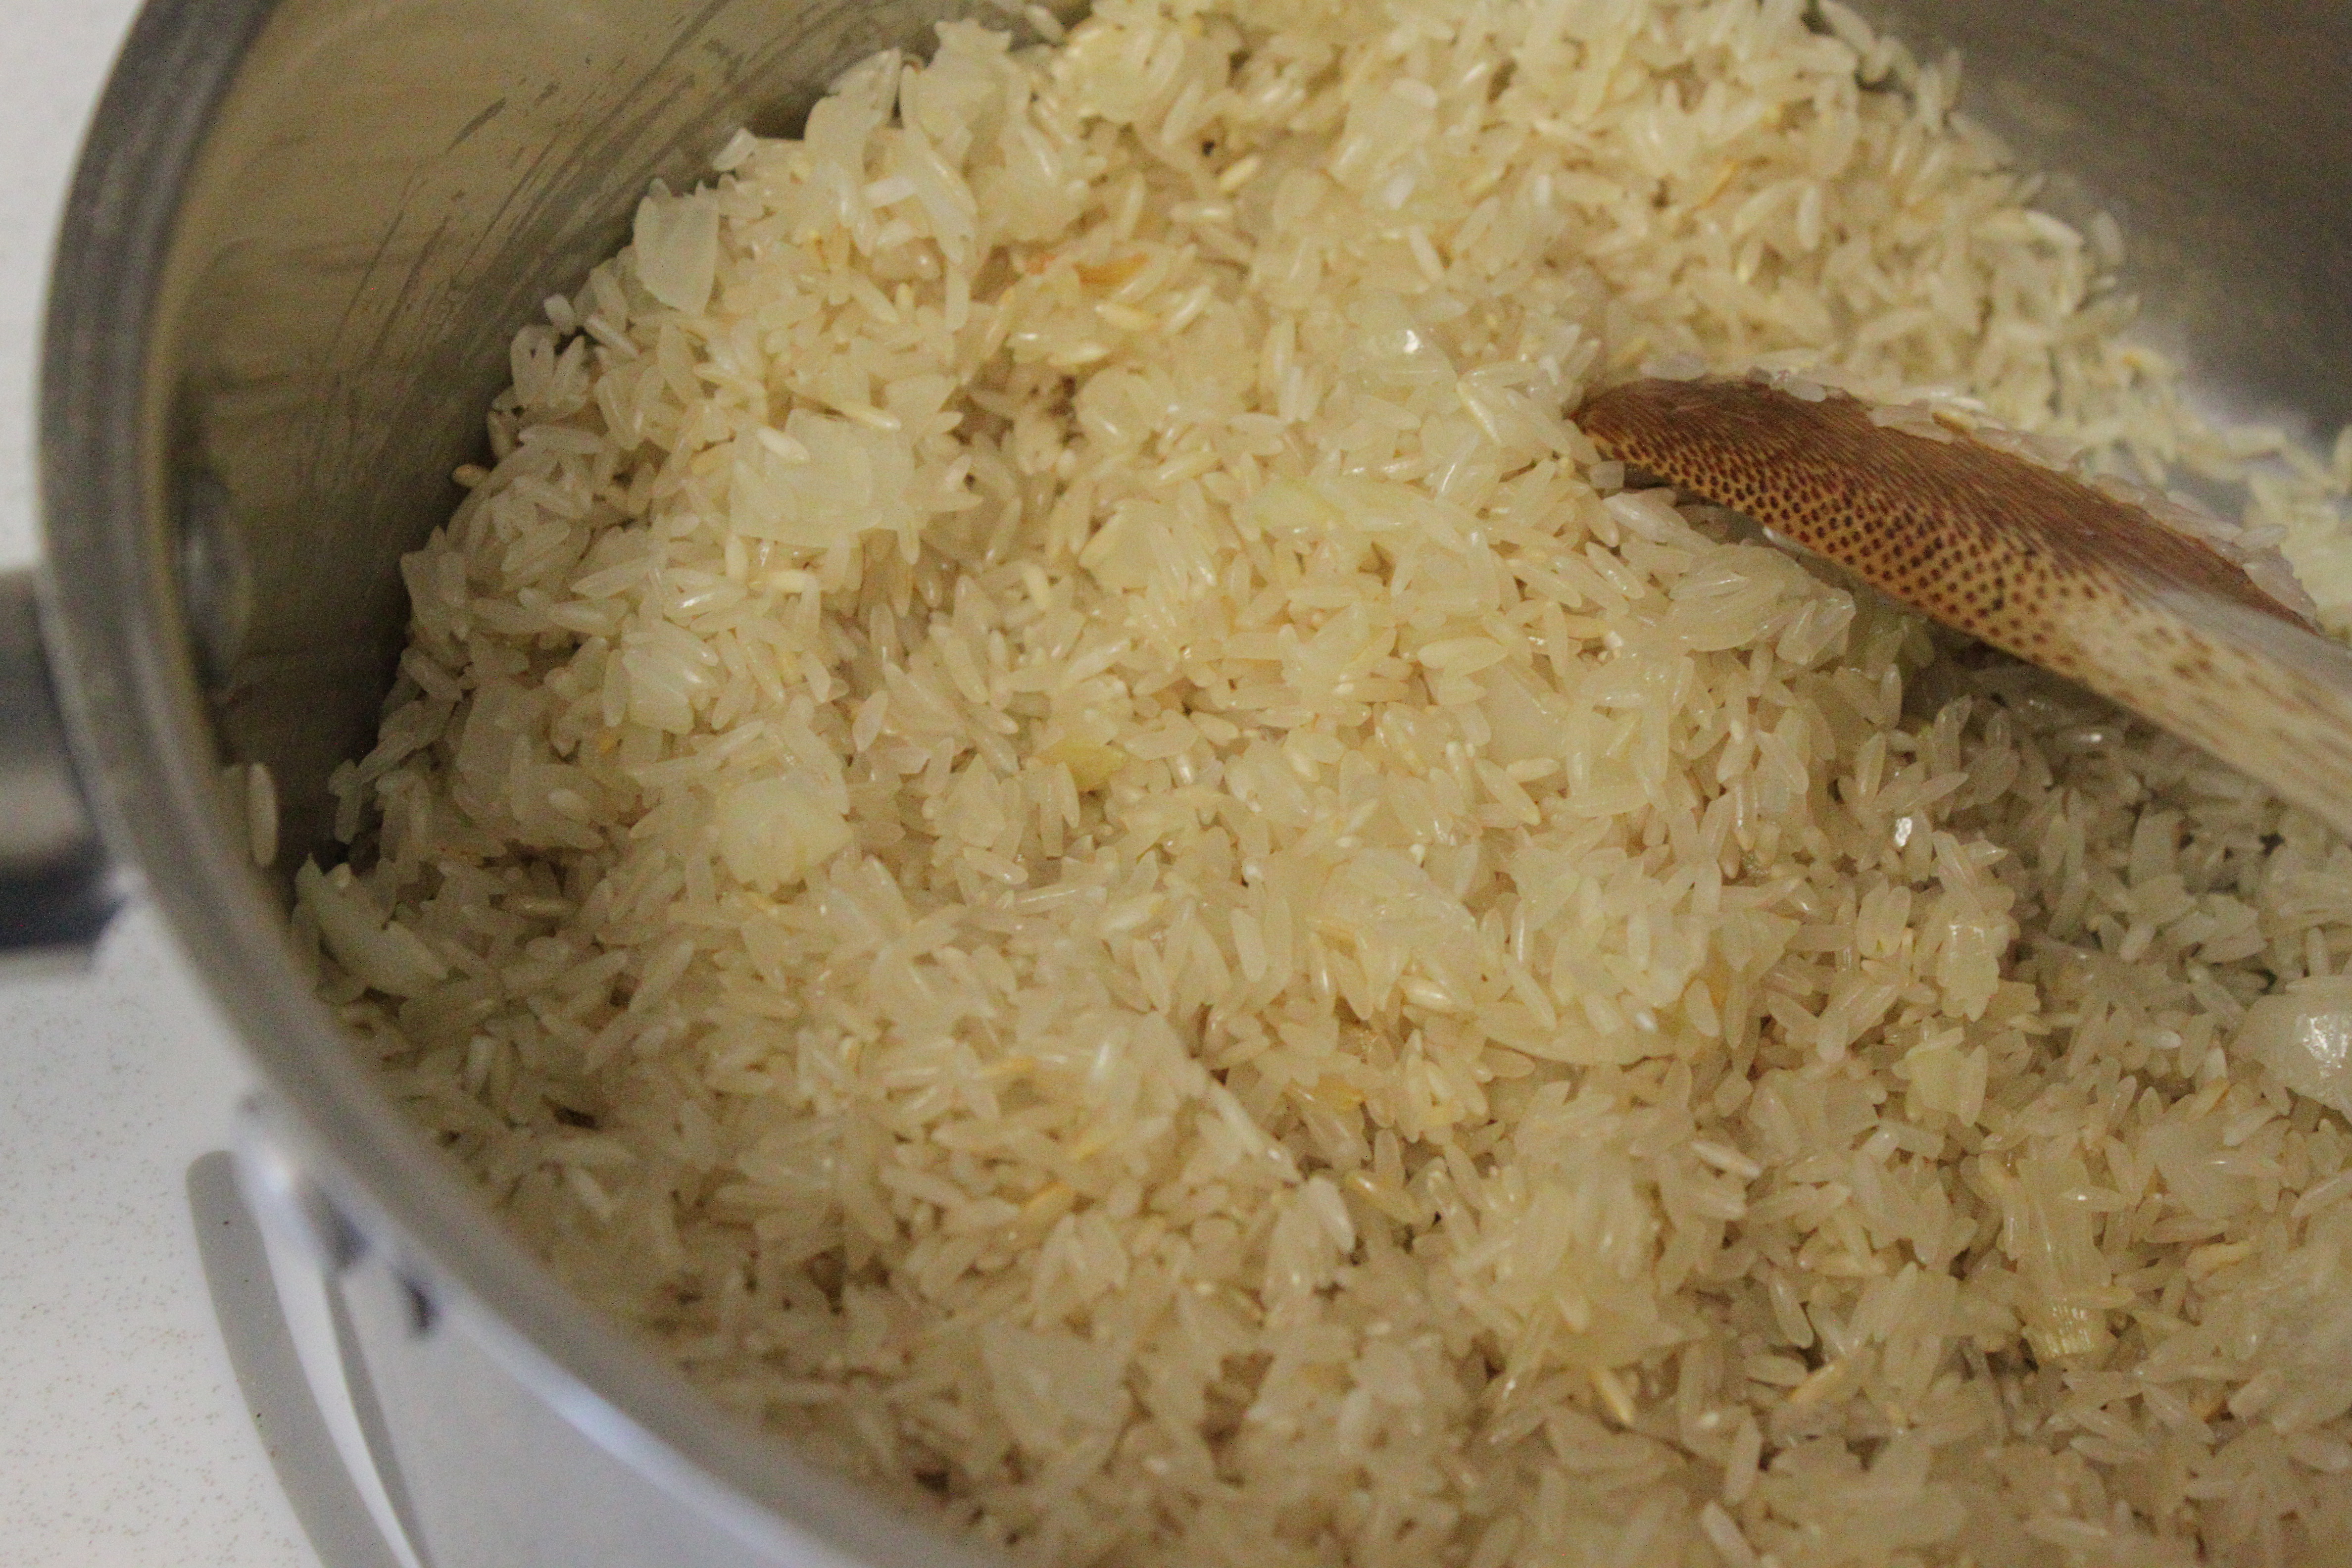
Add the raw rice, salt and pepper. Cook, stirring occasionally until rice turns a golden color, about 5 minutes. Add to the rice the can of chicken broth, tomato sauce and salsa and stir together. Bring to a boil with the lid on (the lid should be hot) and transfer pot to wonder oven. Allow to cook in wonder oven for at least 45 minutes. Fluff with a spoon and serve.  Serves 8

****


~~~~~~~~~~~~~~~~~~~~~~~~~~~~~~~~~~~~~~~


Tomatillo Pilaf
This is a nice alternative to traditional spanish rice.
Ingredients:
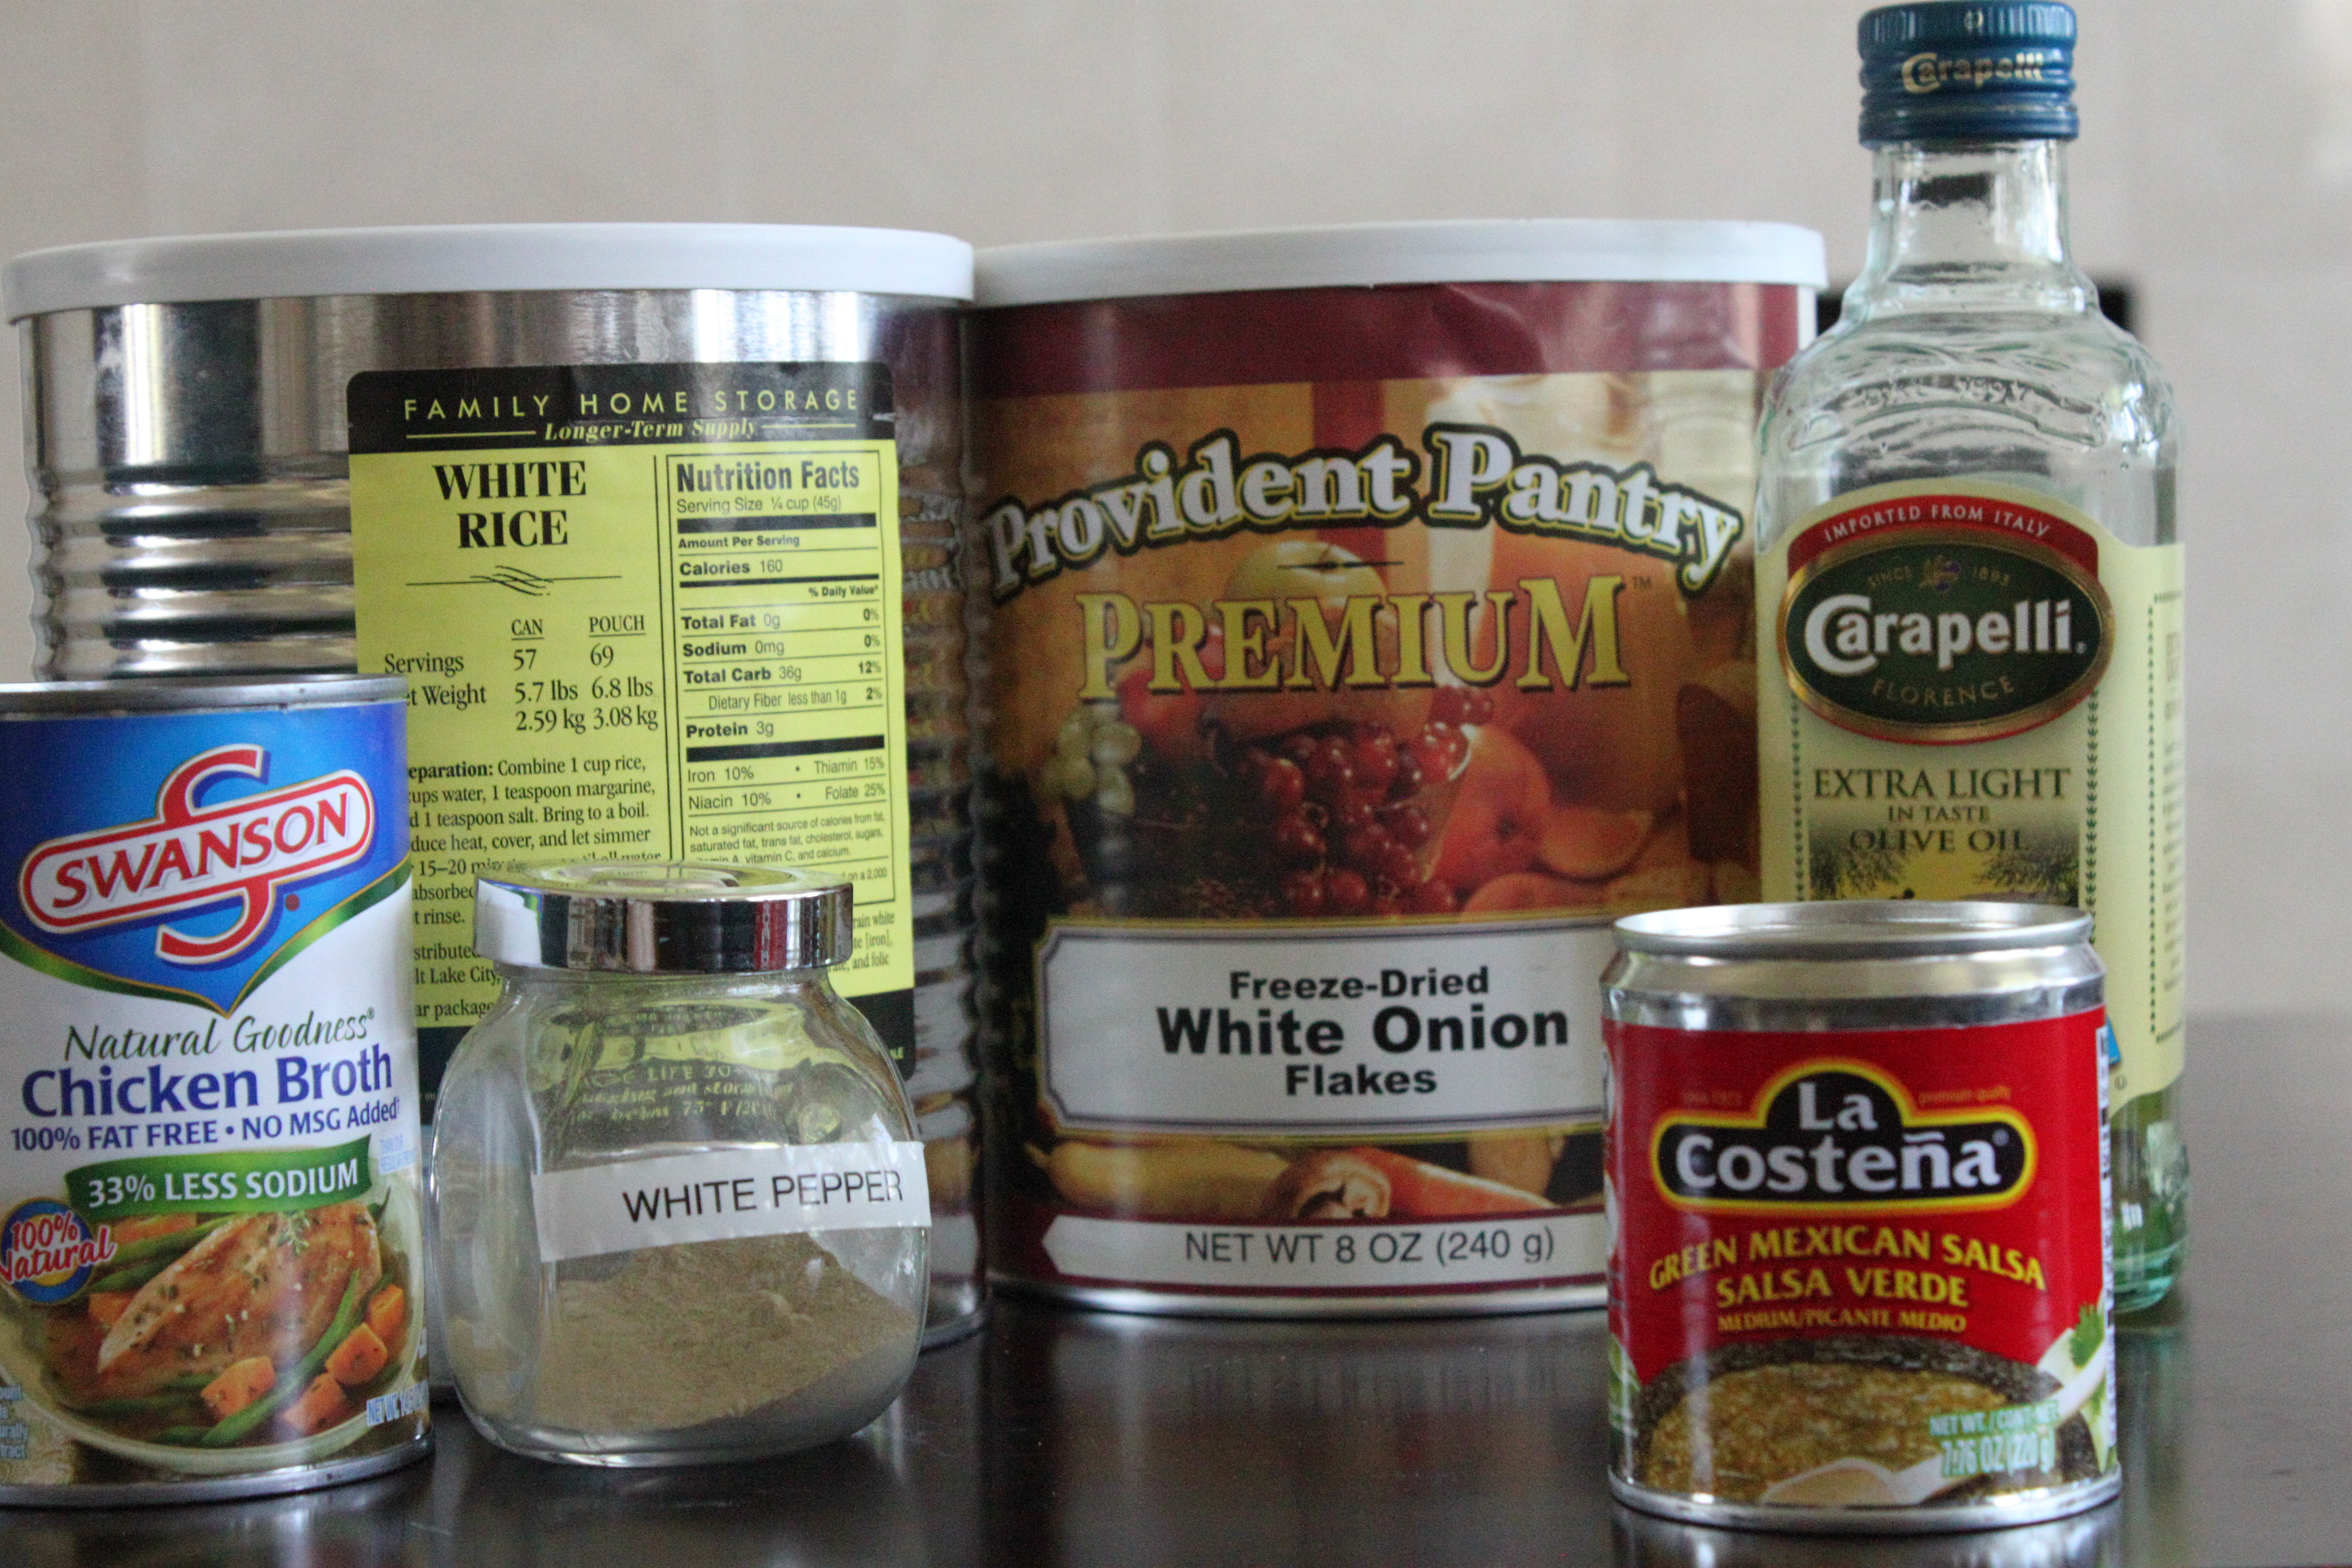
1 medium onion (or 1/2 cup freeze dried onion flakes, rehydrated)
1 tsp. garlic (or 1/2 tsp. garlic powder)
2 TBS olive oil
2 cups rice
1 tsp. salt
1/4 – 1/2 tsp. white pepper (recipe calls for 1/2 tsp. but my family prefers 1/4)
1 (14.5 oz.) can chicken broth
1/2 cup water
1 (8 oz.) can salsa verde
1/8 cup lime juice

Instructions:
Heat the oil in a sauce pan over medium low heat. Add the onion and garlic. Cook for 2 minutes.

Add the raw rice, salt and pepper. Cook, stirring occasionally until rice turns a golden color, about 5 minutes. Add to the rice the can of chicken broth, 1/2 cup water, can of salsa verde and lime juice and stir together. Bring to a boil with the lid on (the lid should be hot) and transfer pot to wonder oven. Allow to cook in wonder oven for atleast 45 minutes. Fluff with a spoon and serve.  Serves 8

*****


Serve either rice dish (or both, freezing the leftovers) with your favorite Mexican entree. Tonight we paired it with red enchiladas. Yum!


~~~~~~~~~~~~~~~~~~~~~~~~~~~~~~~~

Notes:
When cooking rice in a wonder oven you’ll want to decrease the water just a little since the water doesn’t evaporate away. To 2 cups white rice you should add 3 1/2 cups liquid, in cooking 2 cups of brown rice add 4 cups liquid.