
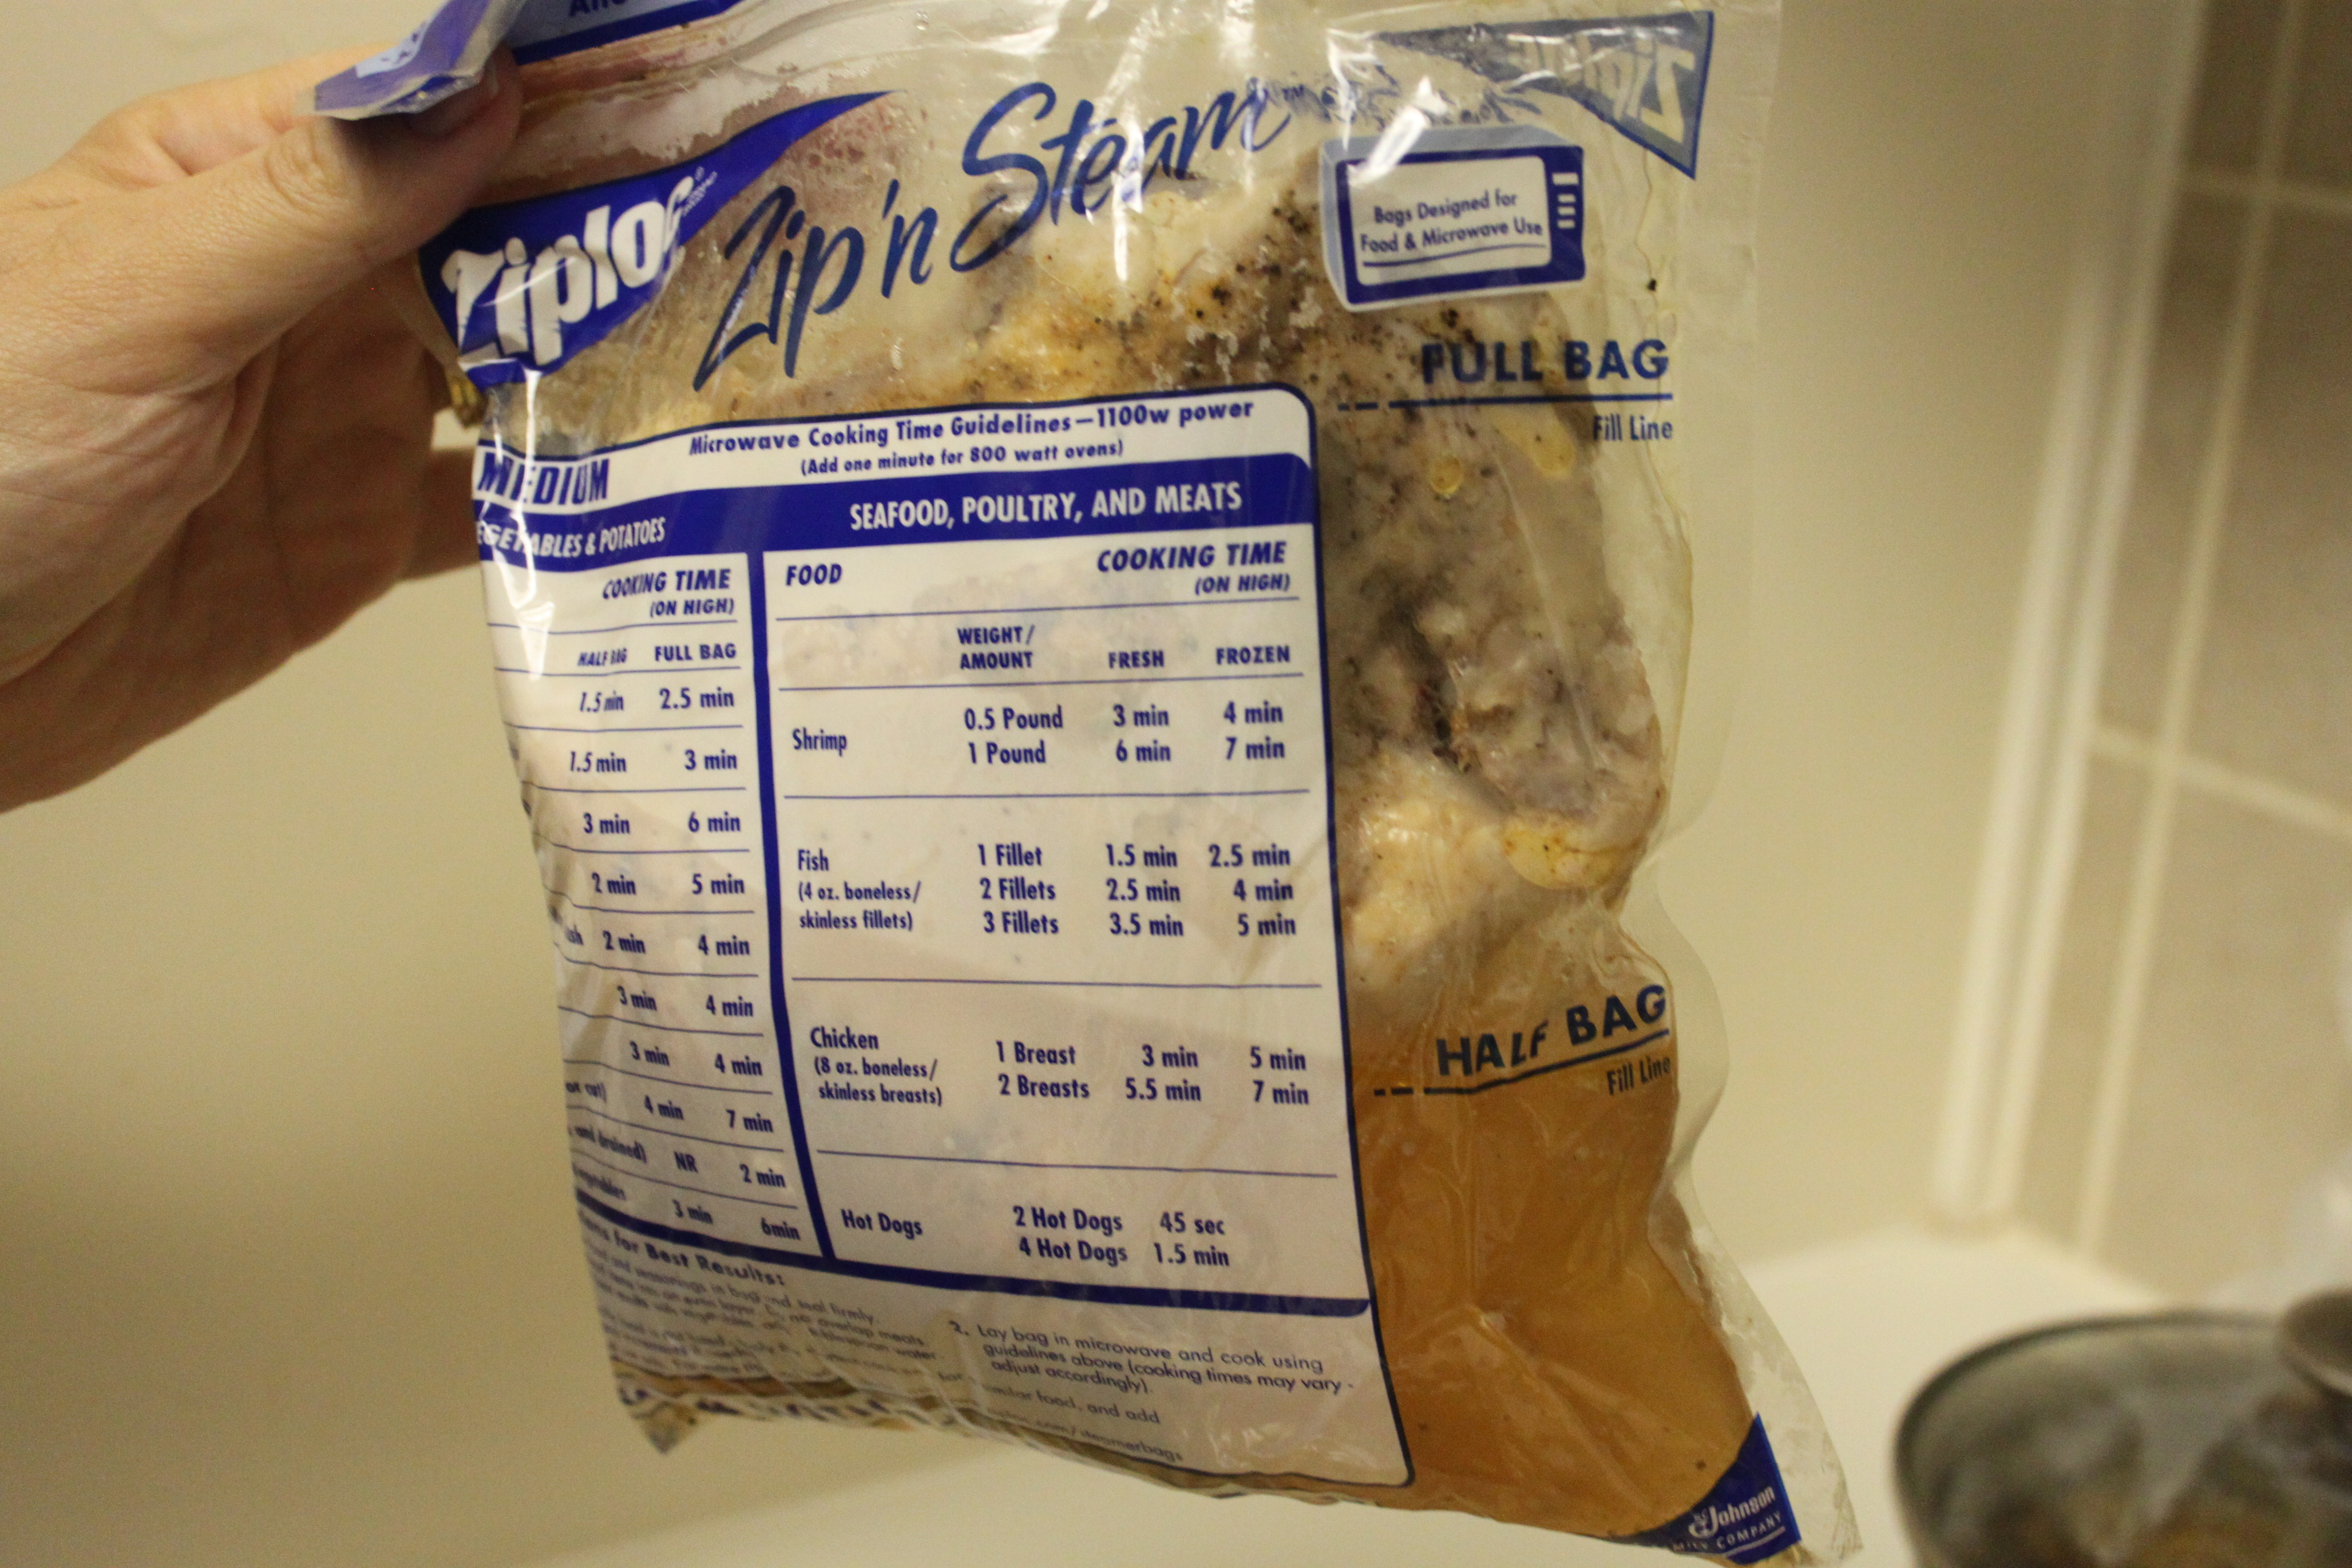
Either a Ziploc steamer bag –or– a breakfast cereal bag.
Instructions:
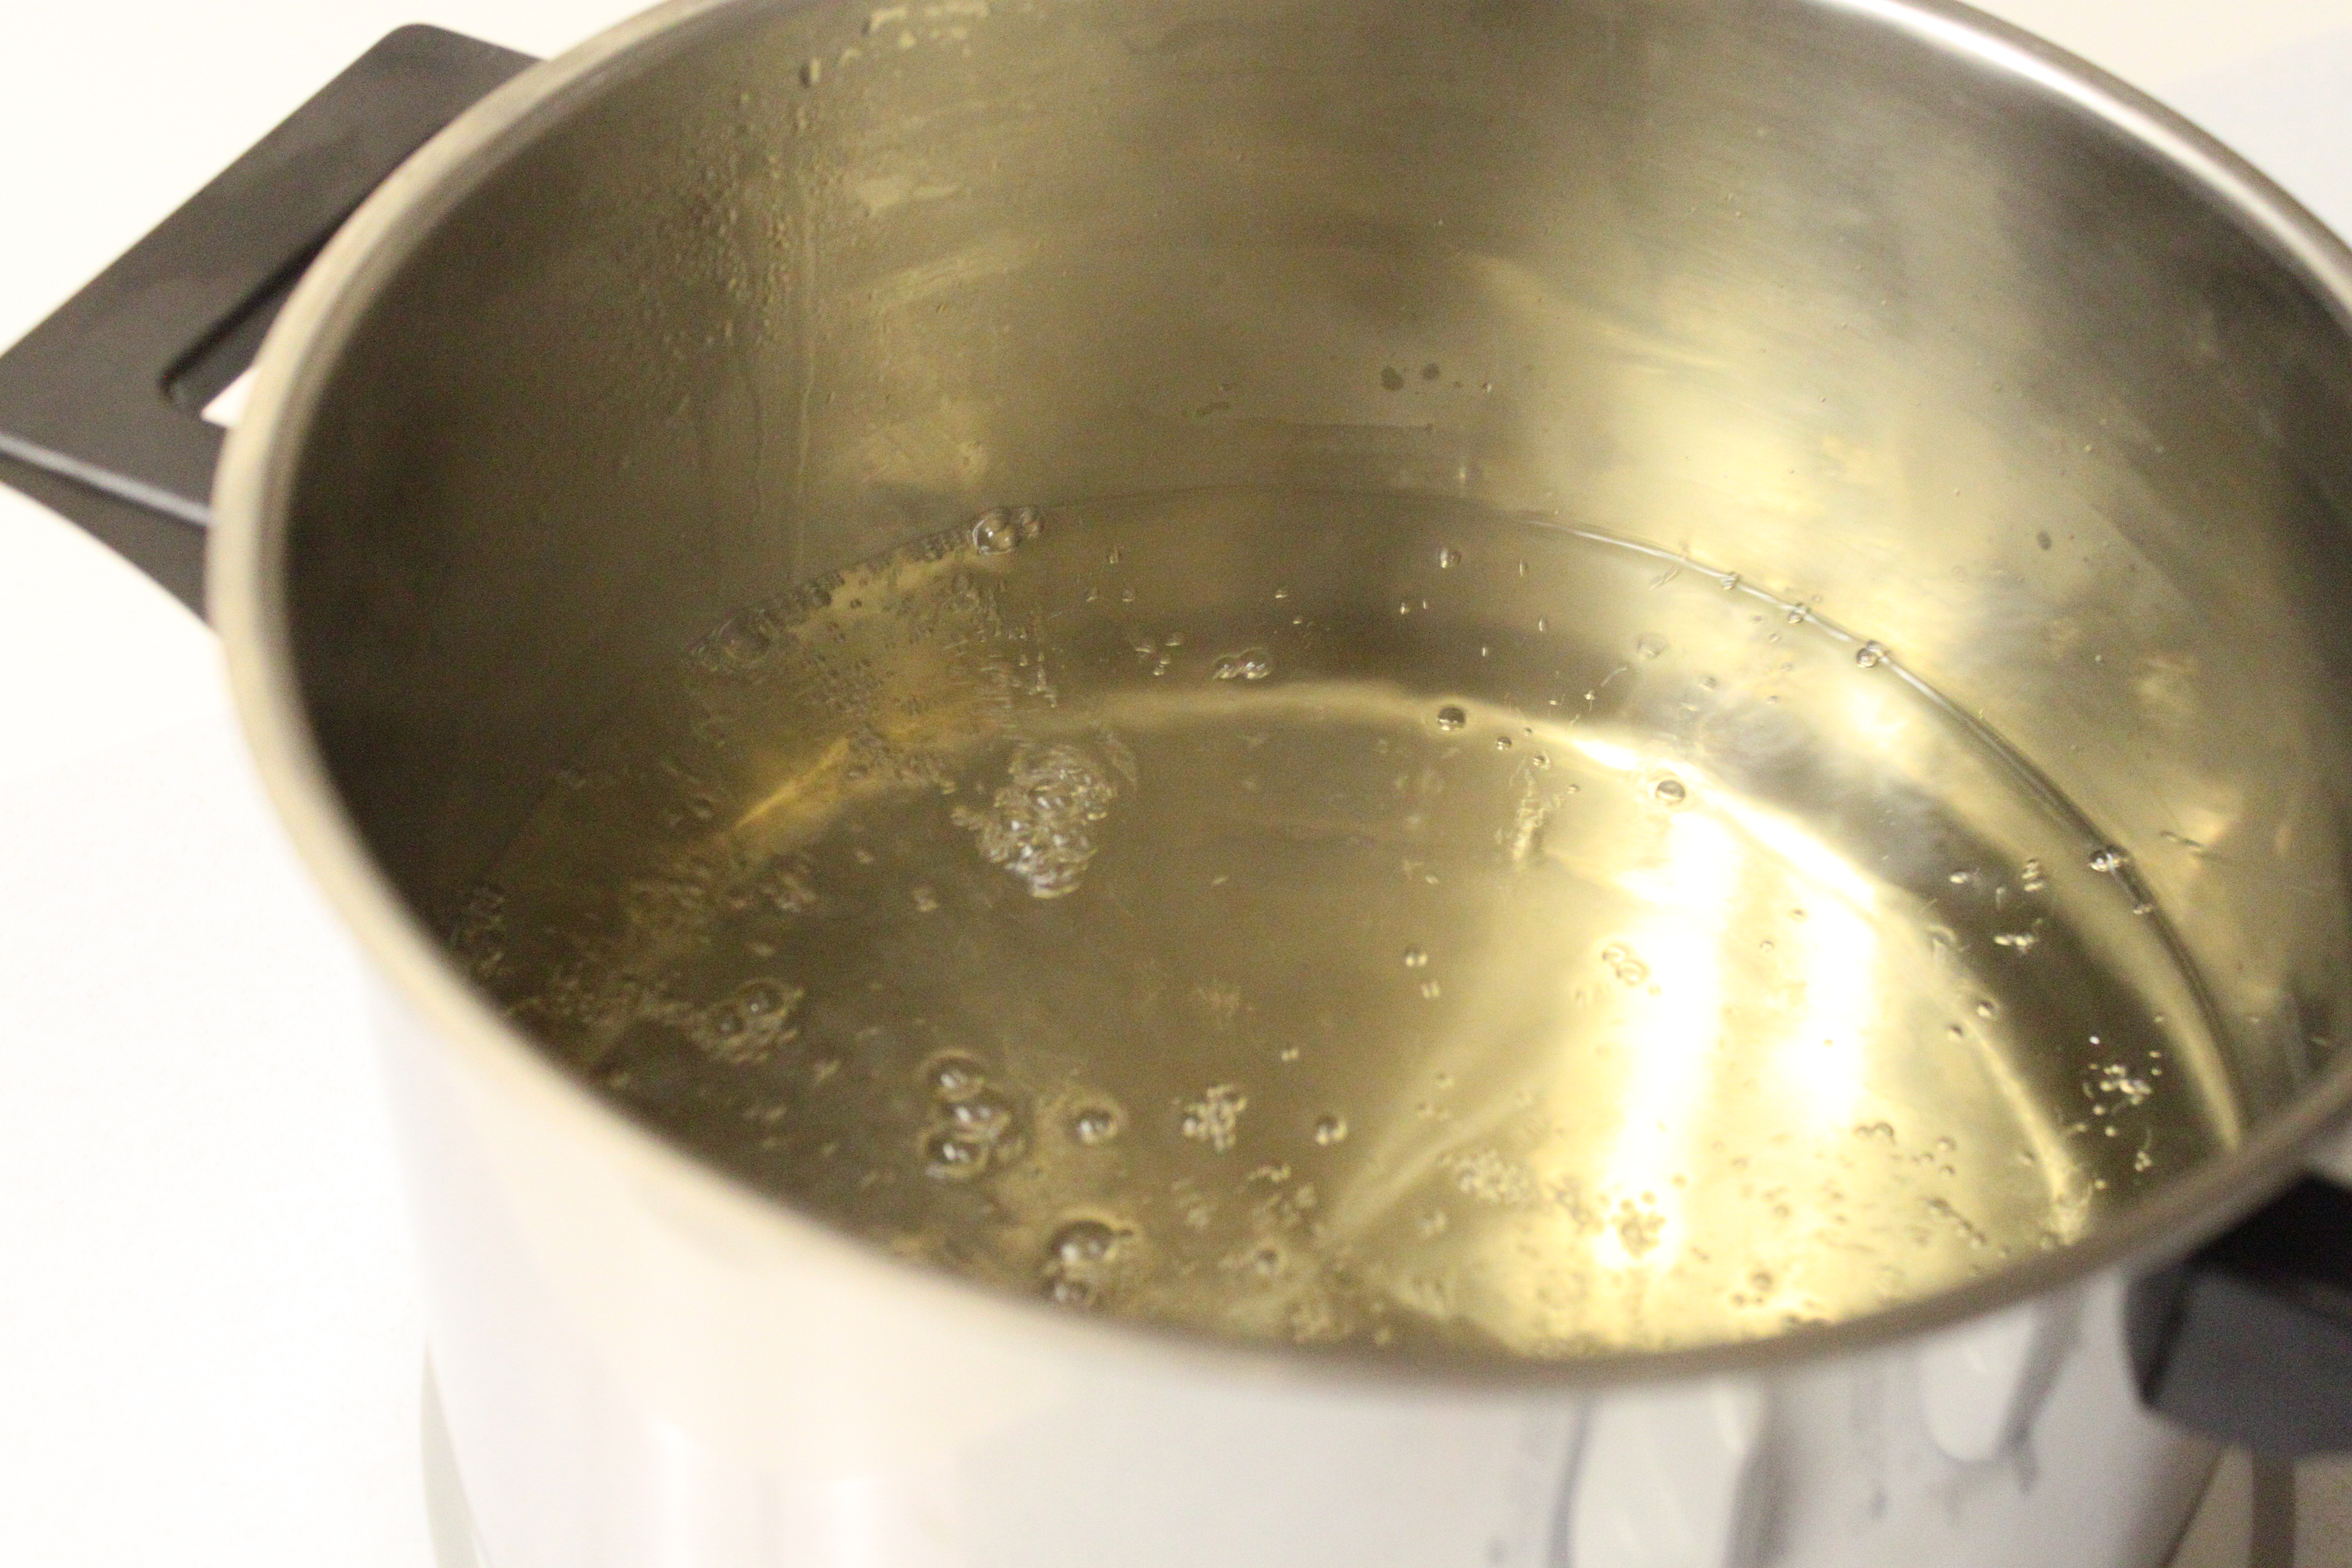
Start a pot of water to boil on the stove with it’s lid on. In a skillet, brown seasoned meat. Transfer browned meat to either a Ziploc steamer bag or a breakfast cereal bag and add to the boiling pot of water. Cover pot with it’s lid. If you are using a breakfast cereal bag, allow some of the bag to hang over the side of the pot and place the lid over top of the bag. Place pot into the Wonder Oven, cover with top pillow and container lid and “cook” a minimum of 30 minutes to 1 hour for small amounts of meat. For larger amounts of meat (a pot roast for example) cook atleast 2 hours.
Cooking Meat Using a Ziploc Steamer Bag

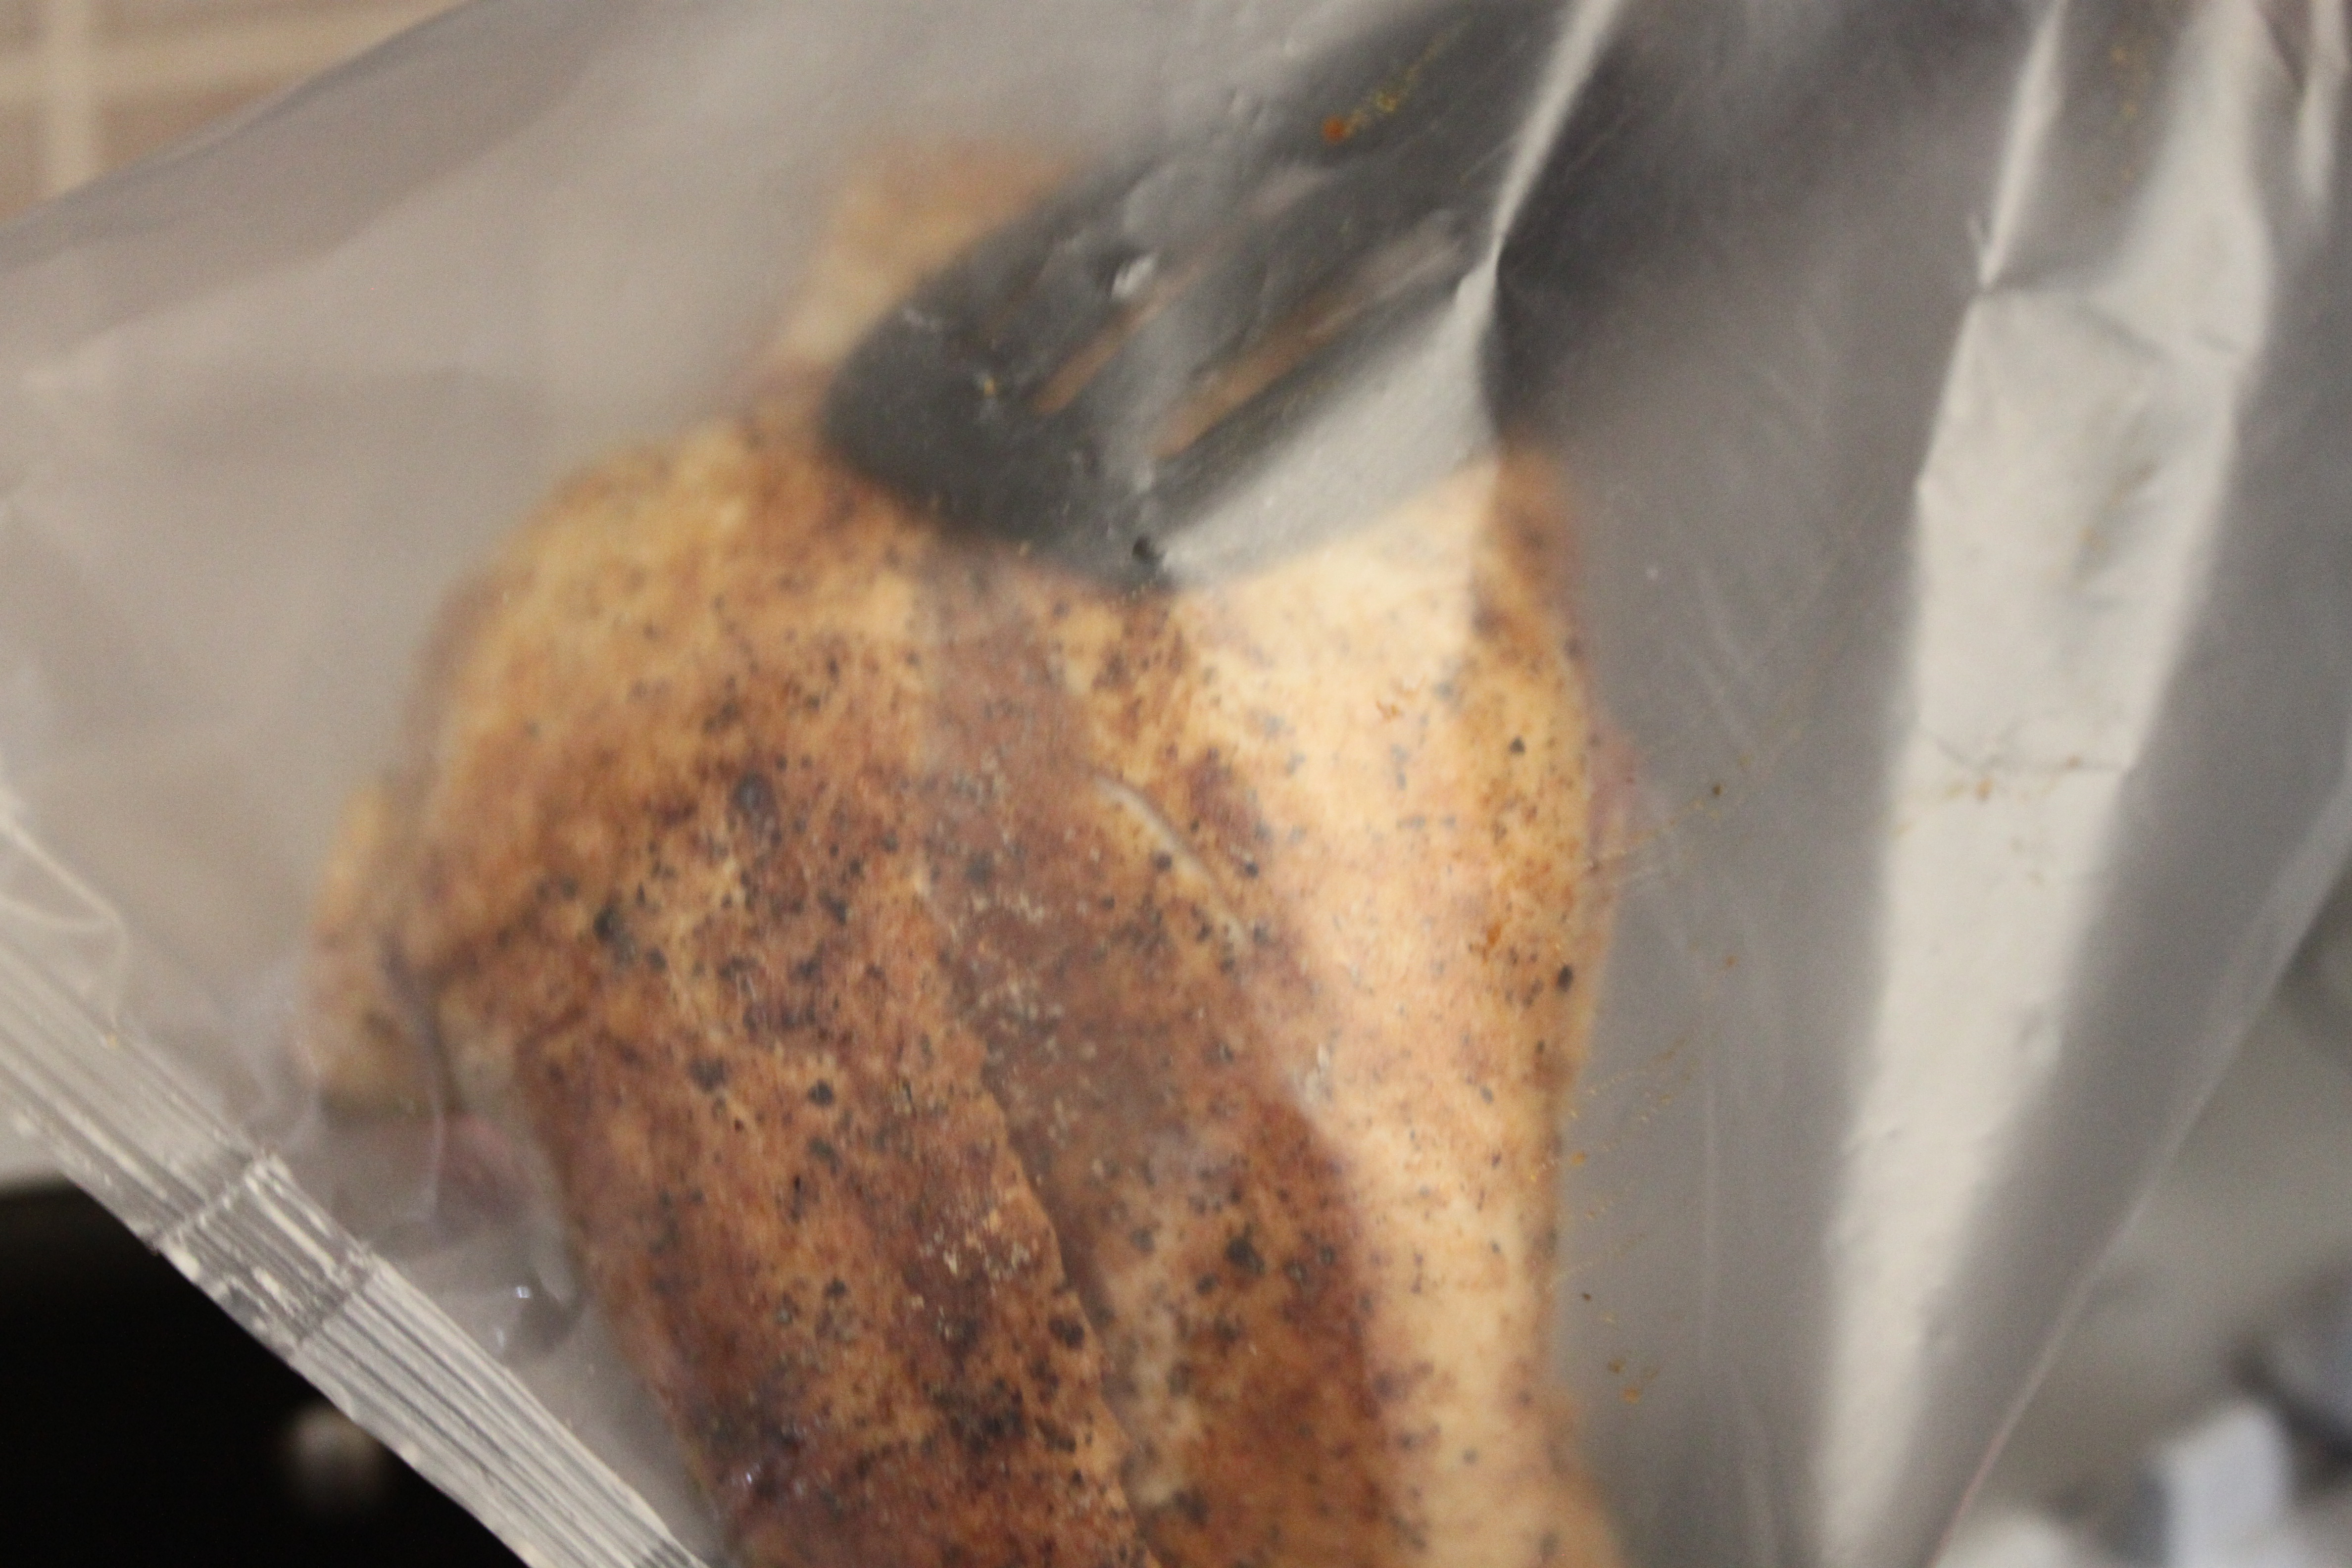
Season and brown the meat.

Transfer meat into Ziploc Steamer Bag

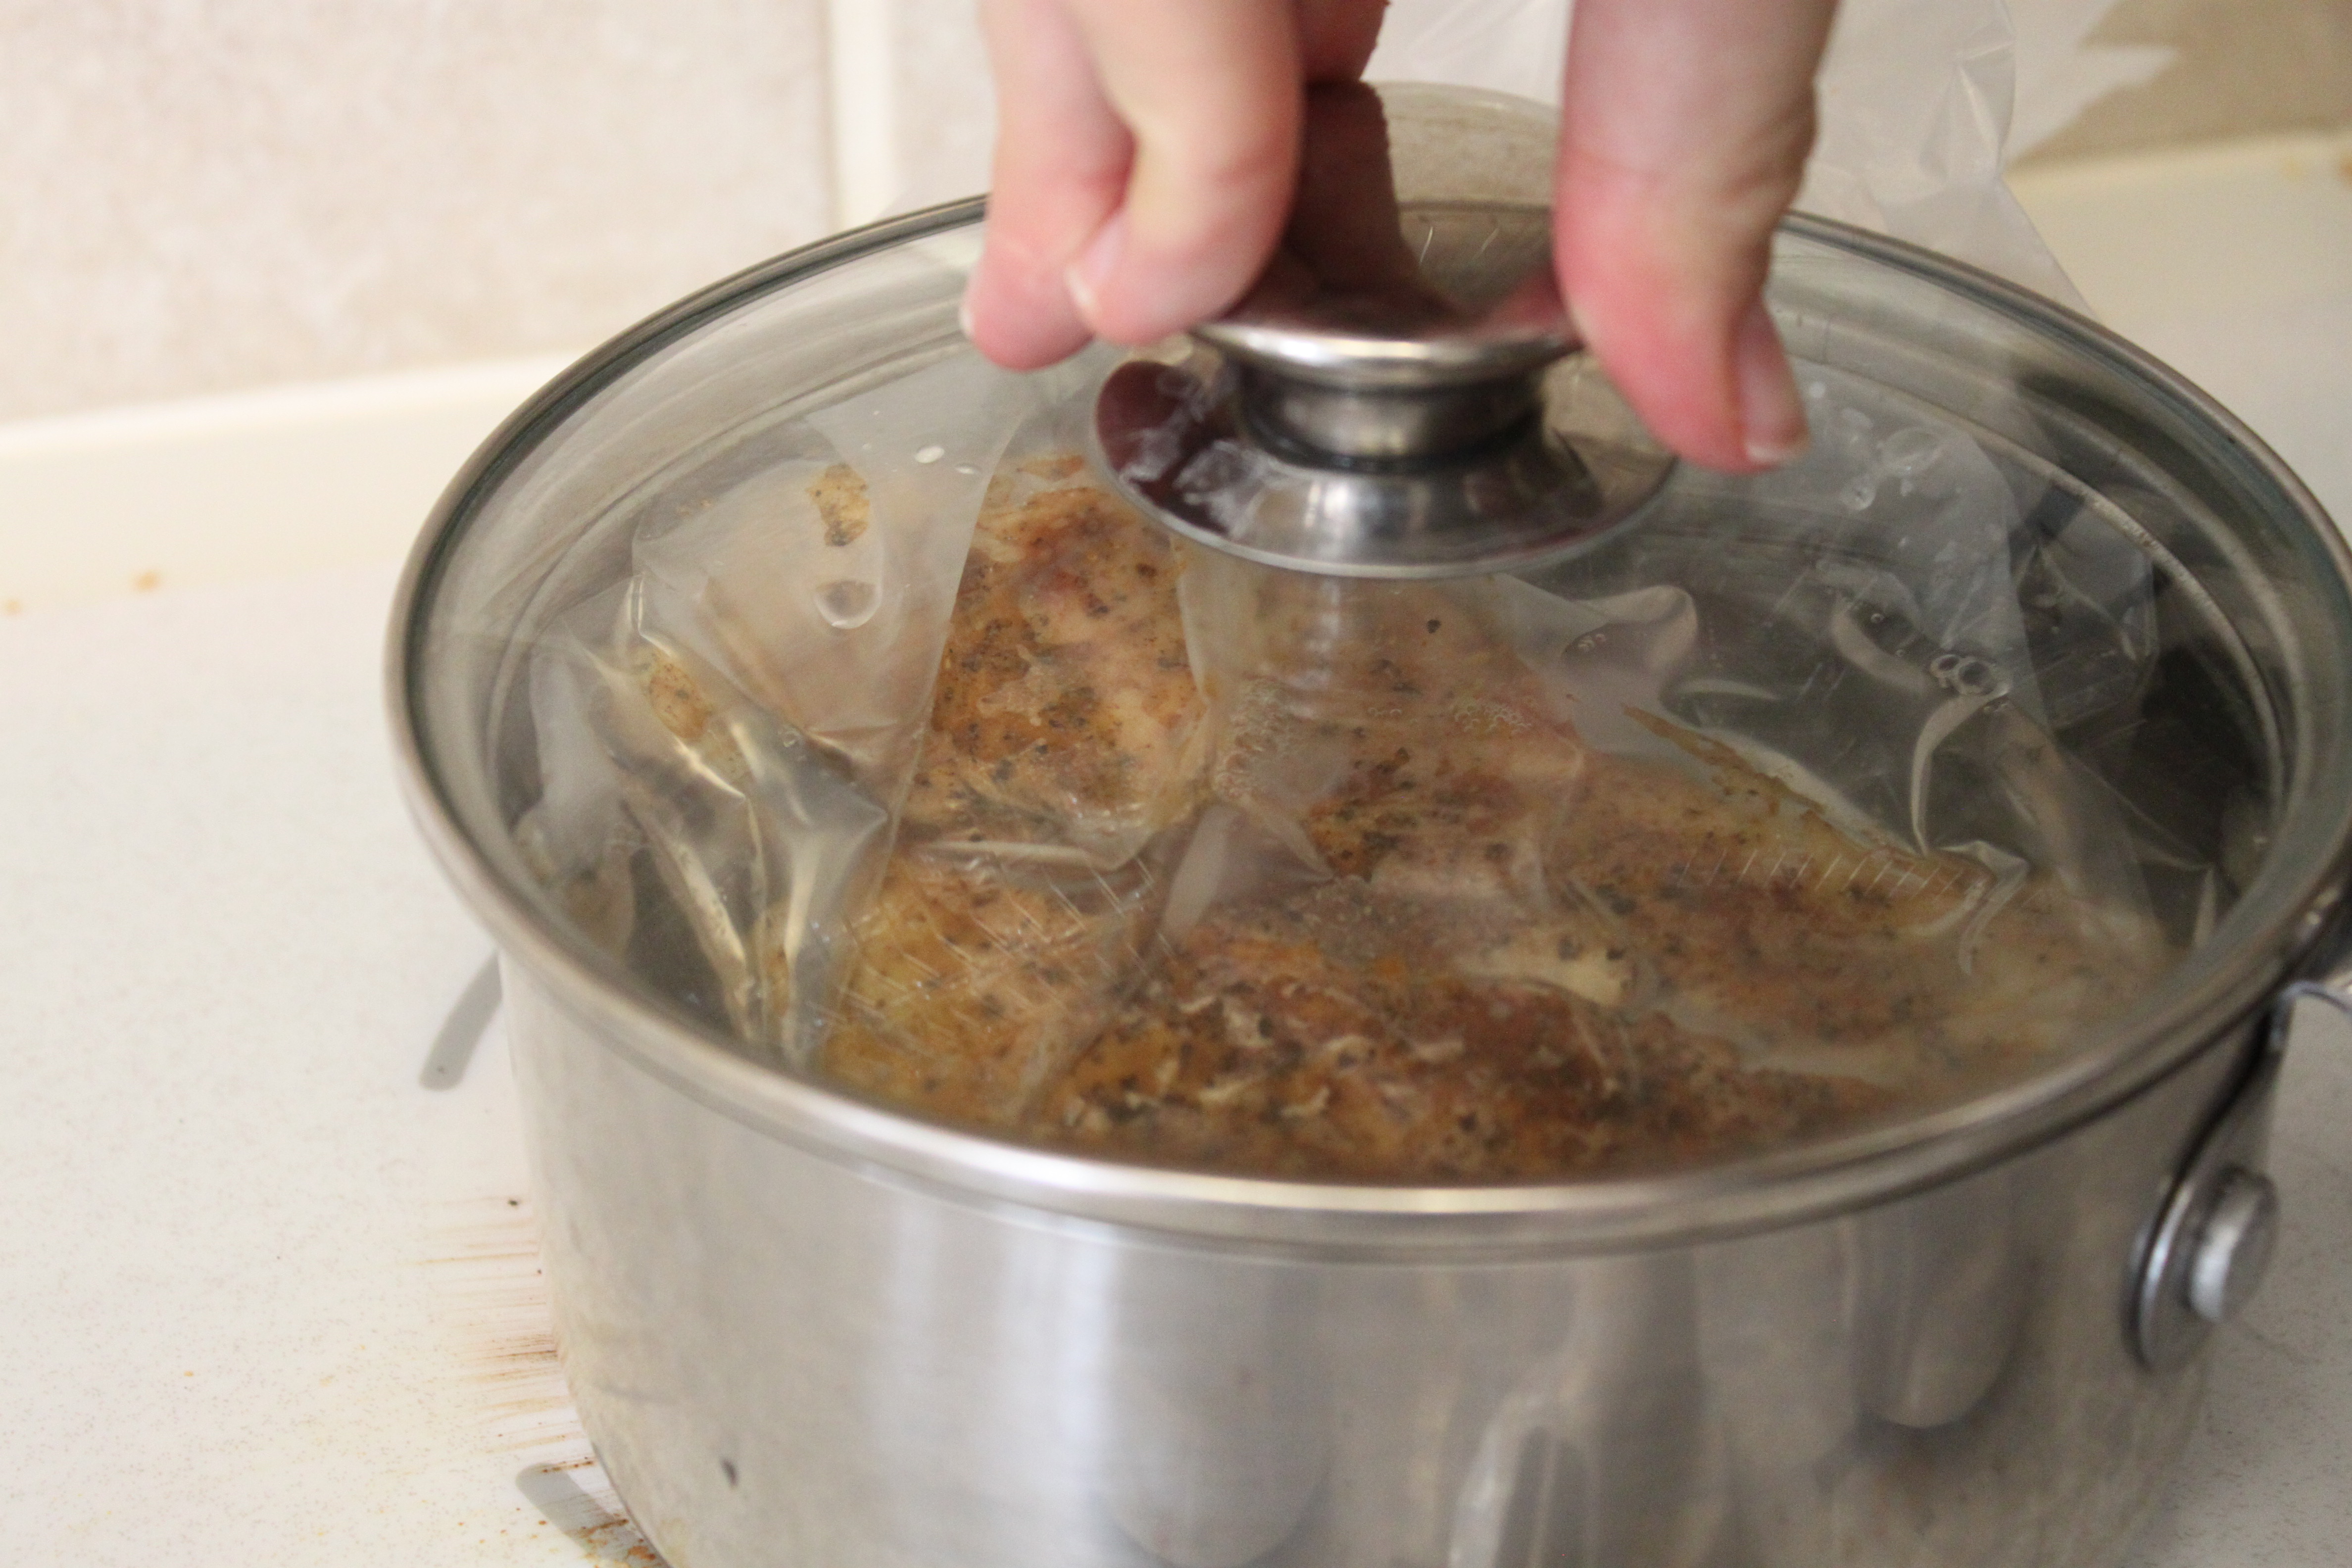
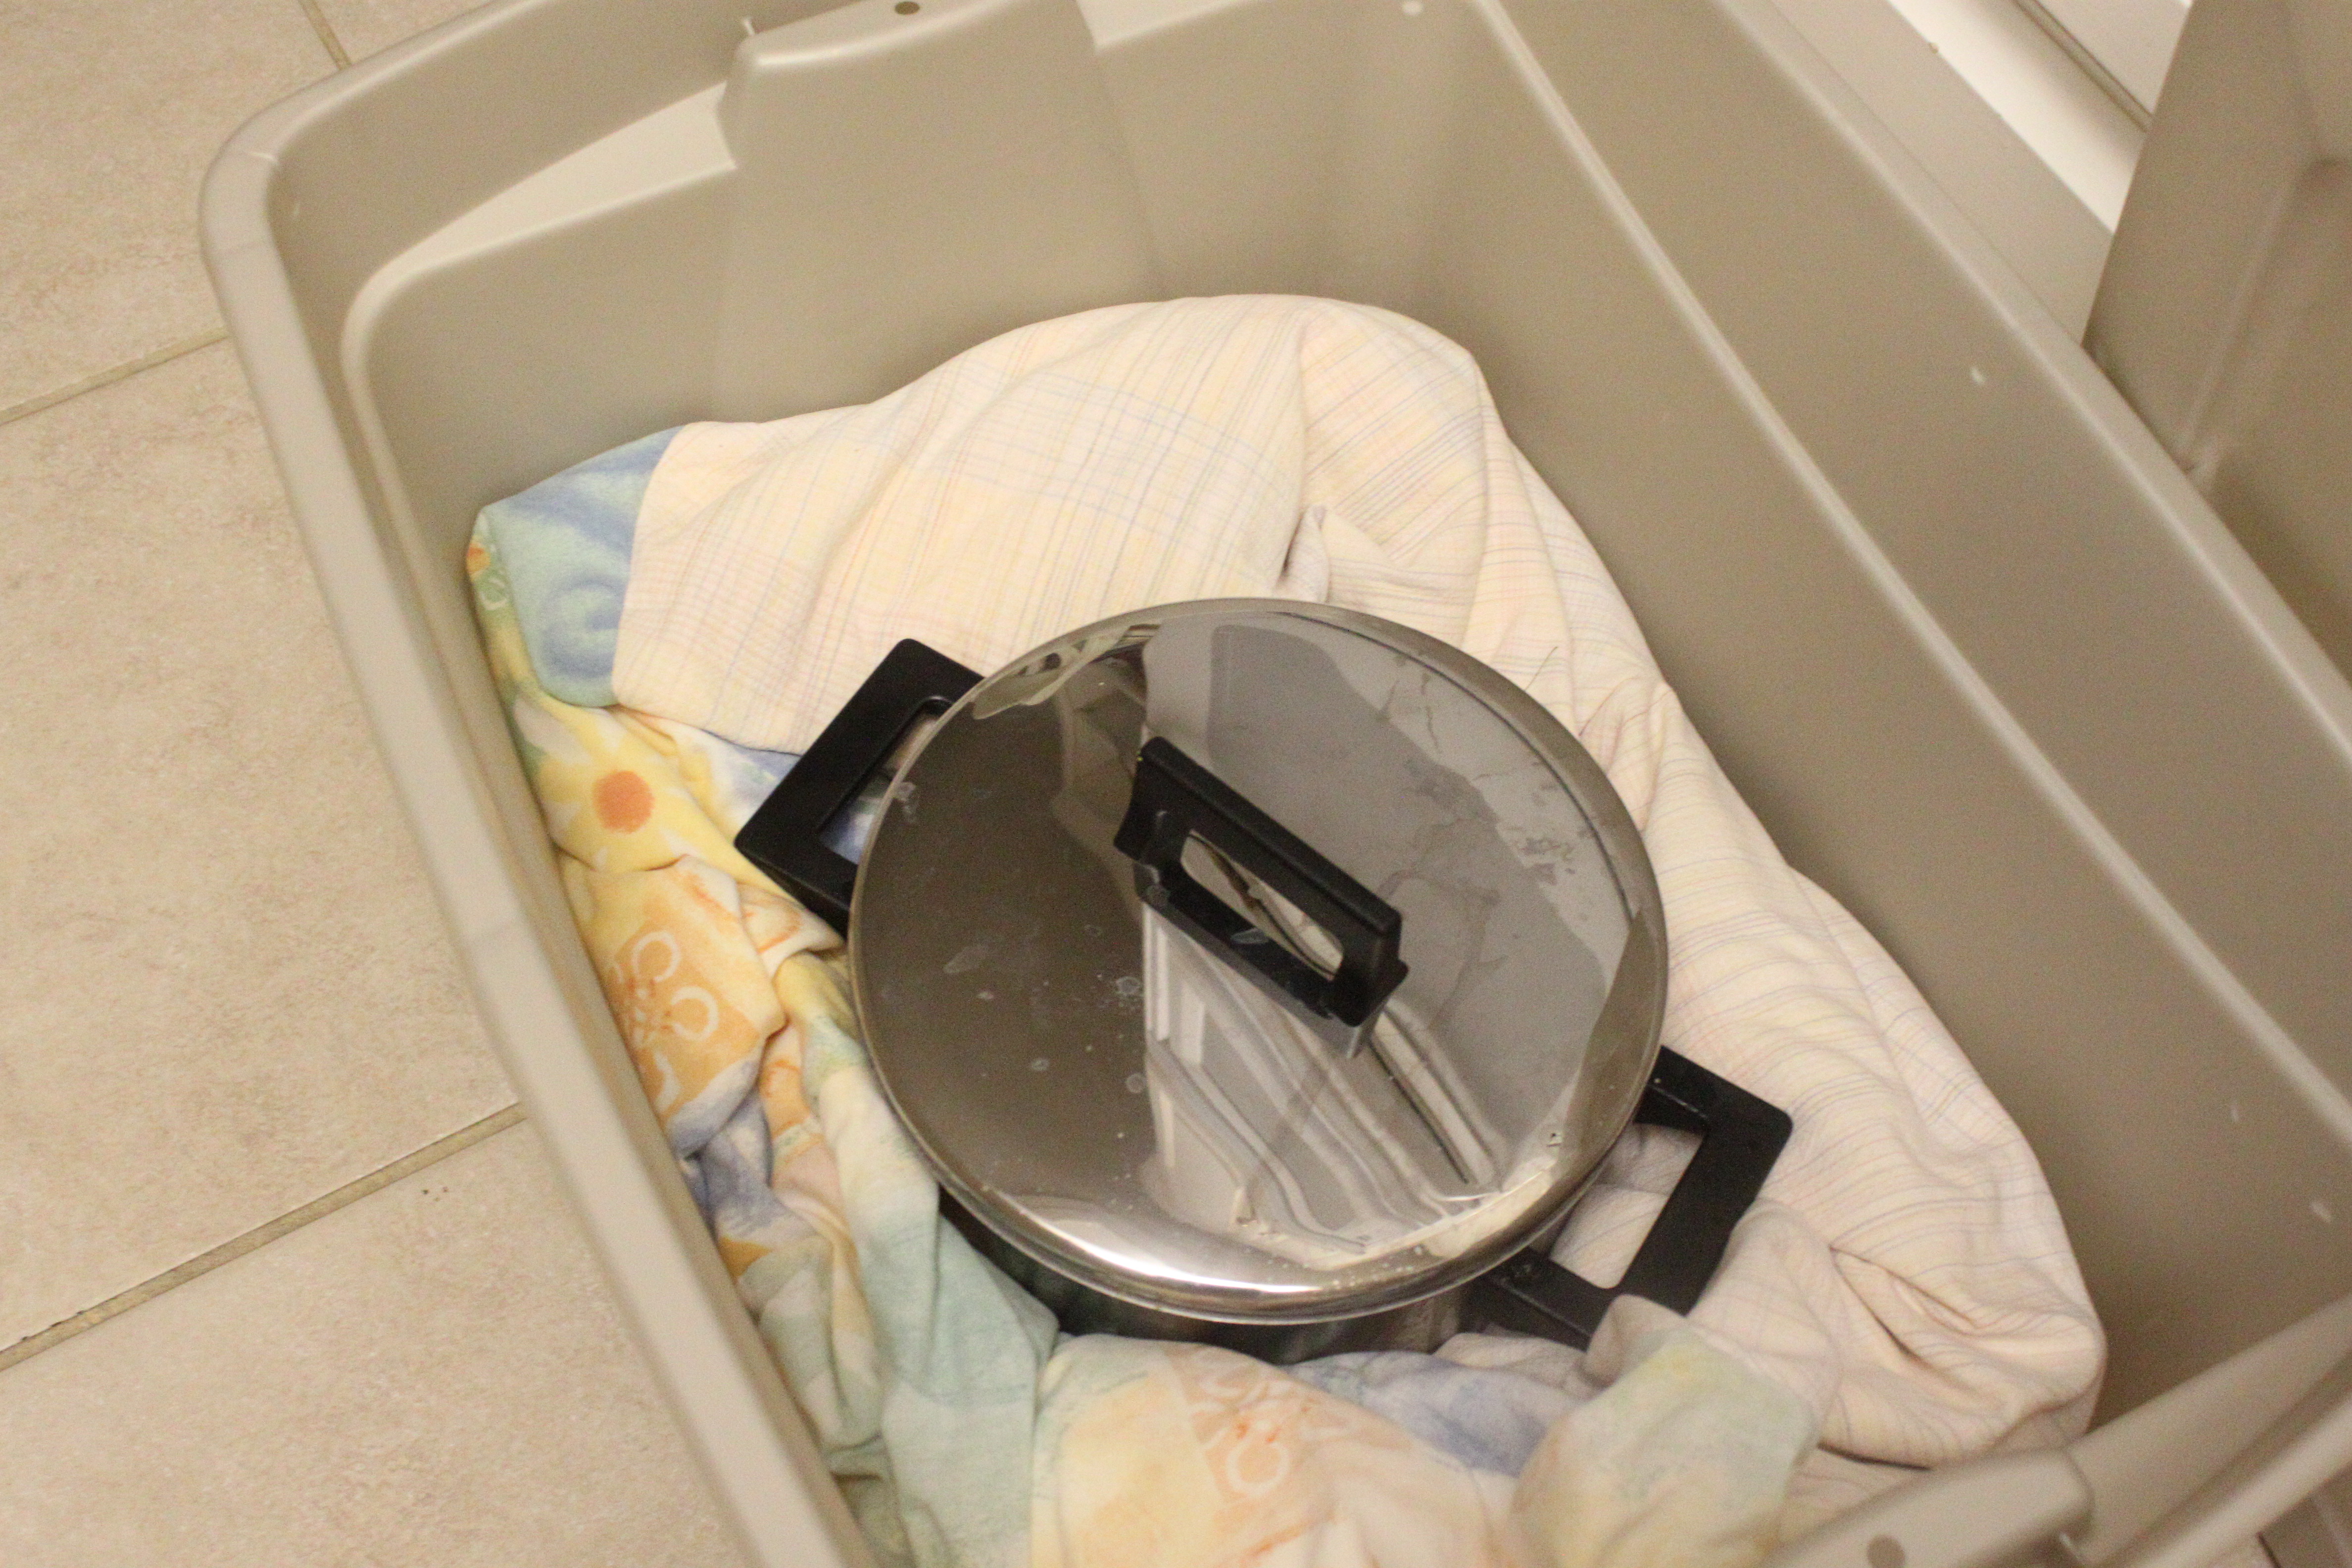
Place bag in boiling pot of water

Replace pot lid

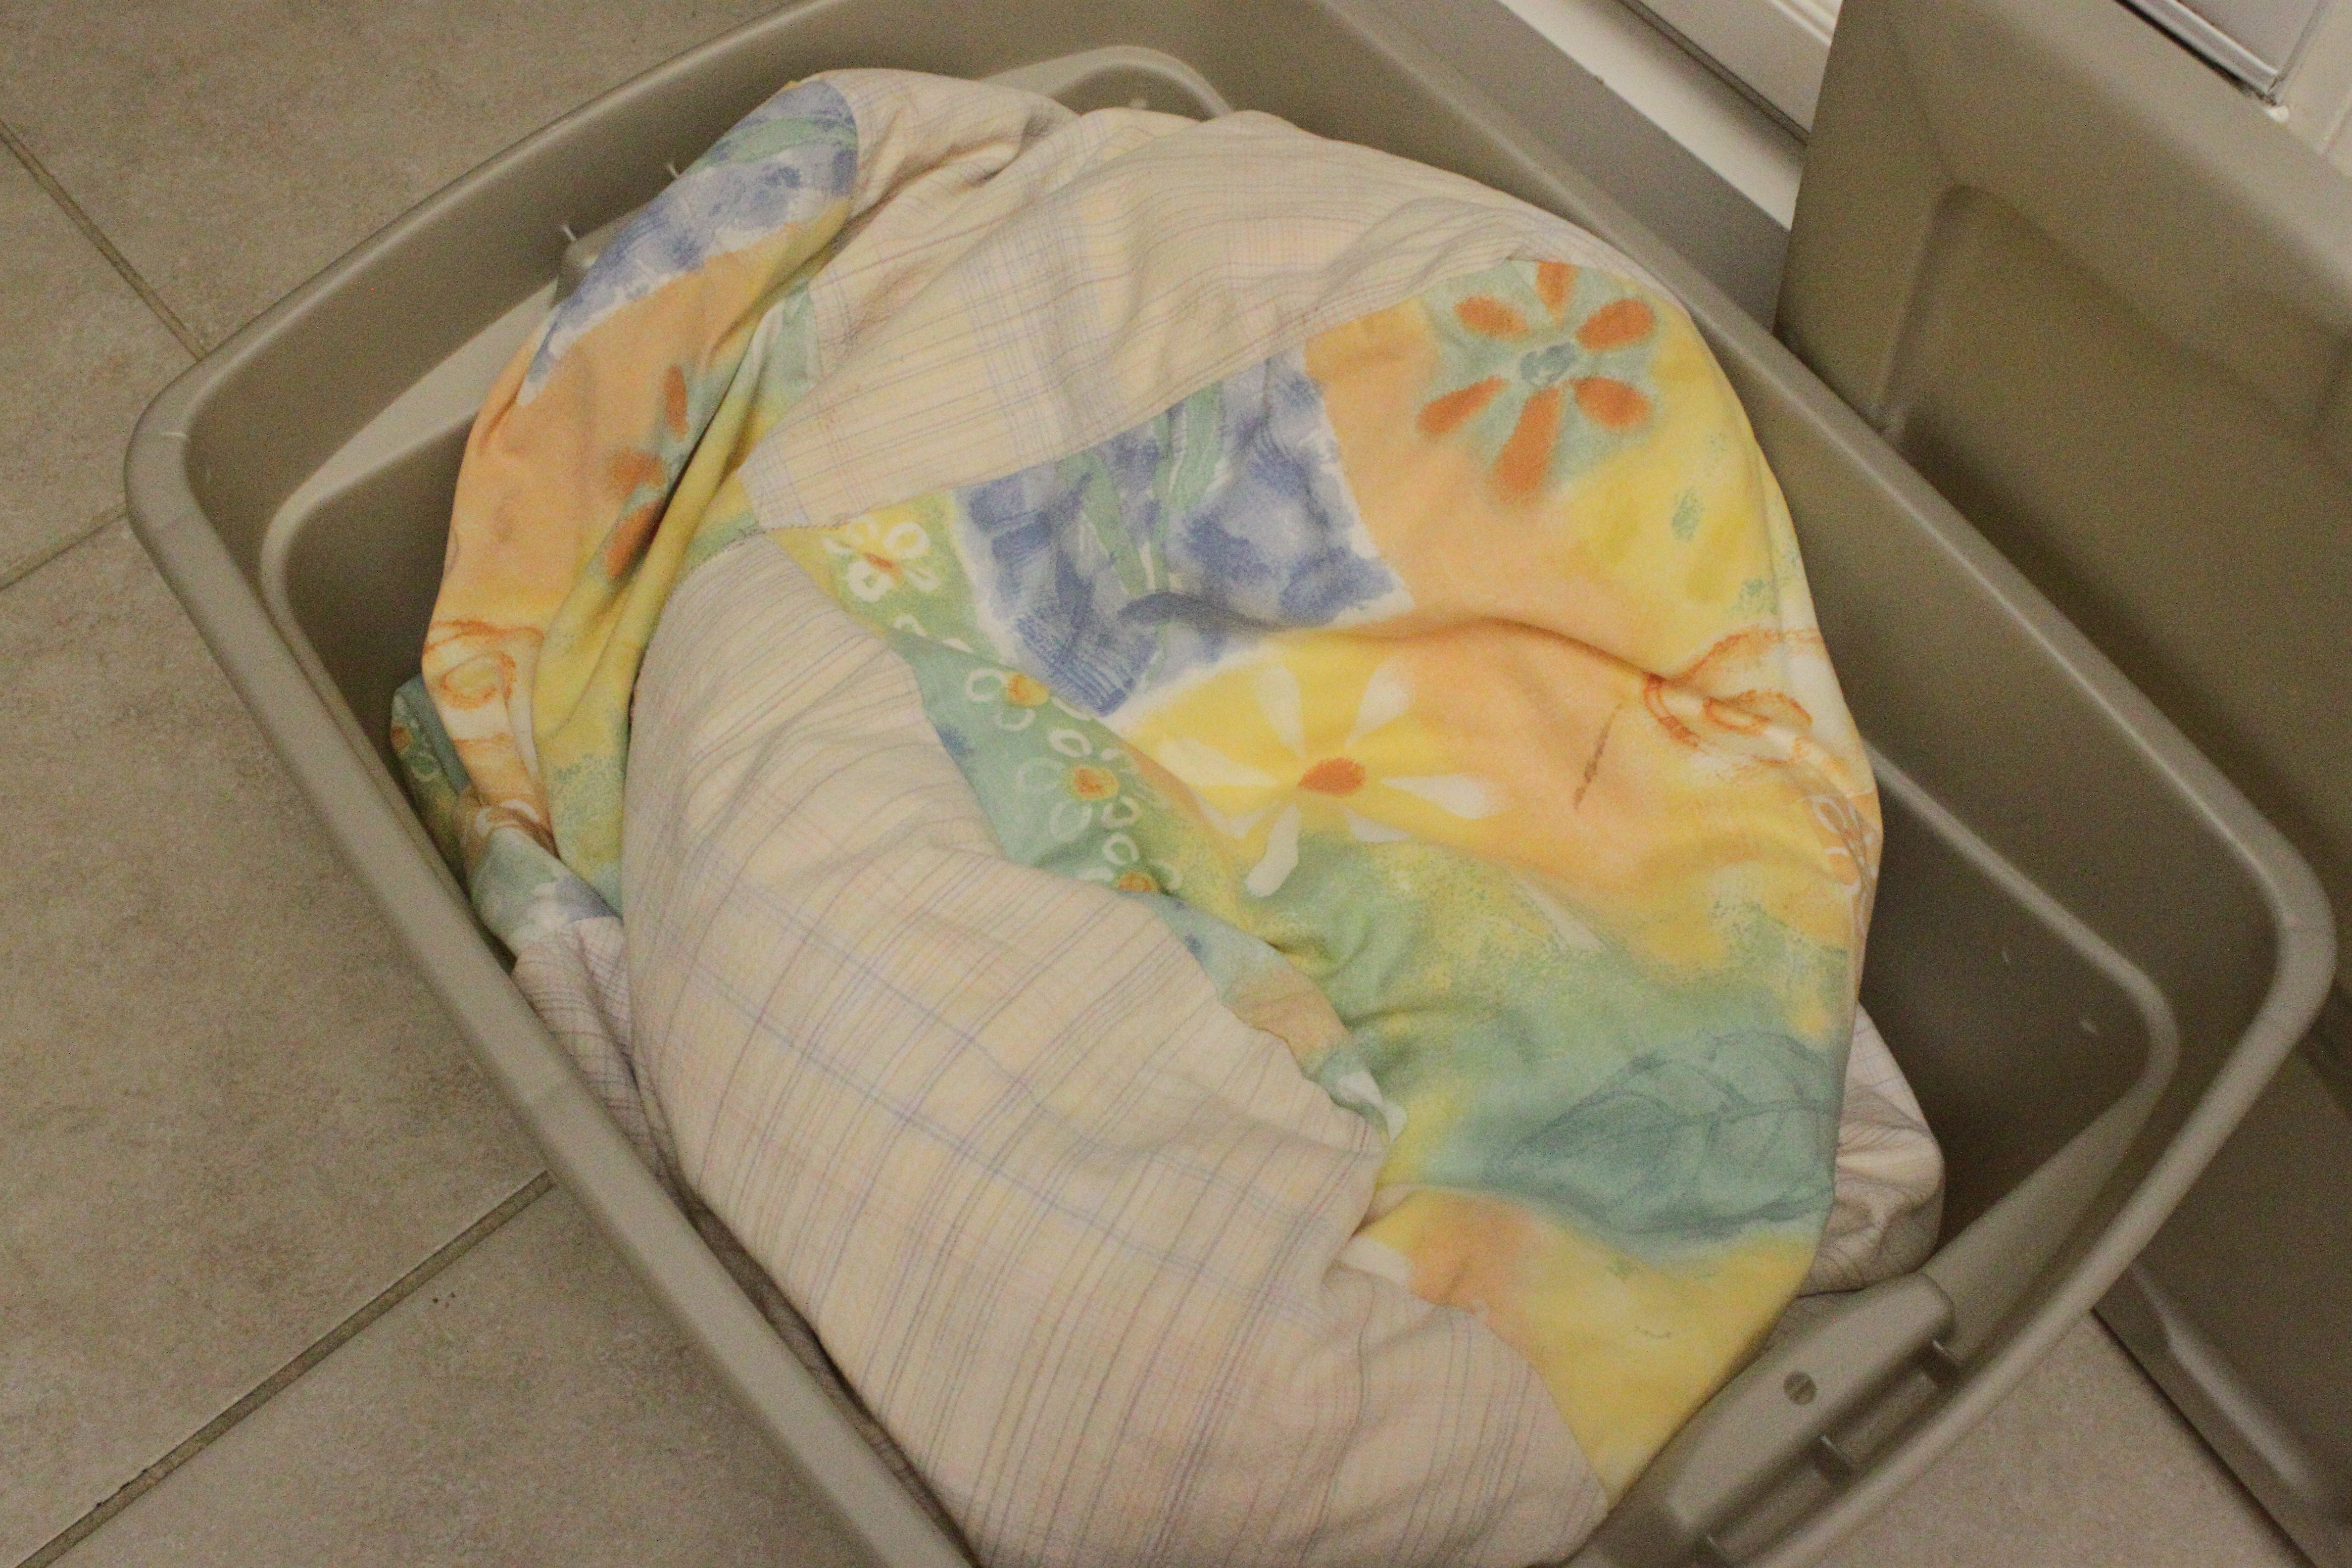
Put pot into Wonder Oven, cover with top pillow and container lid.


One hour later, removing the bag from the pot, the meat is cooked and ready to serve.
Cooking Meat Using a Cereal Bag
Place browned seasoned meat in plastic cereal bag and add to boiling pot of water.
Replace pot lid with cereal bag overhanging between the lid and pot. Put pot into Wonder Oven, cover with top pillow and container lid.


One hour later, removing the bag from the pot, the meat is cooked and ready to serve.

The finished product. Tender delicious meat and plenty of broth to use in whatever meal I’m making.

~~~~~~~~~~~~~~~~~~~~~~~~~~~~~~~~~~~~~~~~~~~~~~~~~~~~~~~~~~~~~
Notes:
With bigger pieces of meat (pot roast for example) it’s best to cut the meat into manageable pieces before browning and cooking it to shorten cooking time. It will cook as a whole, if you have 3-4 hours to leave it, it just depends on how long you have to let it cook.
Adding raw small red potatoes, onions and carrots to the bag before placing into the Wonder Oven is also a great idea. The vegetables cook together with the meat’s juices (…heavenly!) and once cooked everything is ready to serve at once.
You can use multiple bags in a pot at a time. If using more than one bag I would personally use the Ziploc bags rather than the cereal bags to skip having to hang part of the bag over the side of the pot.
The most important thing to make sure of (for any type of Wonder Oven cooking) is that you’re using the smallest pot necessary for the amount of food you are cooking. You don’t want a big pot with only a small amount of food being cooked in it or you’ll risk losing heat and it won’t cook as effectively.
Courtesy of http://myfoodstoragecookbook.com/2011/09/16/wonder-oven-101-cooking-meat/


 Recipe: Ketchup
 Recipe: Mustard


