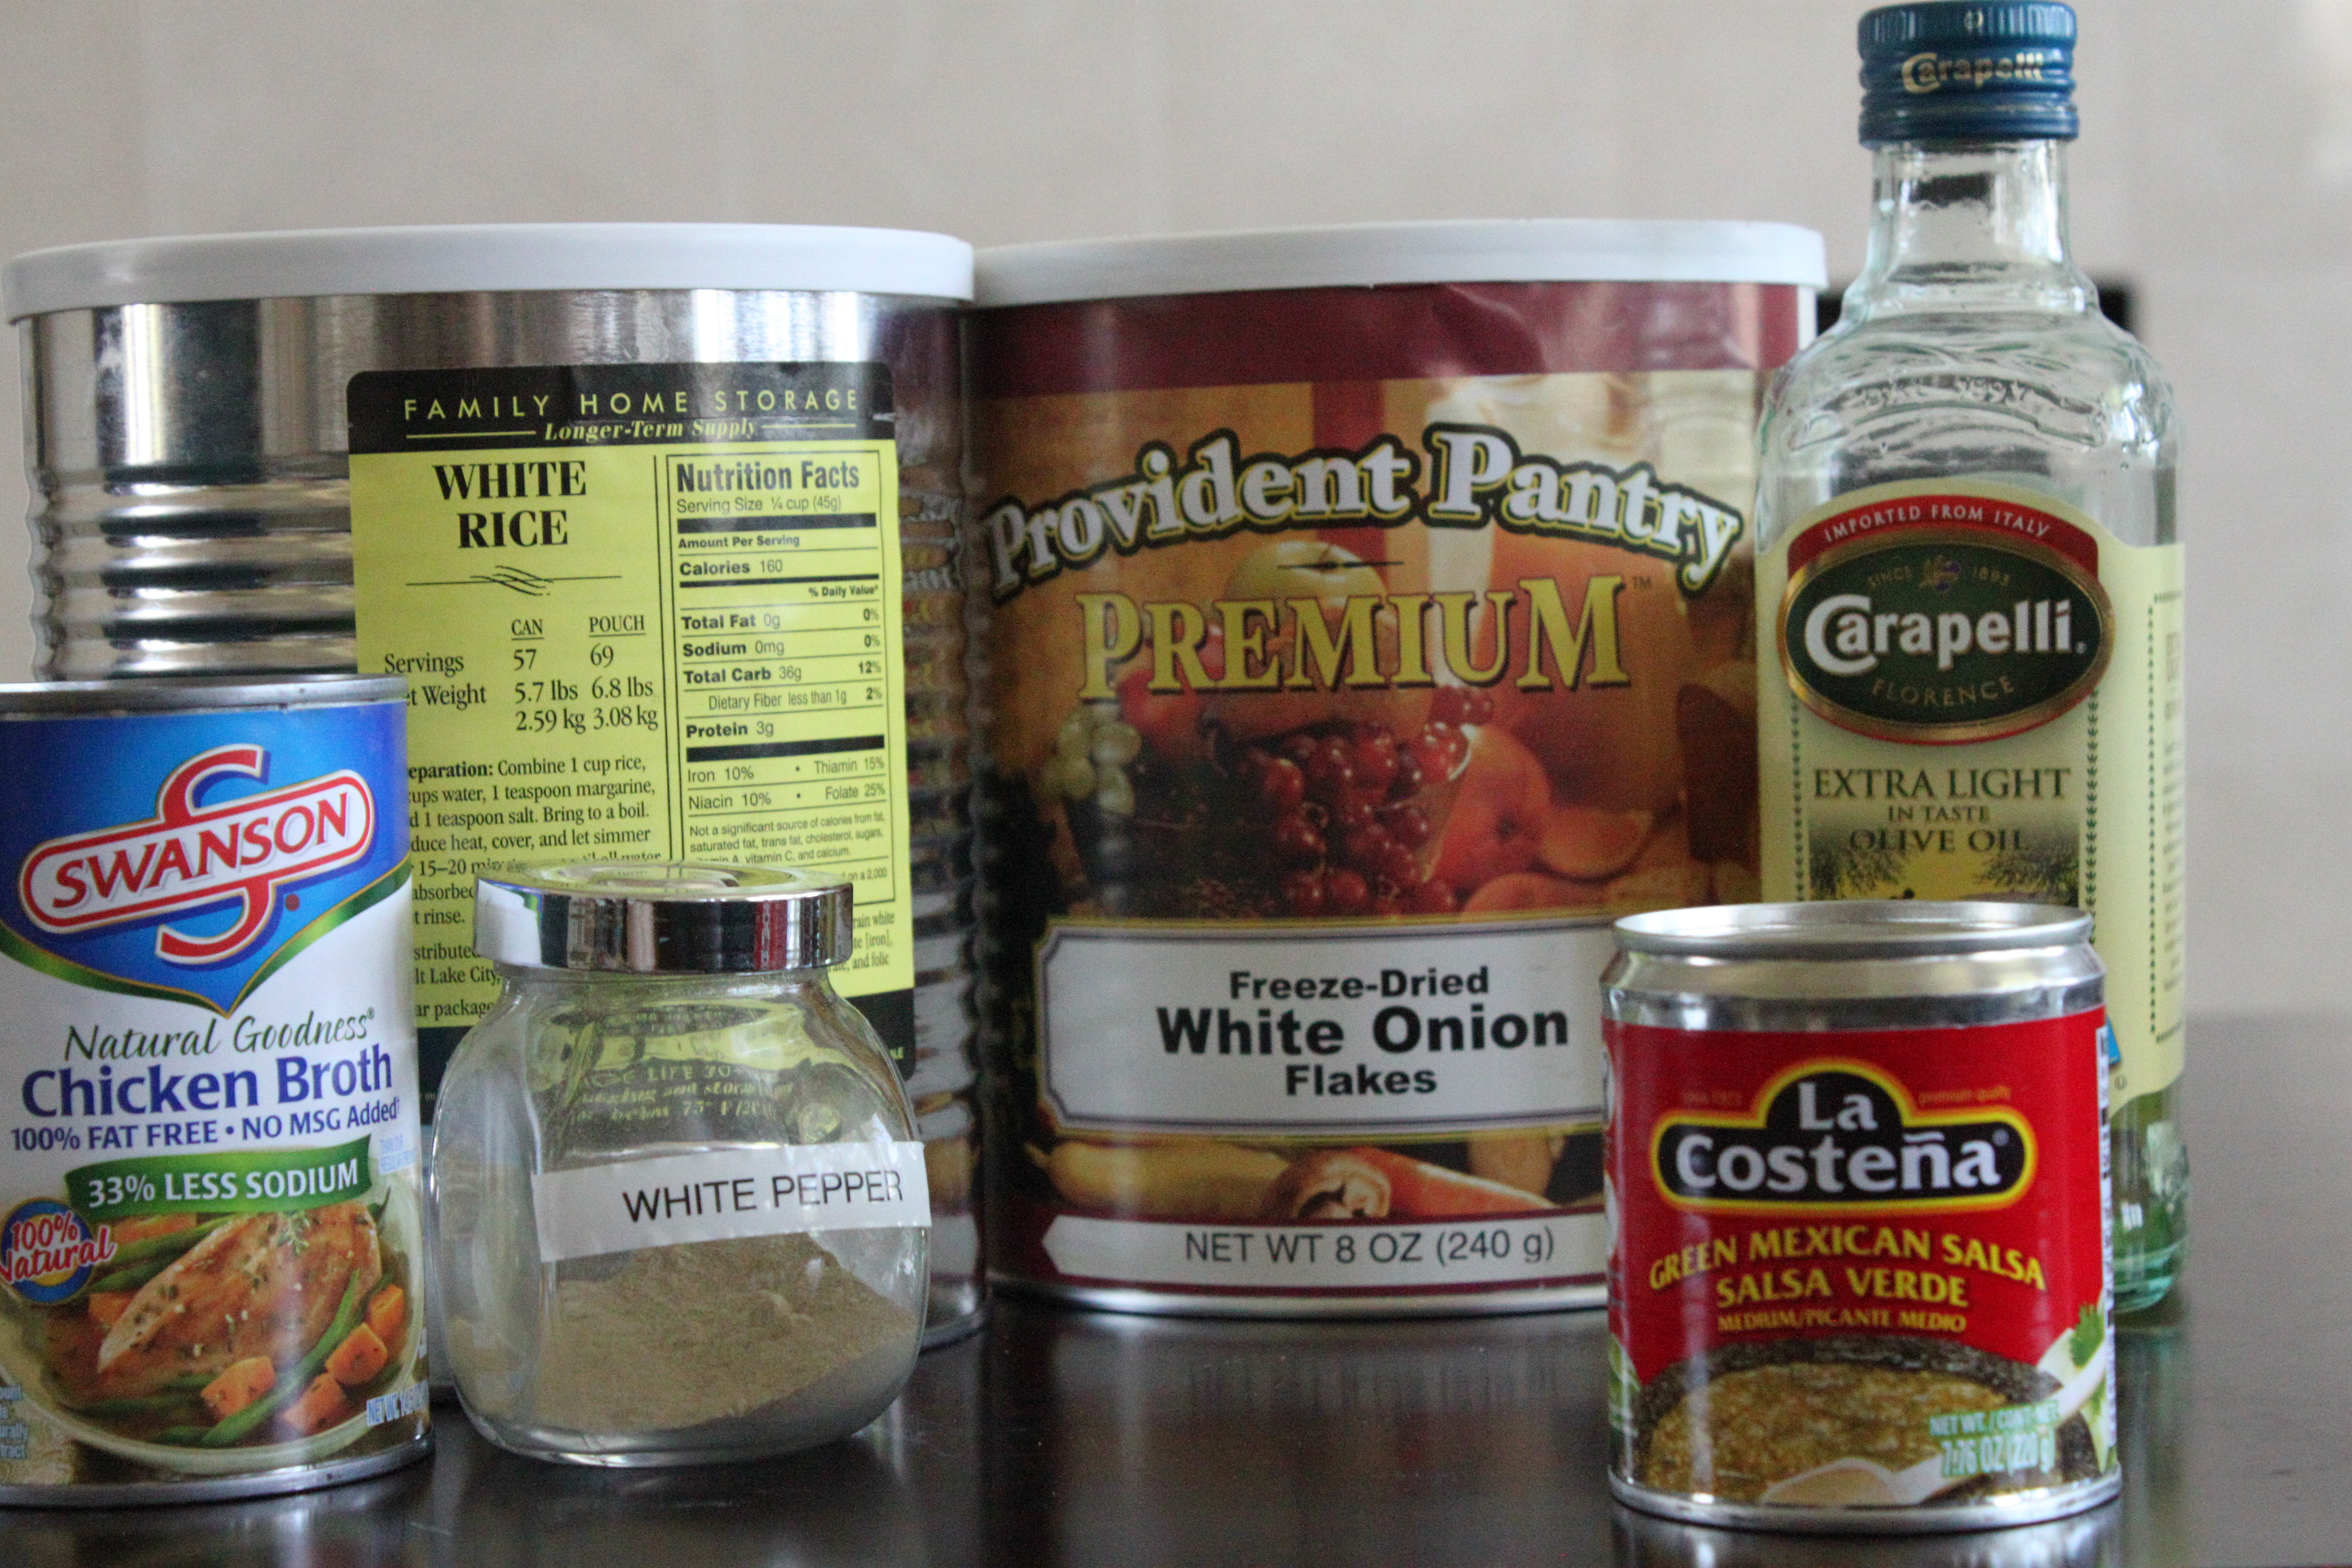
Ingredients:
1 medium onion (or 1/2 cup freeze dried onion flakes, re-hydrated)
1 tsp. garlic (or 1/2 tsp. garlic powder)
2 TBS olive oil
2 cups rice
1 tsp. salt
1/4 – 1/2 tsp. white pepper (recipe calls for 1/2 tsp. but my family prefers 1/4)
1 (14.5 oz) can chicken broth
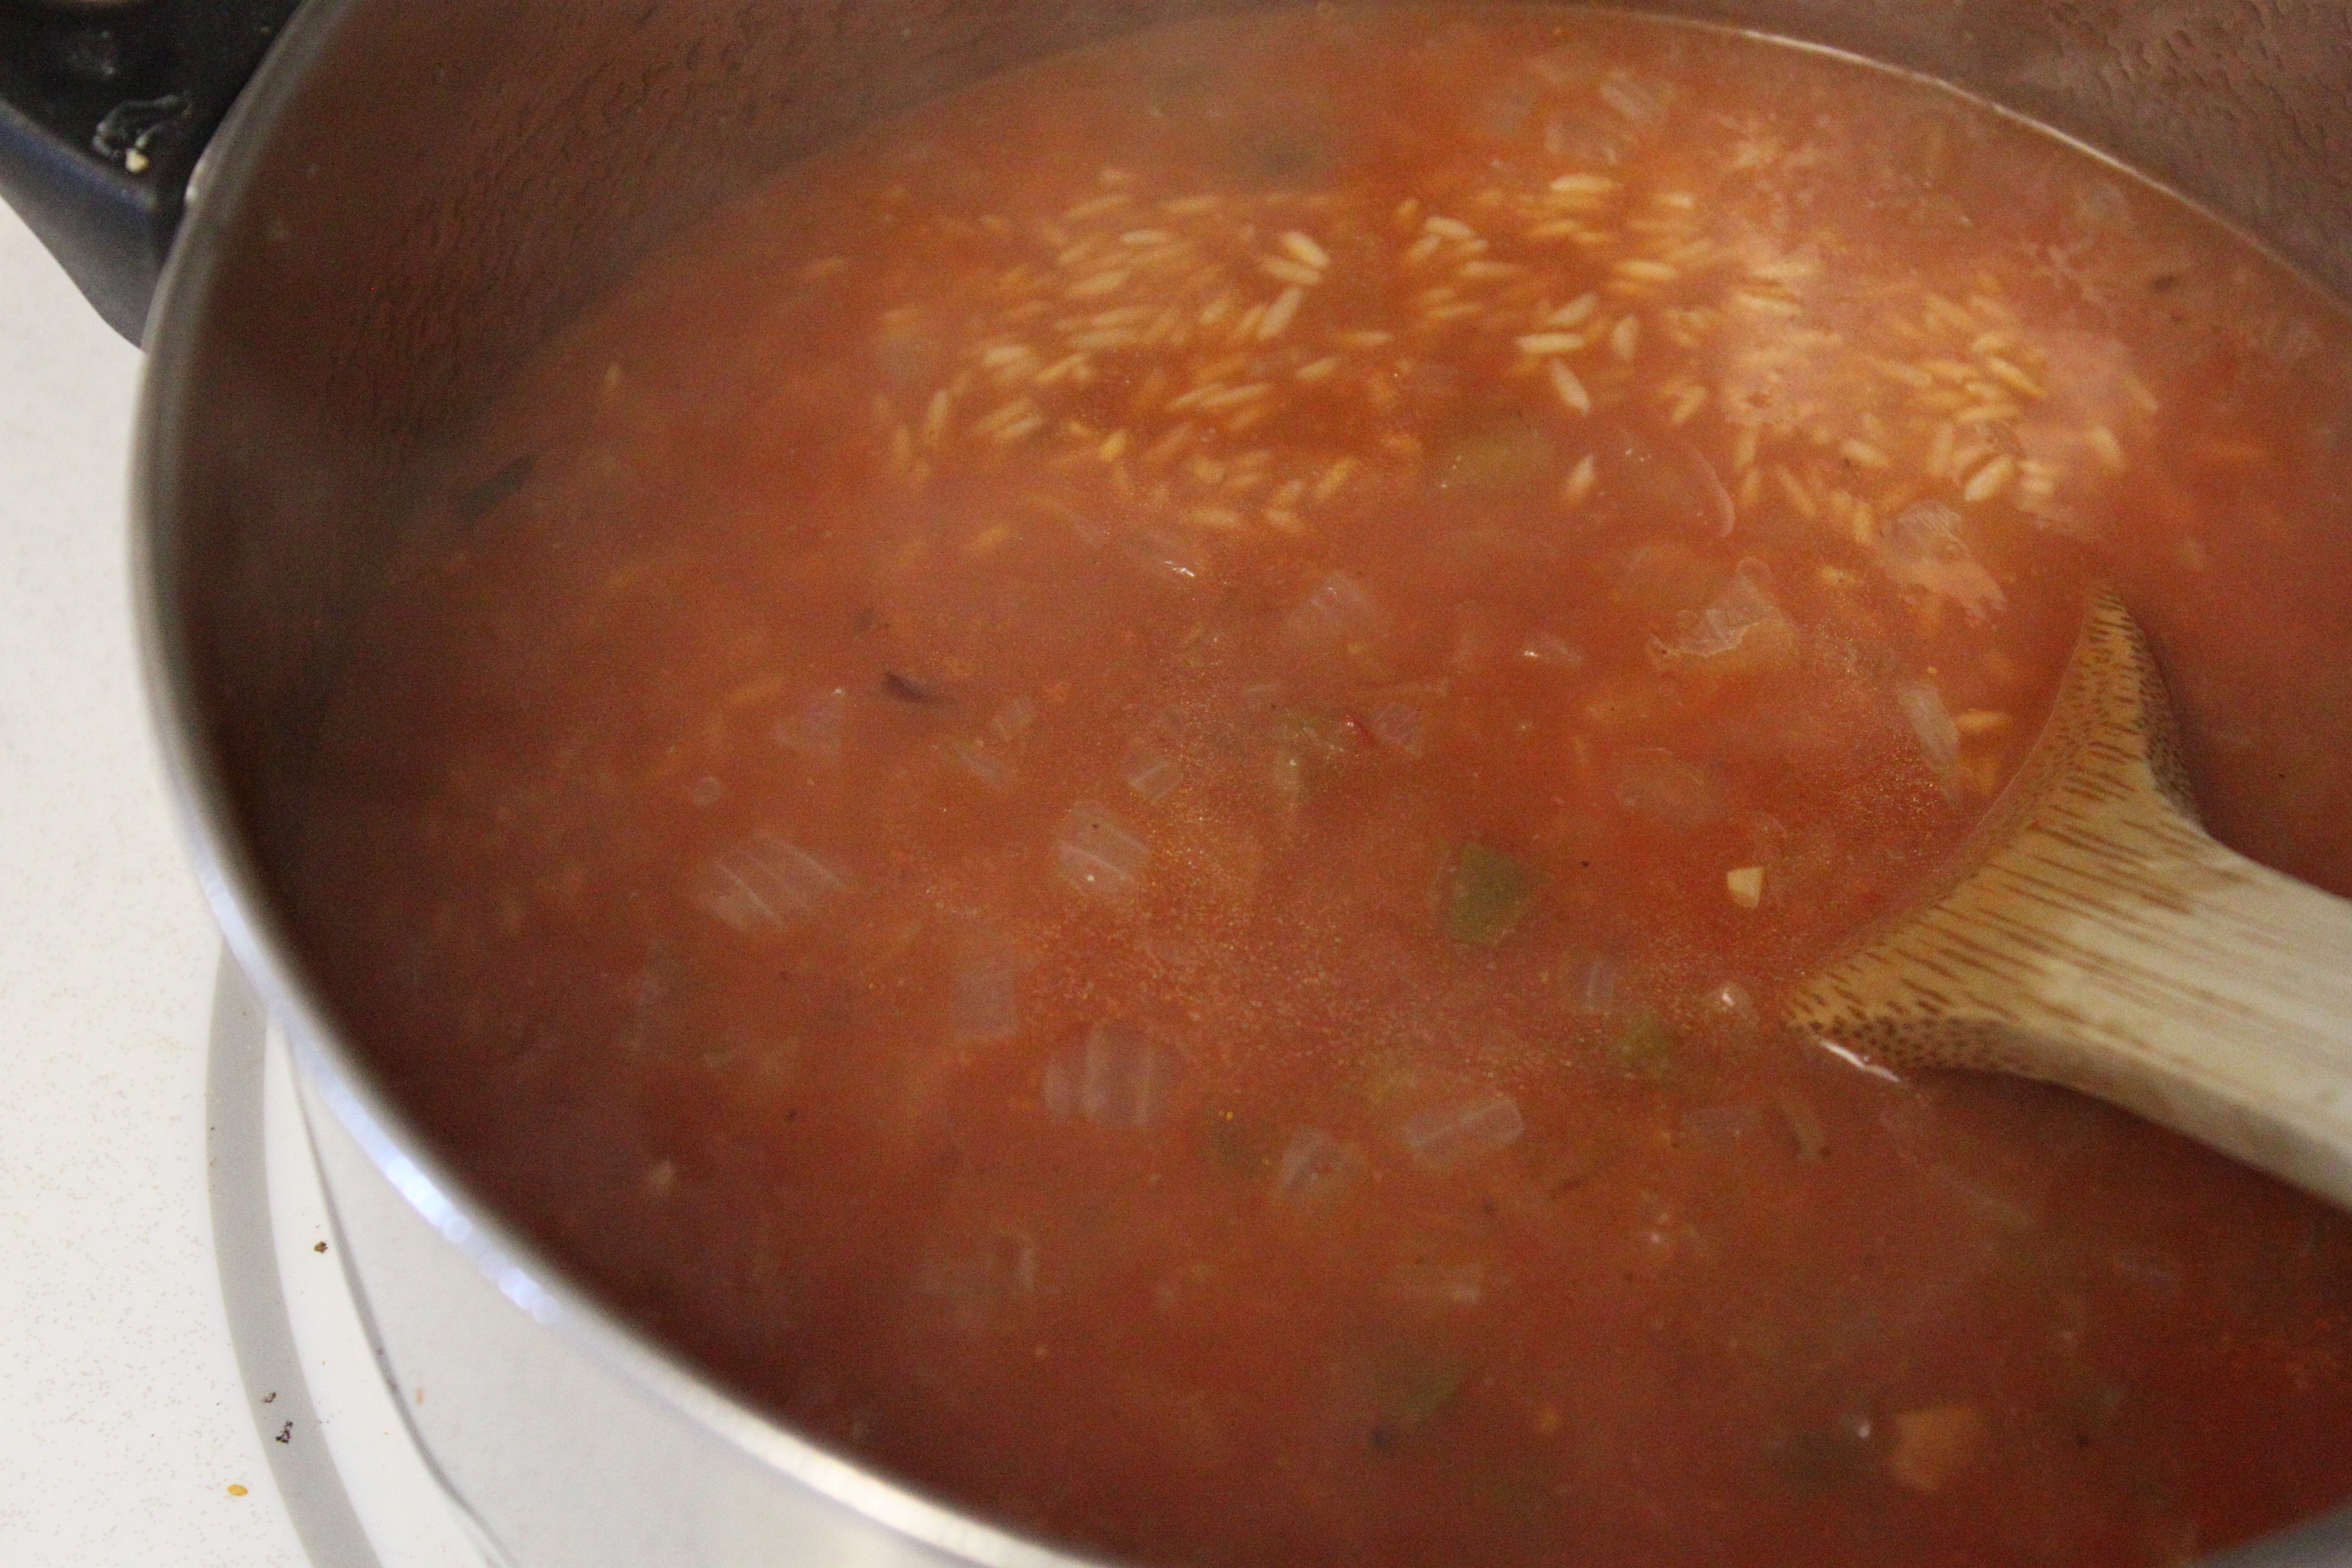
1 (8 oz.) can tomato sauce
1/2 cup salsa, any kind
Instructions:
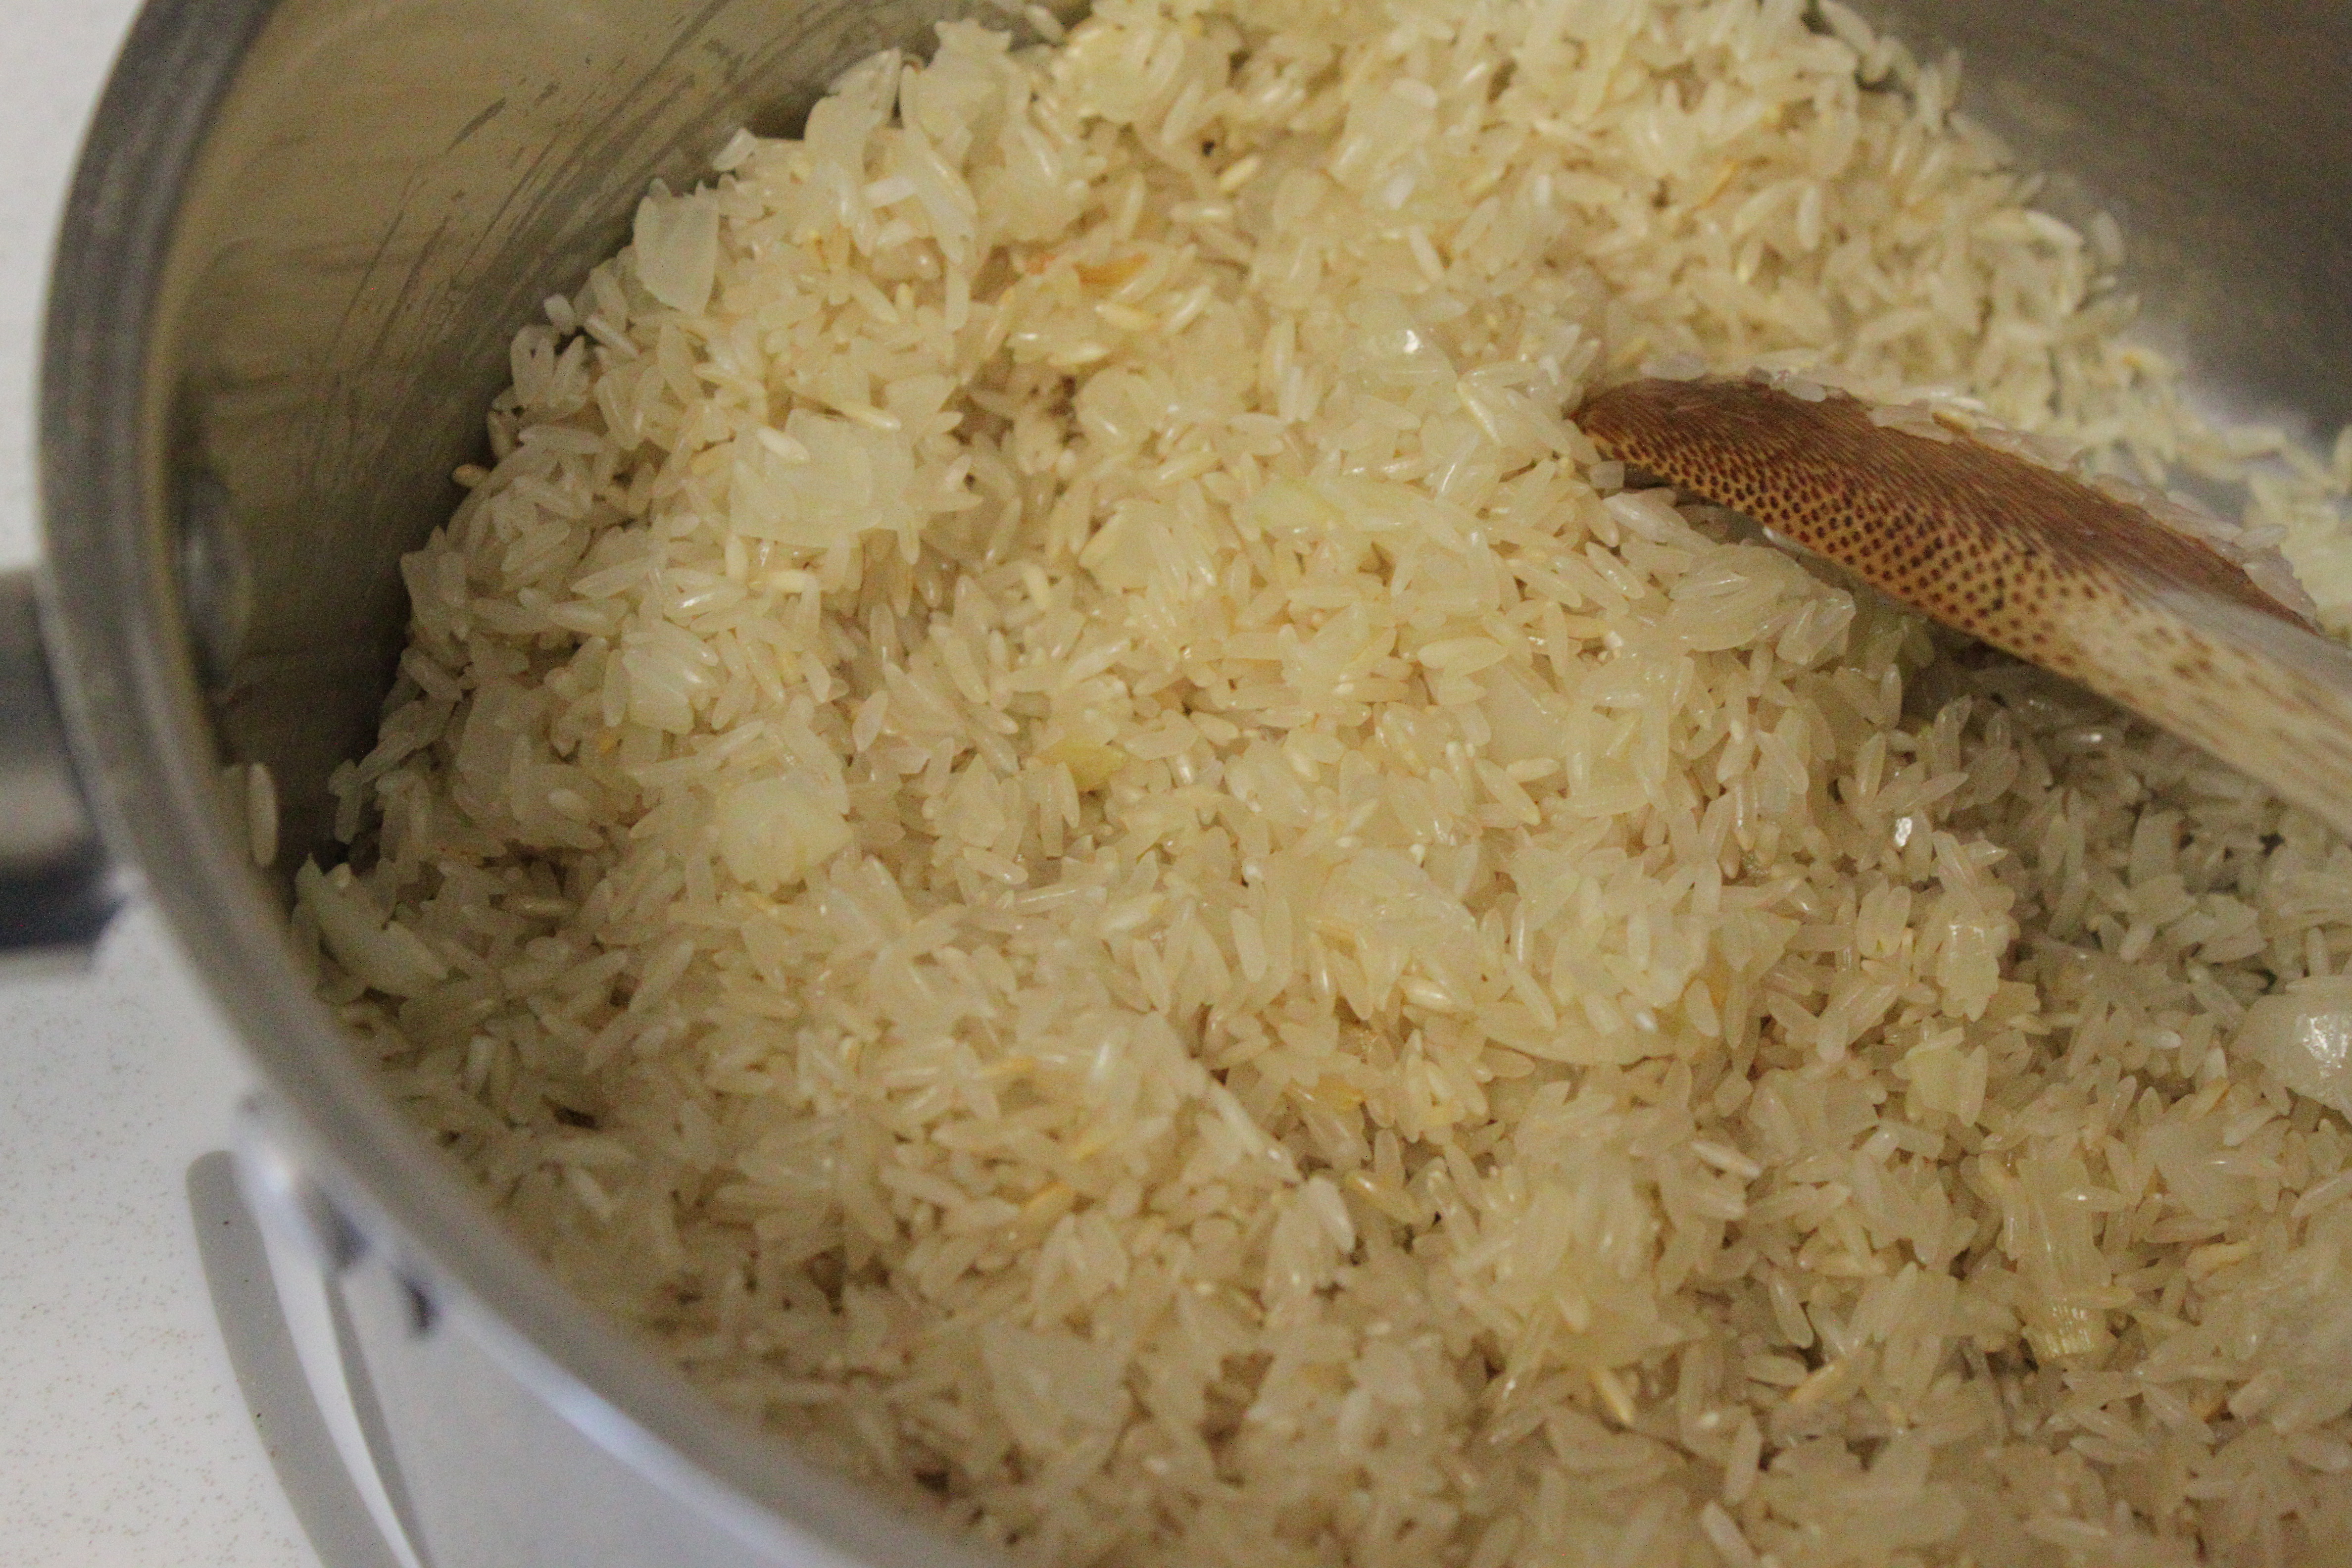
Heat the oil in a sauce pan over medium low heat. Add the onion and garlic. Cook for 2 minutes.
Add the raw rice, salt and pepper. Cook, stirring occasionally until rice turns a golden color, about 5 minutes. Add to the rice the can of chicken broth, tomato sauce and salsa and stir together. Bring to a boil with the lid on (the lid should be hot) and transfer pot to wonder oven. Allow to cook in wonder oven for at least 45 minutes. Fluff with a spoon and serve. Serves 8


 Tomatillo Pilaf
This is a nice alternative to traditional spanish rice.
Ingredients:
1 medium onion (or 1/2 cup freeze dried onion flakes, rehydrated)
1 tsp. garlic (or 1/2 tsp. garlic powder)
2 TBS olive oil
2 cups rice
1 tsp. salt
1/4 – 1/2 tsp. white pepper (recipe calls for 1/2 tsp. but my family prefers 1/4)
1 (14.5 oz.) can chicken broth
1/2 cup water
1 (8 oz.) can salsa verde
1/8 cup lime juice
Instructions:
Heat the oil in a sauce pan over medium low heat. Add the onion and garlic. Cook for 2 minutes.
Add the raw rice, salt and pepper. Cook, stirring occasionally until rice turns a golden color, about 5 minutes. Add to the rice the can of chicken broth, 1/2 cup water, can of salsa verde and lime juice and stir together. Bring to a boil with the lid on (the lid should be hot) and transfer pot to wonder oven. Allow to cook in wonder oven for atleast 45 minutes. Fluff with a spoon and serve. Serves 8


Serve either rice dish (or both, freezing the leftovers) with your favorite Mexican entree. Tonight we paired it with red enchiladas. Yum!

Notes:
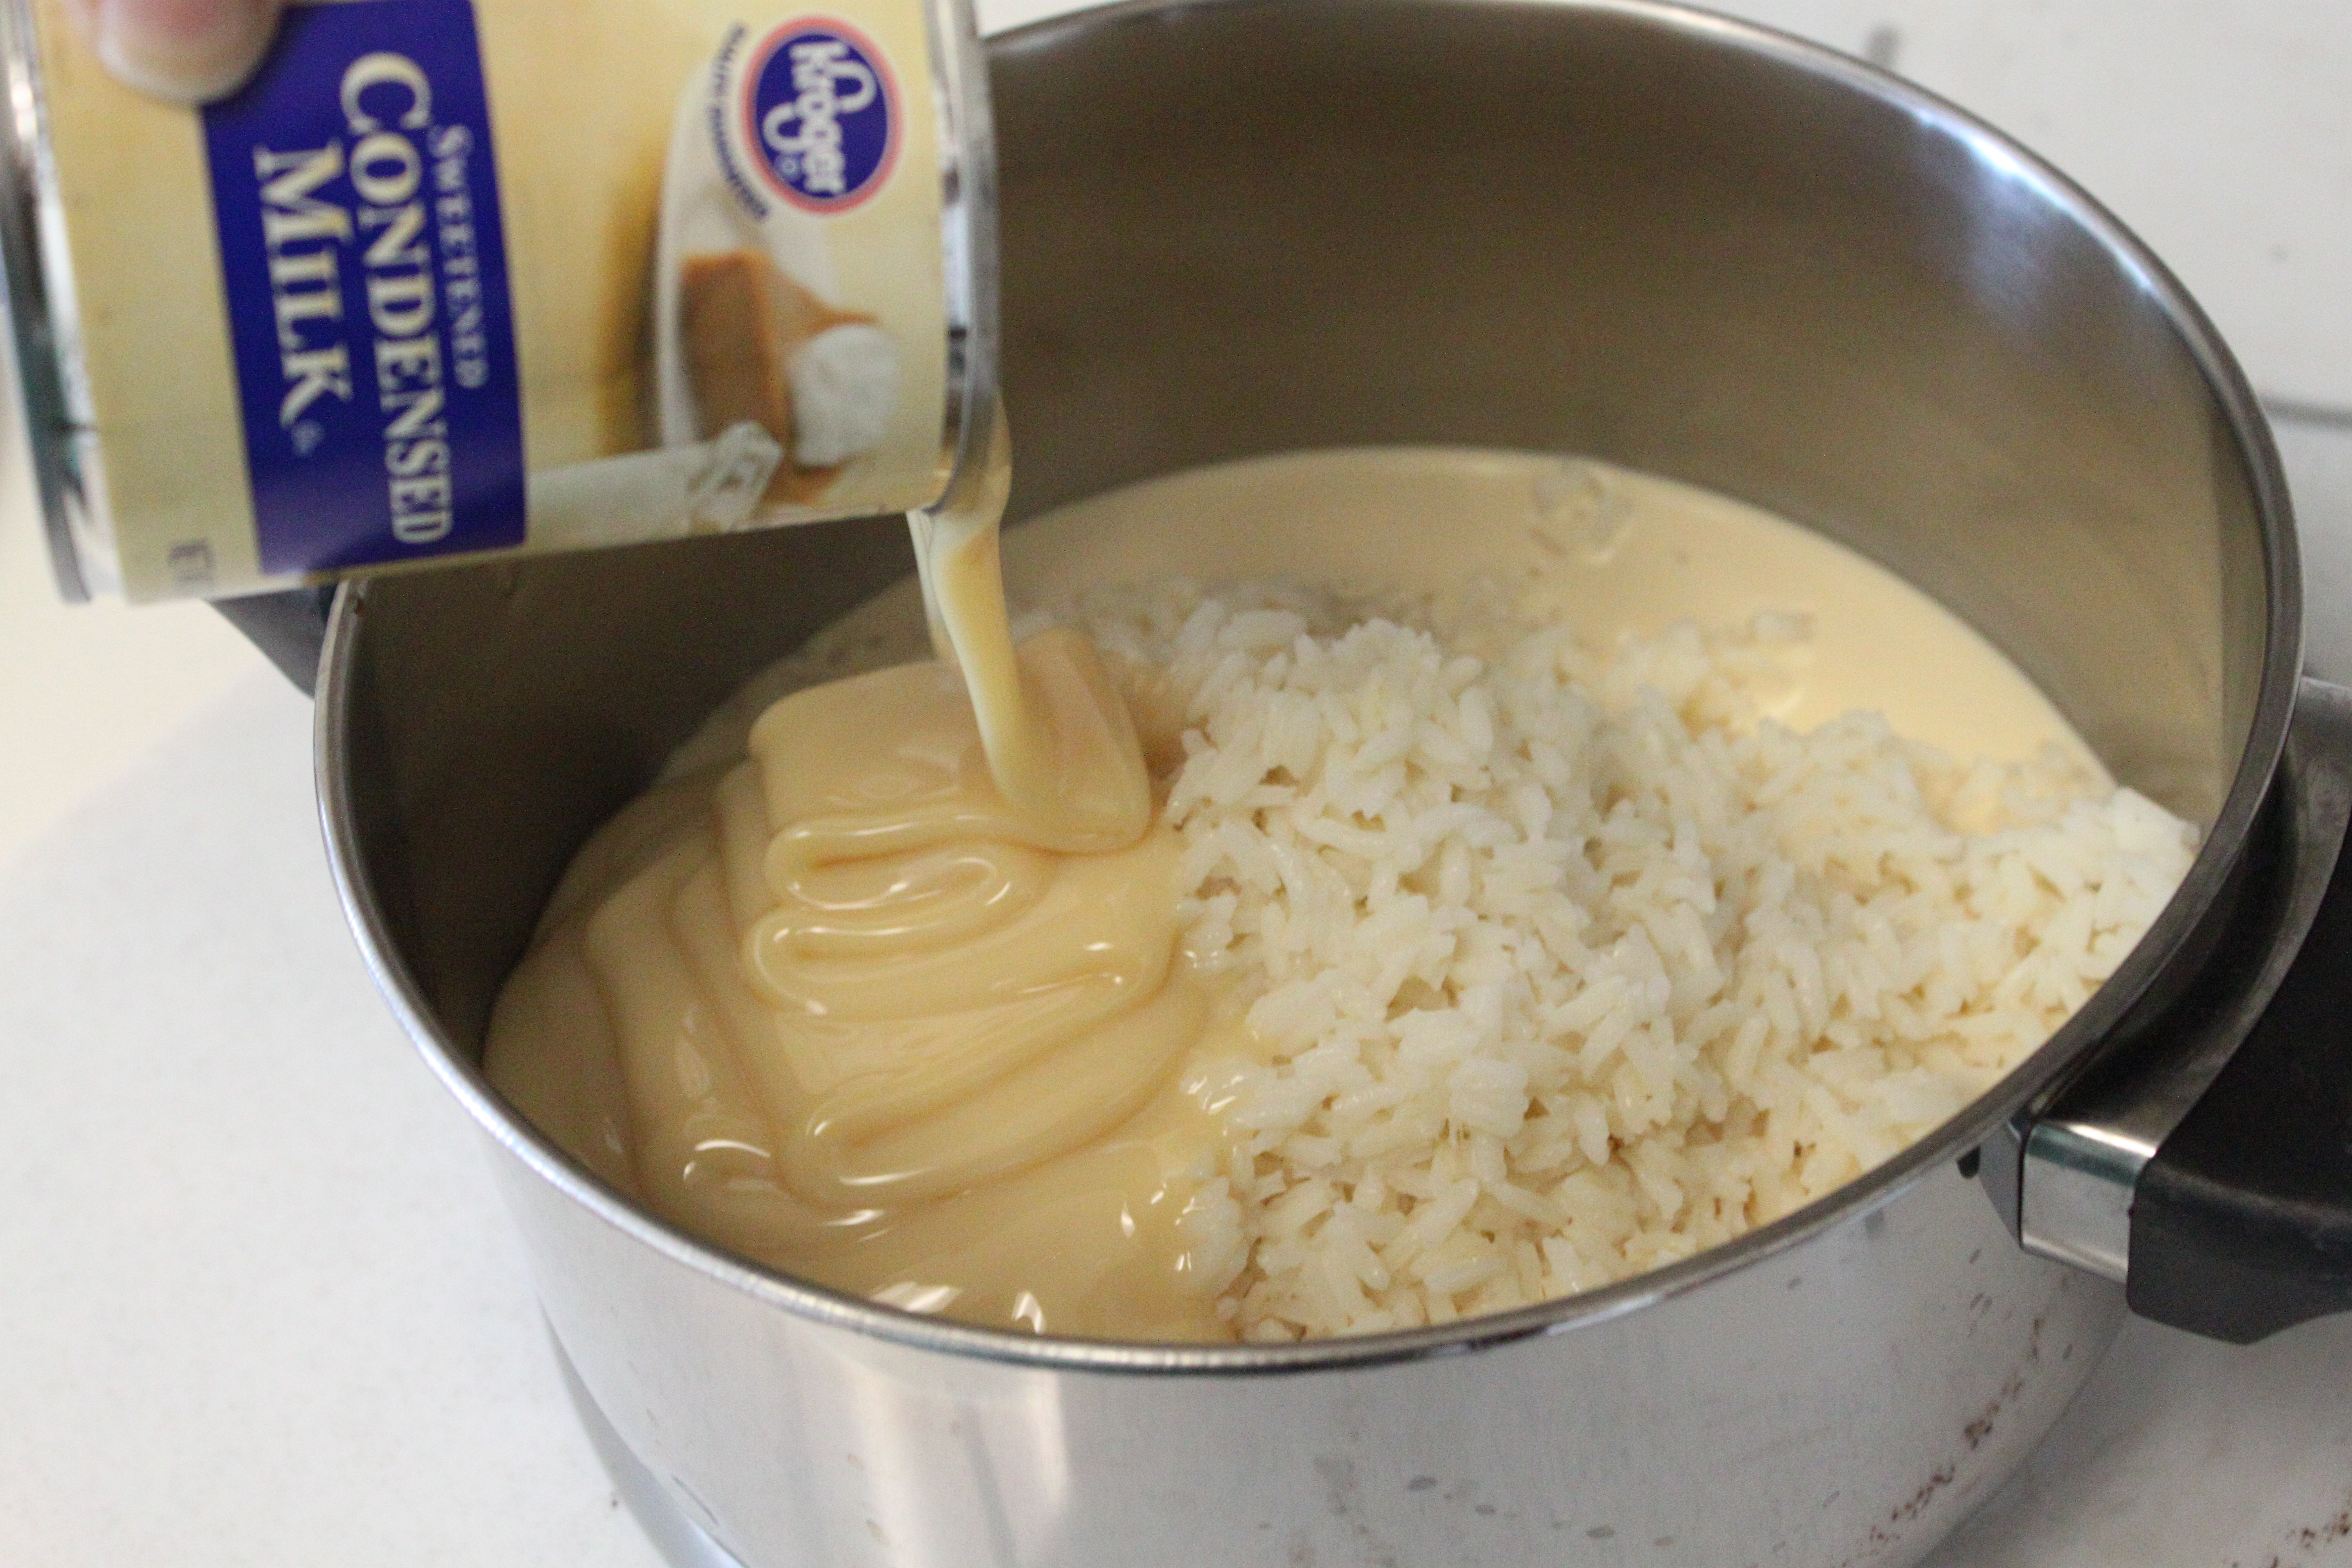
When cooking rice in a wonder oven you’ll want to decrease the water just a little since the water doesn’t evaporate away. To 2 cups white rice you should add 3 1/2 cups liquid, in cooking 2 cups of brown rice add 4 cups liquid.
1 tsp. garlic (or 1/2 tsp. garlic powder)
2 TBS olive oil
2 cups rice
1 tsp. salt
1/4 – 1/2 tsp. white pepper (recipe calls for 1/2 tsp. but my family prefers 1/4)
1 (14.5 oz) can chicken broth
1 (8 oz.) can tomato sauce
1/2 cup salsa, any kind
Instructions:
Heat the oil in a sauce pan over medium low heat. Add the onion and garlic. Cook for 2 minutes.
Add the raw rice, salt and pepper. Cook, stirring occasionally until rice turns a golden color, about 5 minutes. Add to the rice the can of chicken broth, tomato sauce and salsa and stir together. Bring to a boil with the lid on (the lid should be hot) and transfer pot to wonder oven. Allow to cook in wonder oven for at least 45 minutes. Fluff with a spoon and serve. Serves 8
****


~~~~~~~~~~~~~~~~~~~~~~~~~~~~~~~~~~~~~~~
This is a nice alternative to traditional spanish rice.
Ingredients:
1 medium onion (or 1/2 cup freeze dried onion flakes, rehydrated)
1 tsp. garlic (or 1/2 tsp. garlic powder)
2 TBS olive oil
2 cups rice
1 tsp. salt
1/4 – 1/2 tsp. white pepper (recipe calls for 1/2 tsp. but my family prefers 1/4)
1 (14.5 oz.) can chicken broth
1/2 cup water
1 (8 oz.) can salsa verde
1/8 cup lime juice
Instructions:
Heat the oil in a sauce pan over medium low heat. Add the onion and garlic. Cook for 2 minutes.
Add the raw rice, salt and pepper. Cook, stirring occasionally until rice turns a golden color, about 5 minutes. Add to the rice the can of chicken broth, 1/2 cup water, can of salsa verde and lime juice and stir together. Bring to a boil with the lid on (the lid should be hot) and transfer pot to wonder oven. Allow to cook in wonder oven for atleast 45 minutes. Fluff with a spoon and serve. Serves 8
*****


Serve either rice dish (or both, freezing the leftovers) with your favorite Mexican entree. Tonight we paired it with red enchiladas. Yum!

~~~~~~~~~~~~~~~~~~~~~~~~~~~~~~~~
When cooking rice in a wonder oven you’ll want to decrease the water just a little since the water doesn’t evaporate away. To 2 cups white rice you should add 3 1/2 cups liquid, in cooking 2 cups of brown rice add 4 cups liquid.